
Sunbeam S7 Restoration - TFO 770
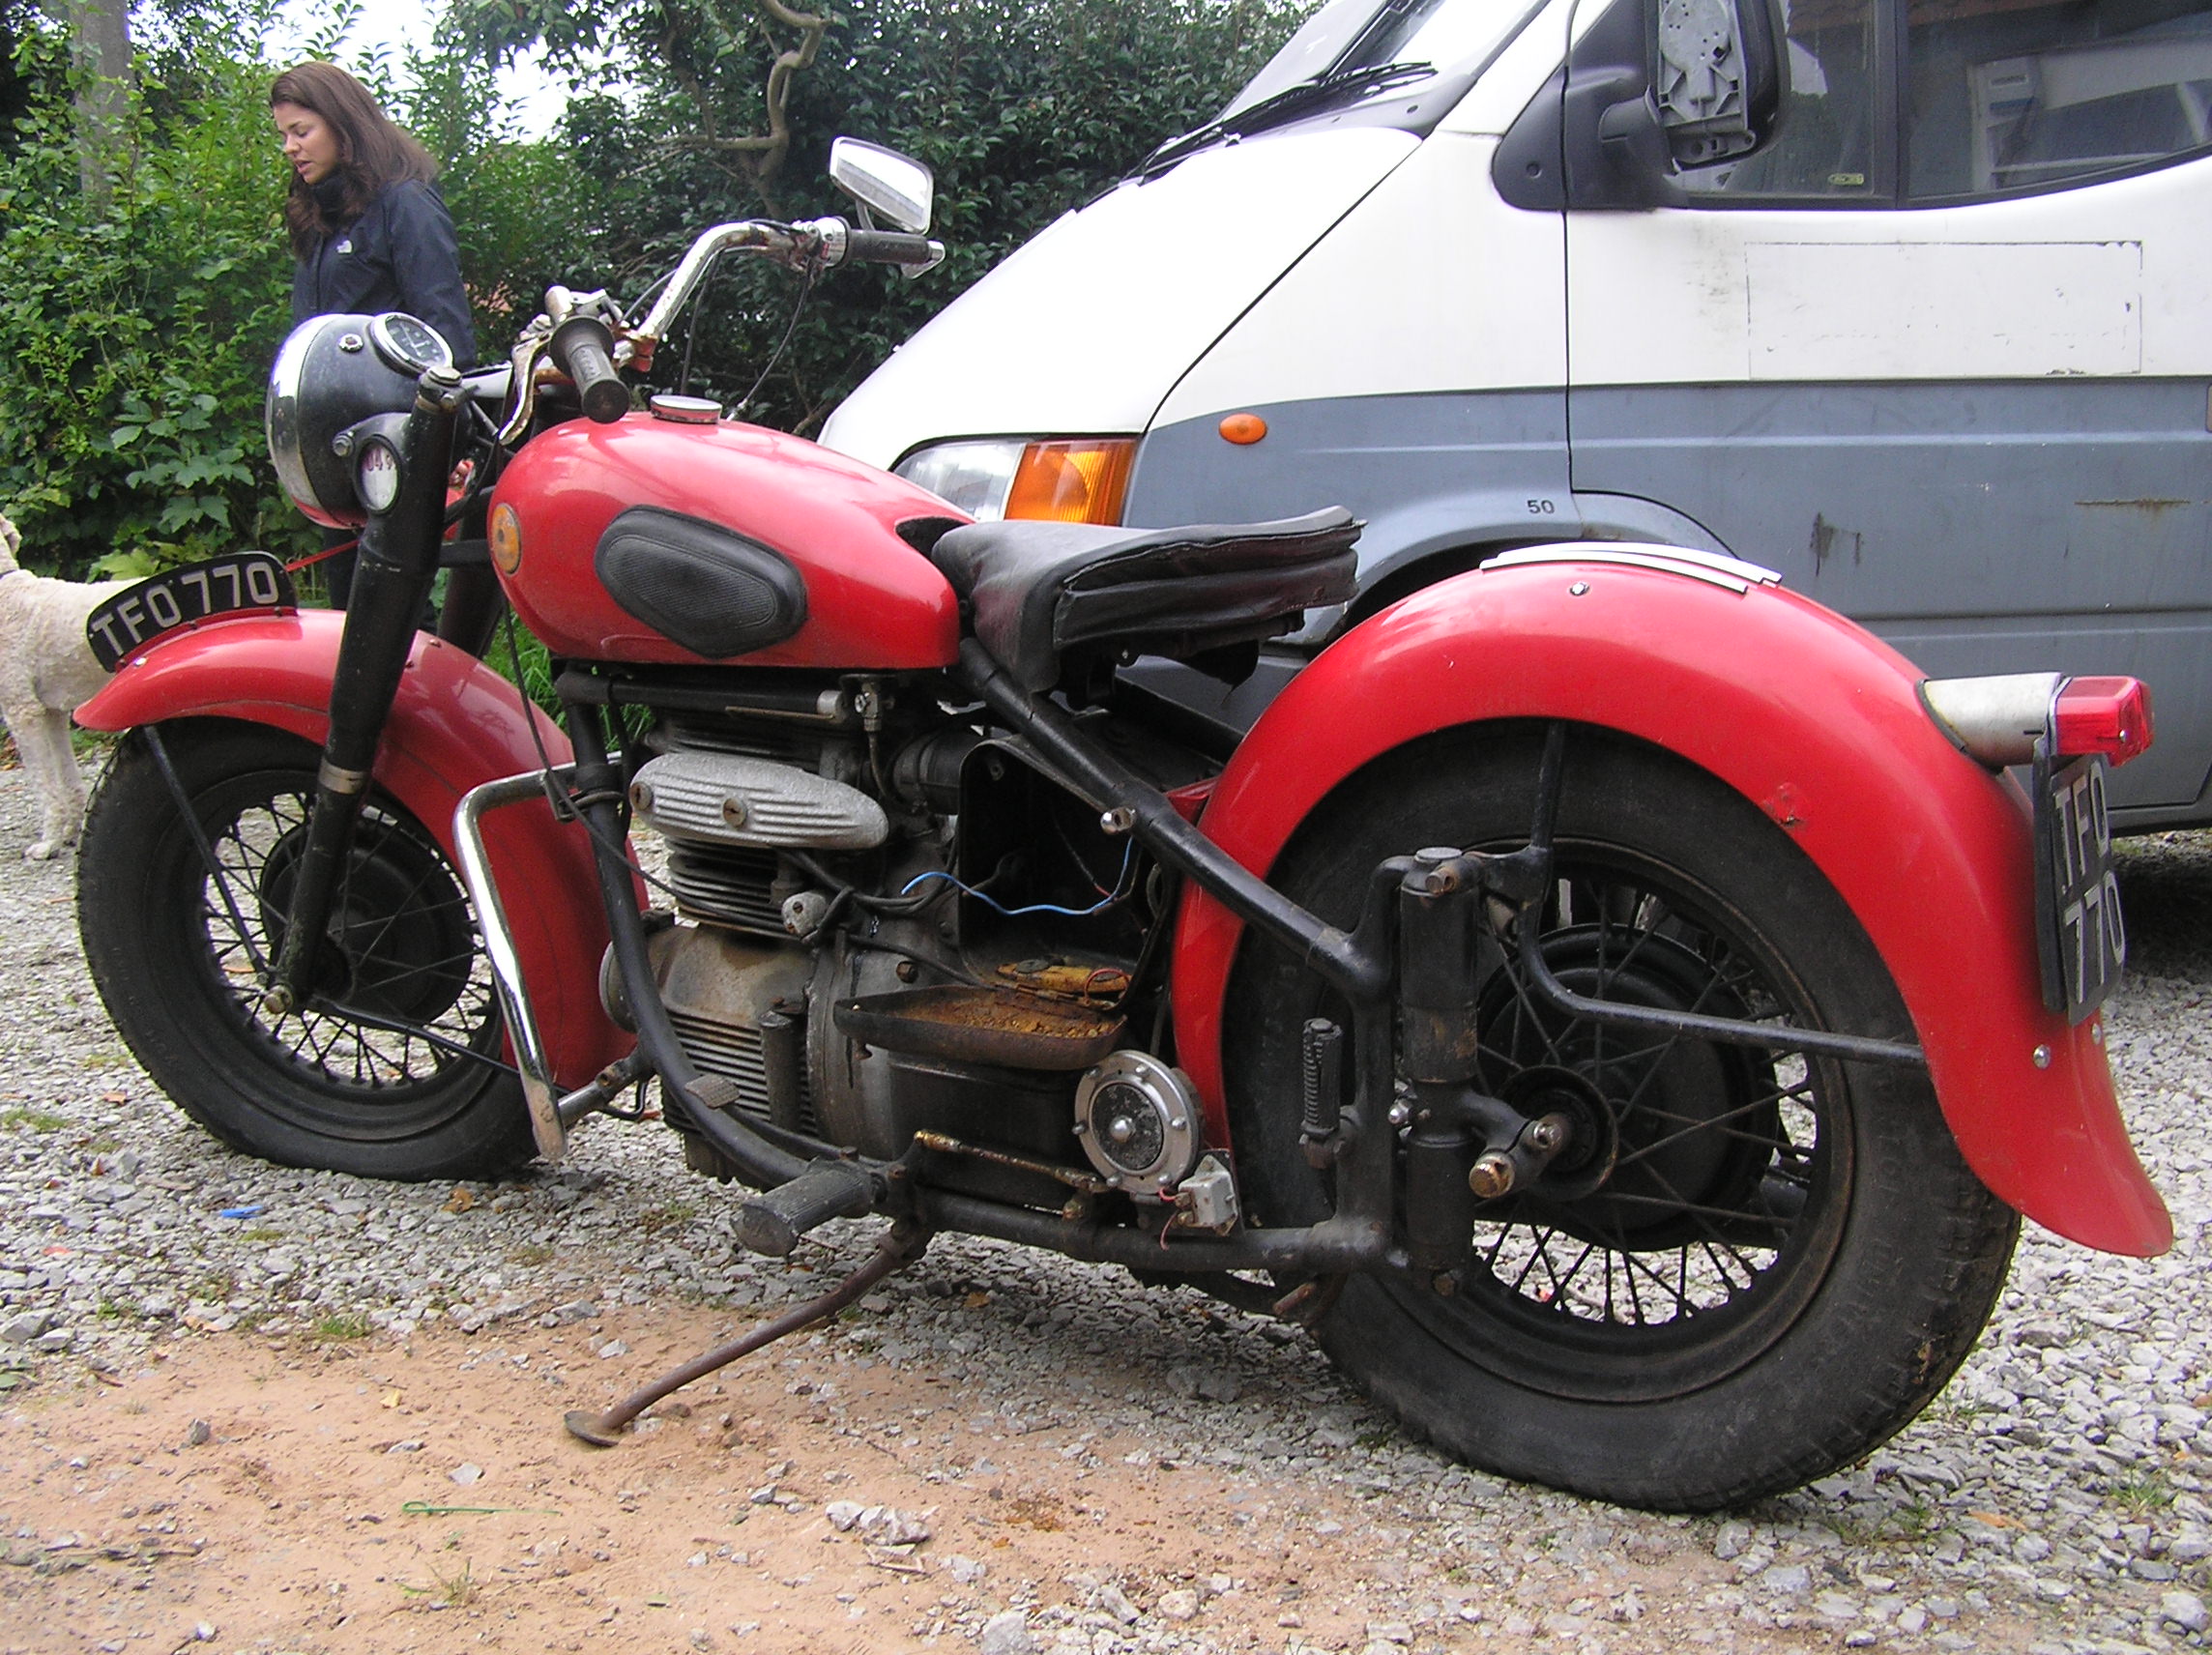
This is the first picture taken of this bike in the garden of the chap who sold it September 2008.
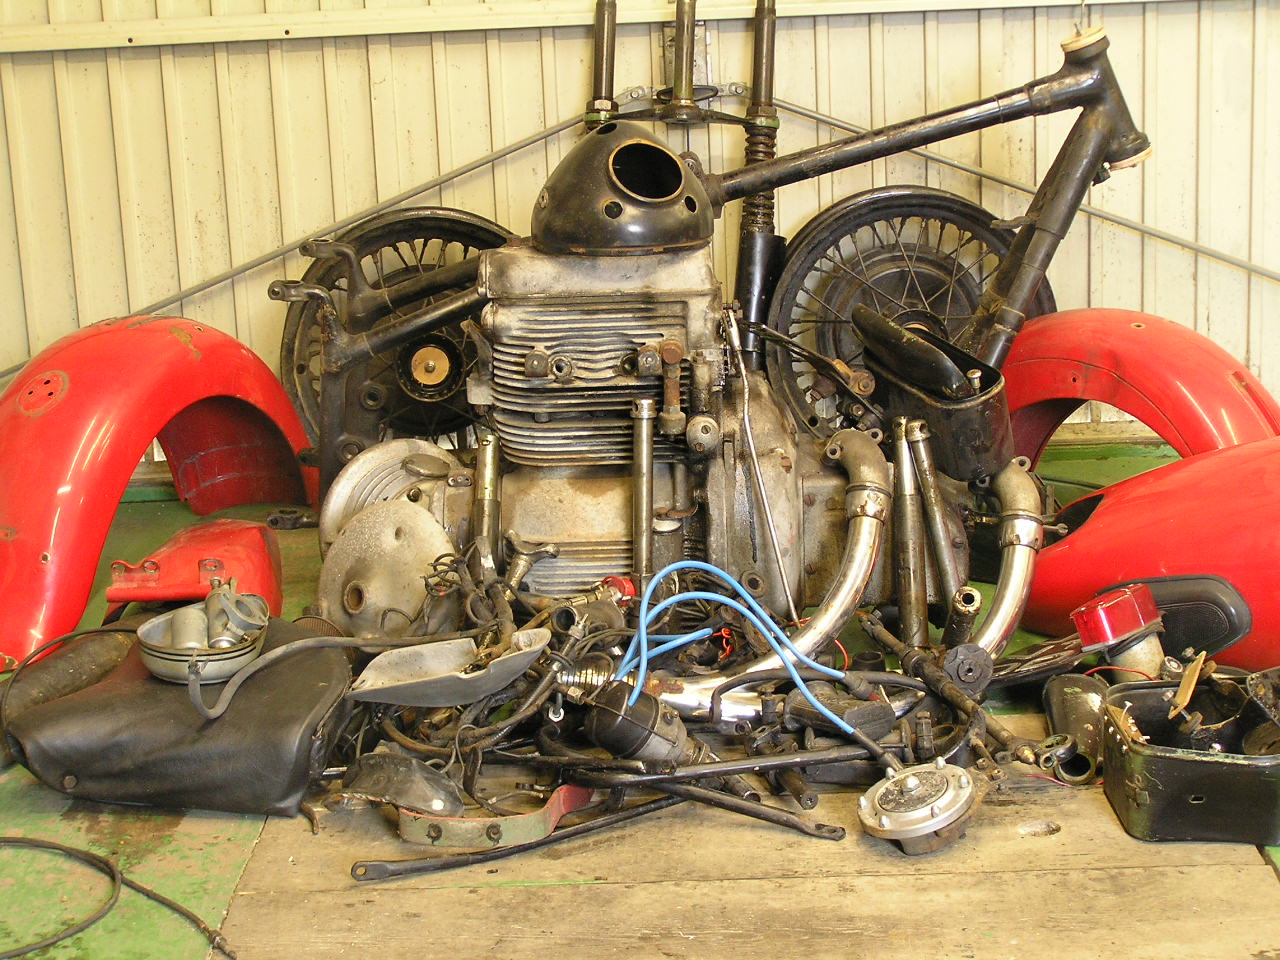
Well, It's nearly the end of March 2010. It is to cold and wet to do much to the winter ravaged garden so I thought now is the time to at last make a start on the restoration of this Sunbeam S7. As you can see from the picture it is now in many pieces, not the easiest bike that I have ever taken to bits despite what the manual says. the next step is to sort out and take most of the tinware to a mate who will grit blast for me

It is now May 16th 2010, my mate has got most of the tinware and wheels to grit blast, some of it is cleaned but a good deal still to do. However he has done the frame and I have prepared and painted it.
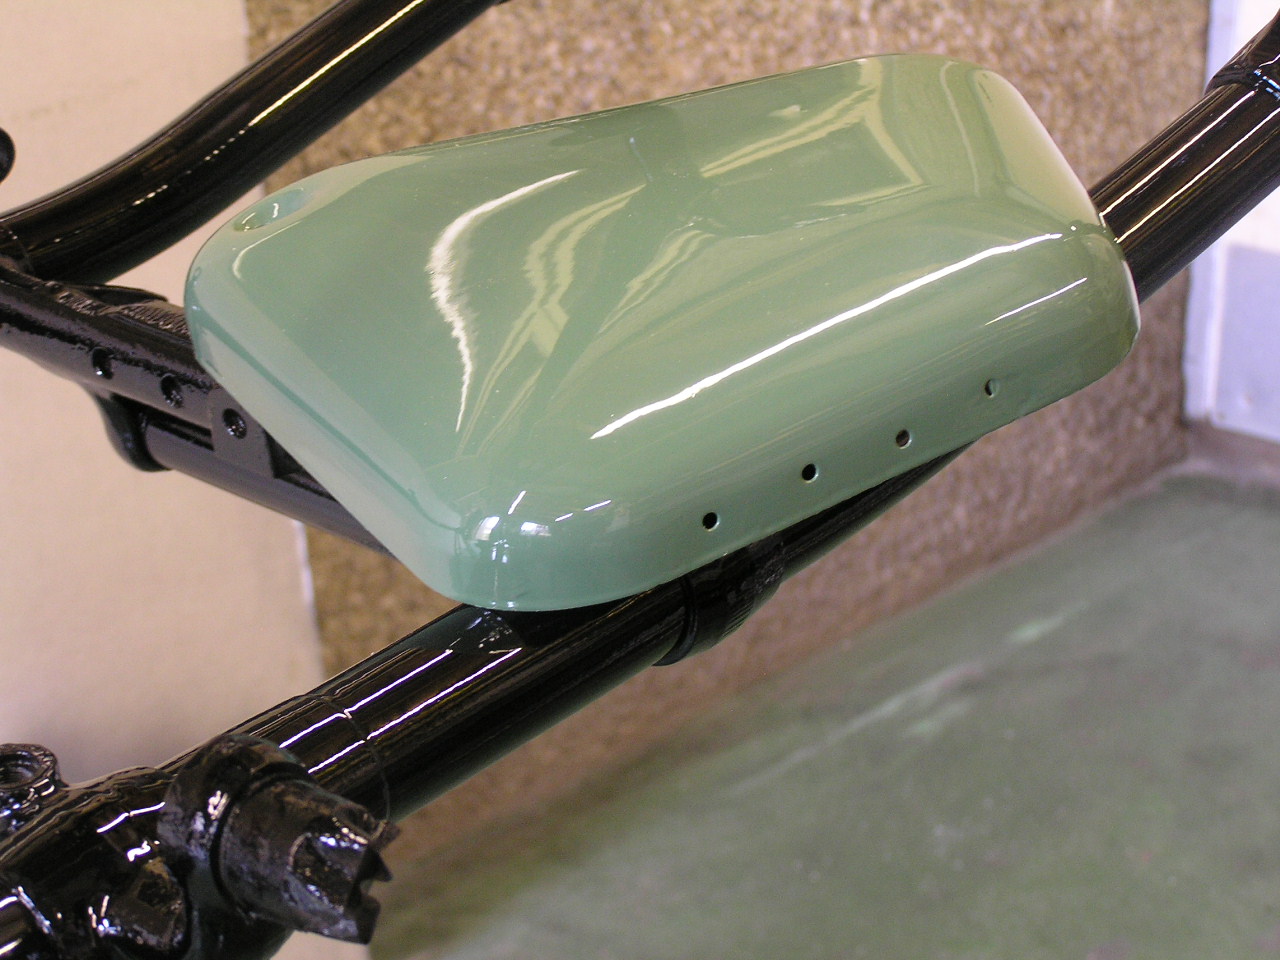
The first part to be painted, I painted a green battery box cover just to see how the colour turned out, really good match to the original colour.
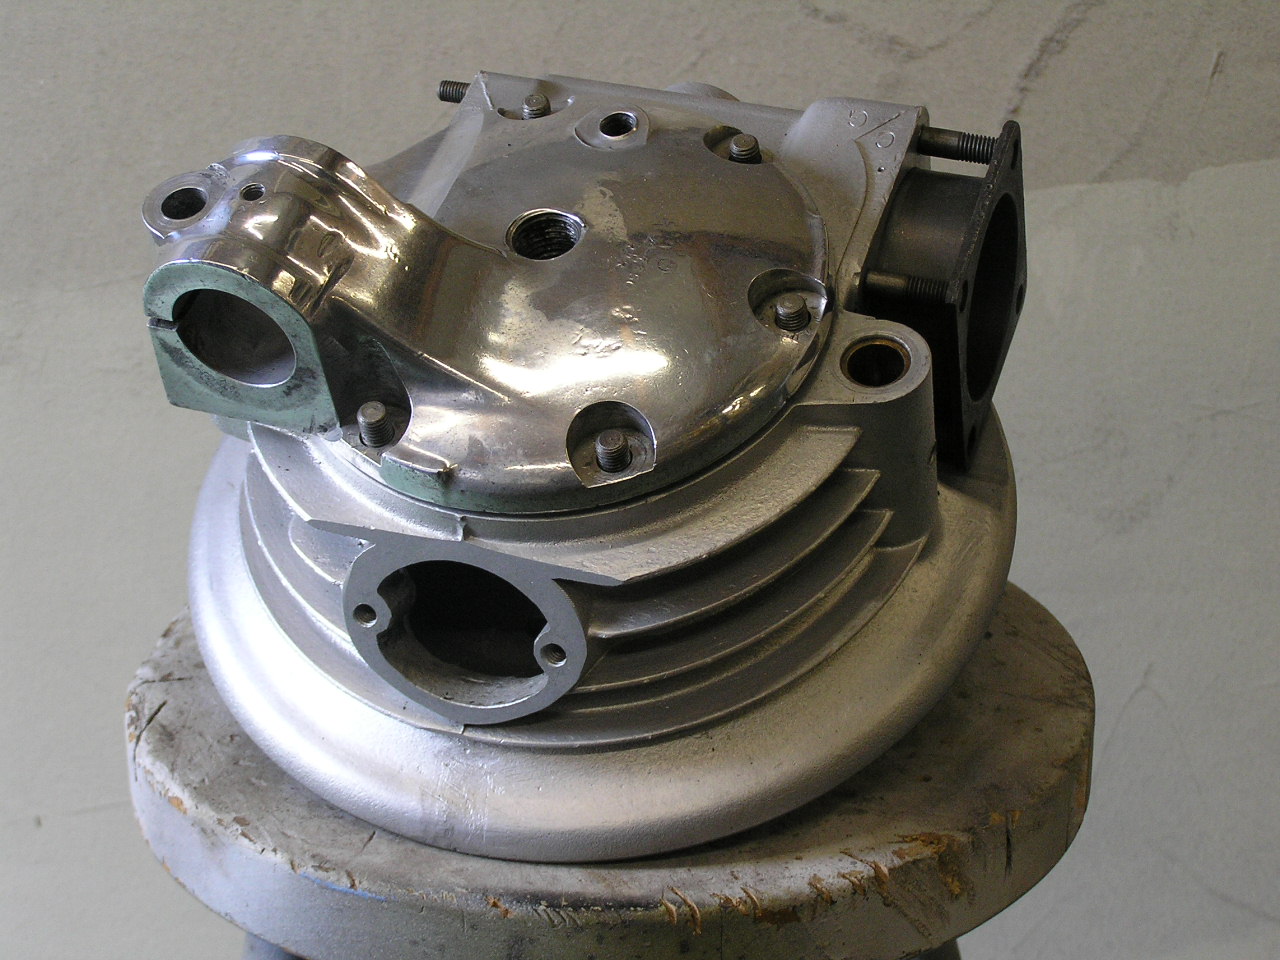
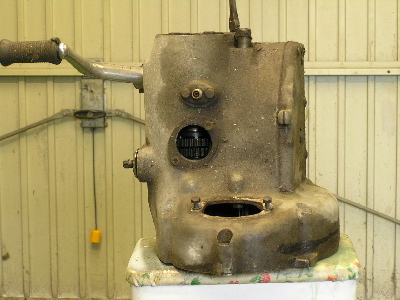
I decided to strip the transmission box apart so as to vapour blast the case and re-assemble, not quite so easy as I thought the worm wheel bearing requires replacement that is on order together with a few other parts and a gasket set.
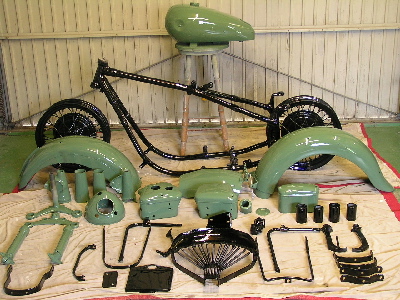
Time I showed progress, it is now the first week in August 2010 most of the parts are now painted in the correct colours.
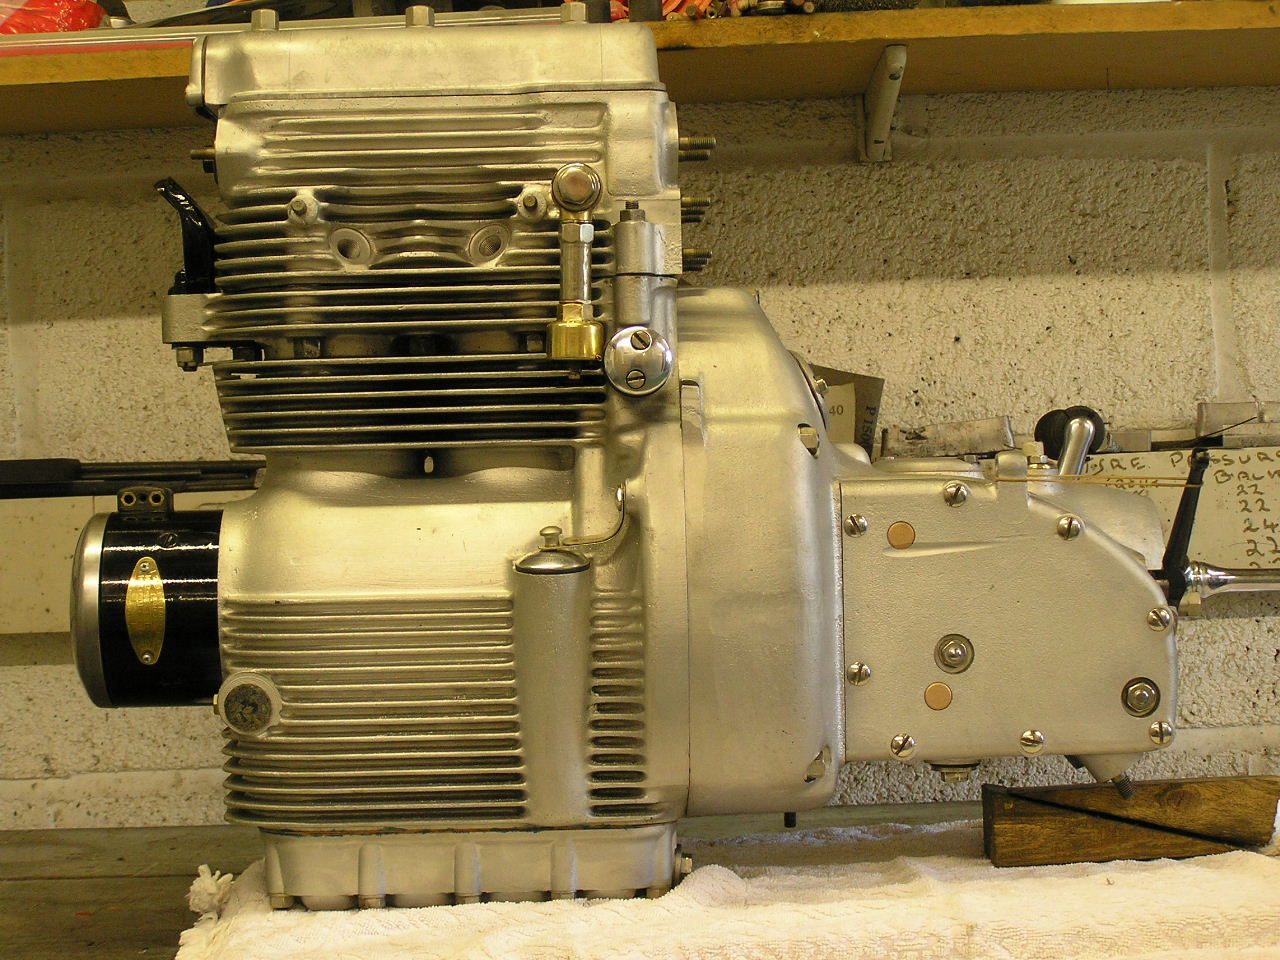
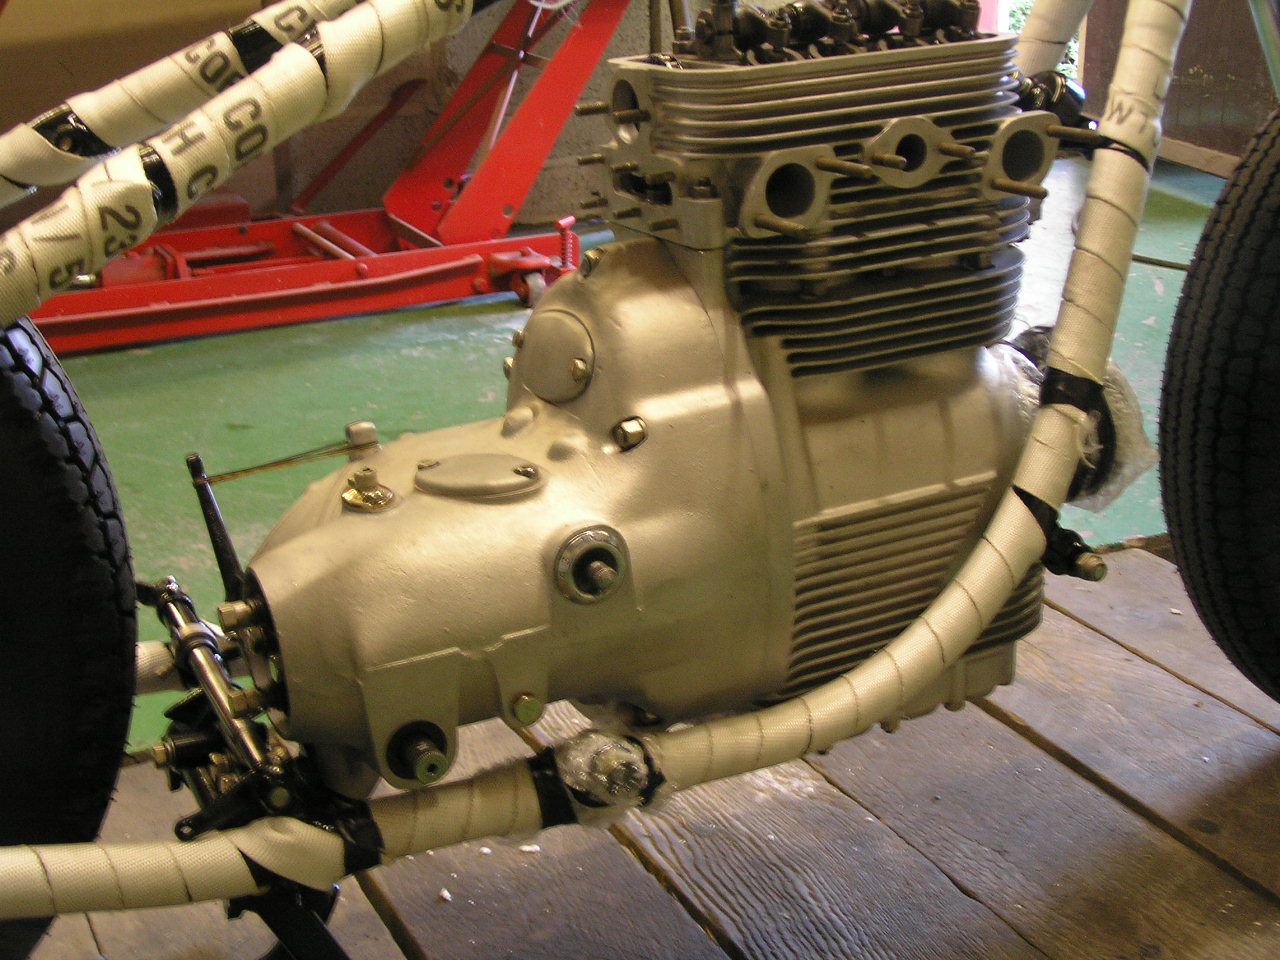
The engine and gearbox have now been overhauled and rebuilt ready to re-introduce to the frame.
The clutch springs and pressure plate were not easy to fit to the flywheel, called for a simple extended sleeve nut in order to compress the springs.
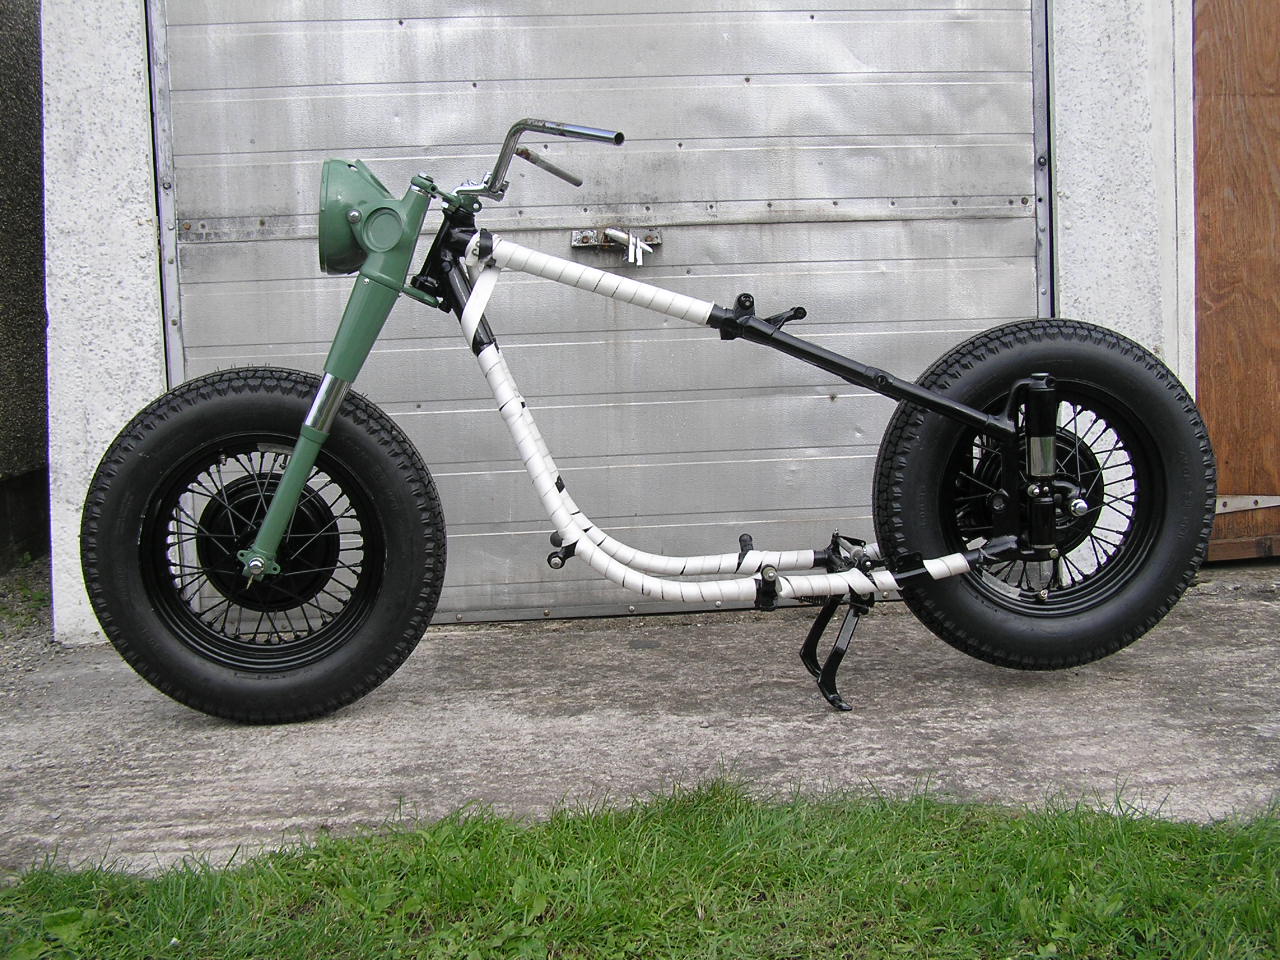
As can be seen from the photographs I have fitted a wheel to both the front and rear so I can put the bike on its own stand and provide stability while fitting what is a really heavy engine and gearbox unit.
The white thick canvas tape is to protect the frame during engine installation process.
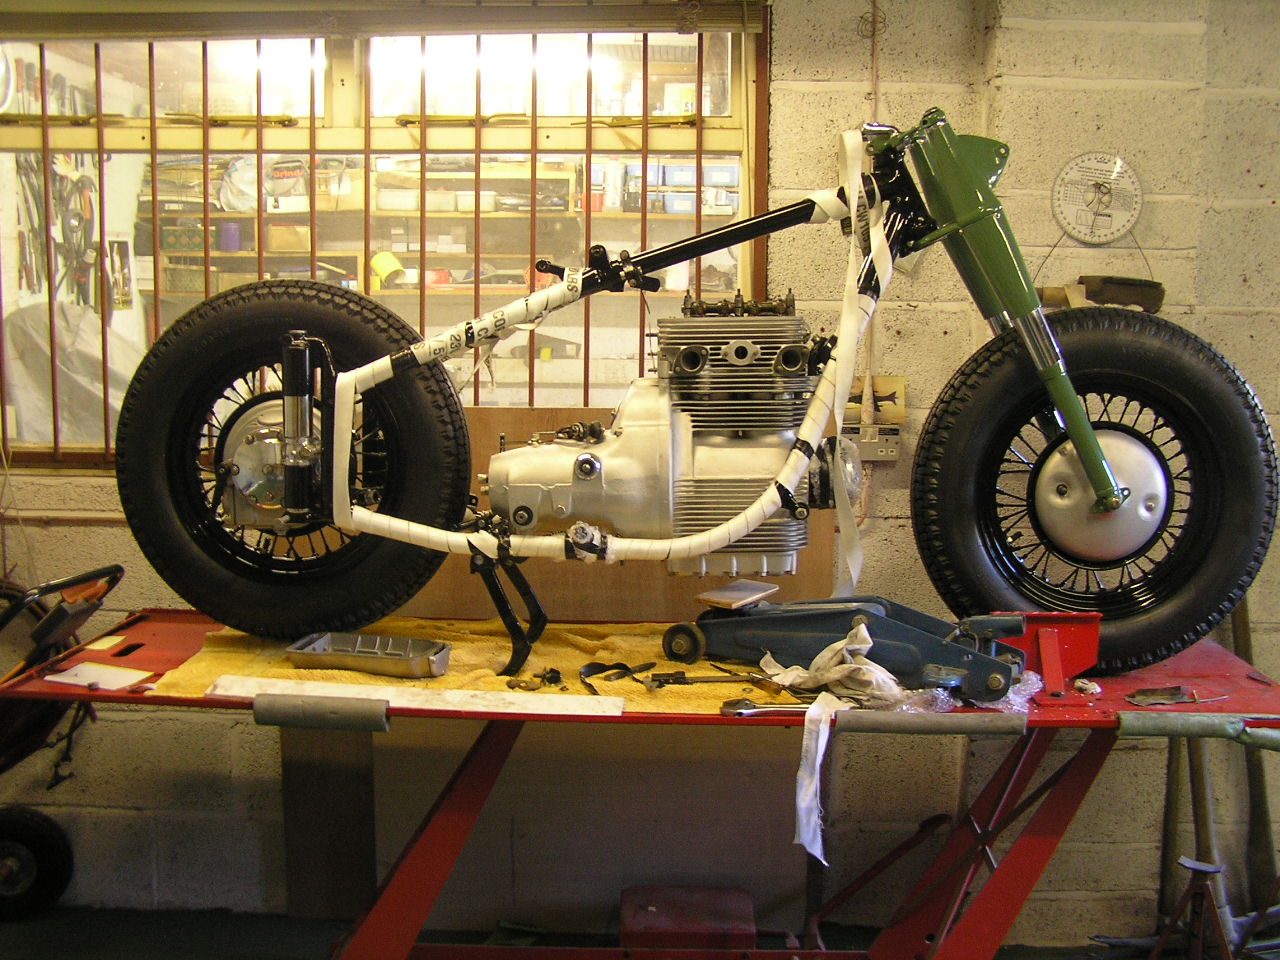
Having built the engine and built the frame it is now time to put these two items together, not easy when the weight of the engine and gearbox together is considered.
Some careful thought and a hand from a couple of mates saw the engine into the frame with no mishaps.
With the engine, gearbox and most of the tinware in place I could get on with the wiring ensuring that each section works as I connect and test. When complete, let's hope we have a spark in the appropriate place!!

Nearly there now, just waiting for a new pattern exhaust system and silencer, once that is fitted there just remains the tank, footrests, rubbers, petrol pipe system kickstart and gear levers a complete check over of all nuts and bolts etc and then !!!!
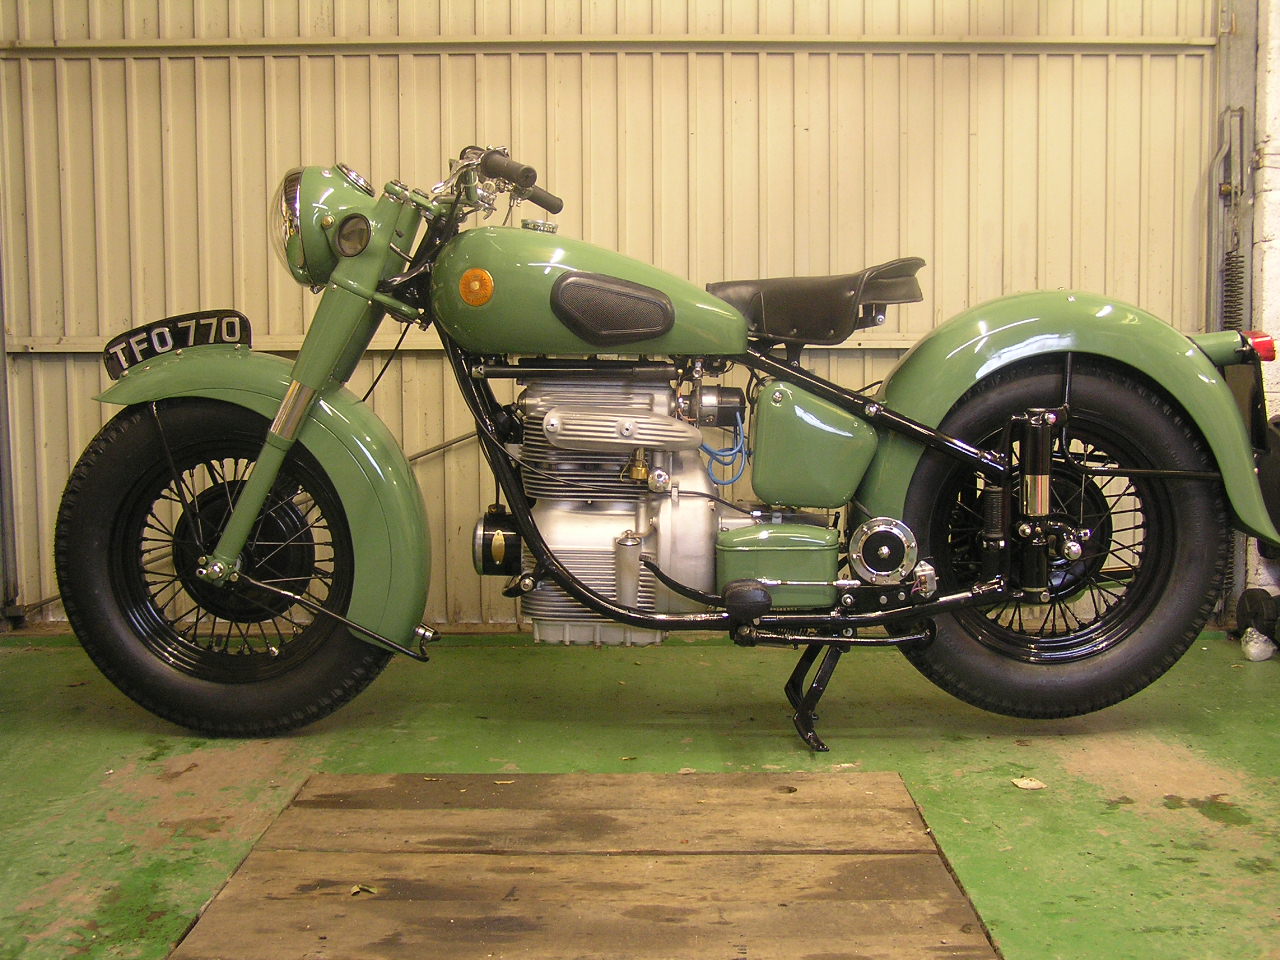
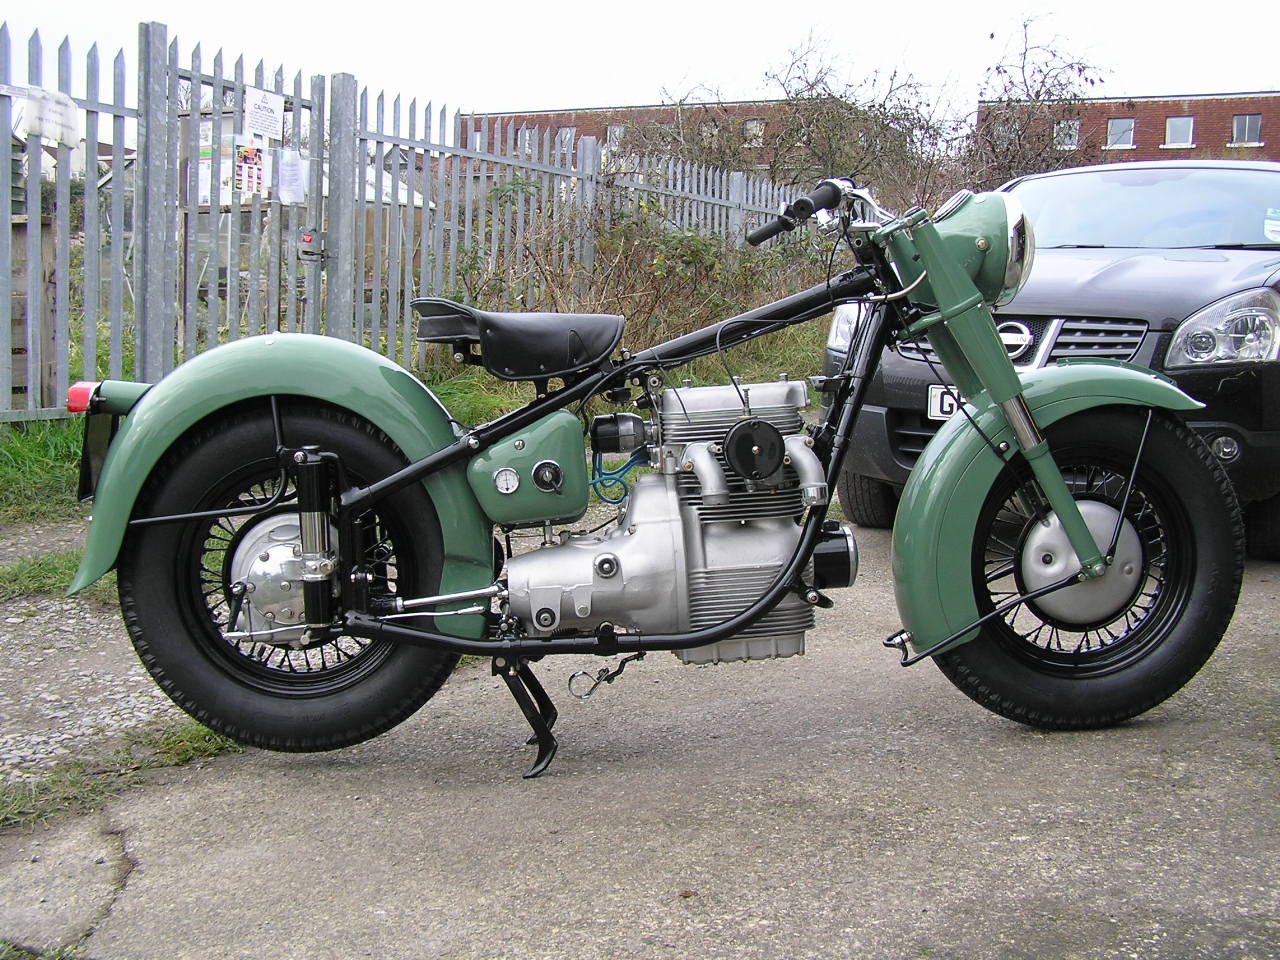
And here we have it, the finished article 22nd December 2010, a pretty good Christmas present to myself.

Started after a few prods of the kickstart, just a couple of minor problems to be ironed out, a leak of petrol from the carb and no indication of charge on the ammeter.
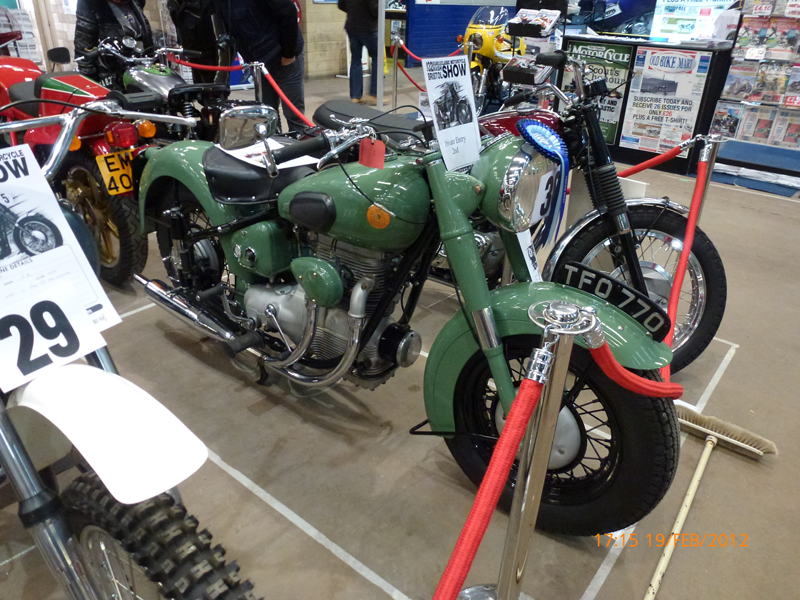
Success at the Bristol Bike Show!