
1958 Ariel Leader Restoration - Part 1
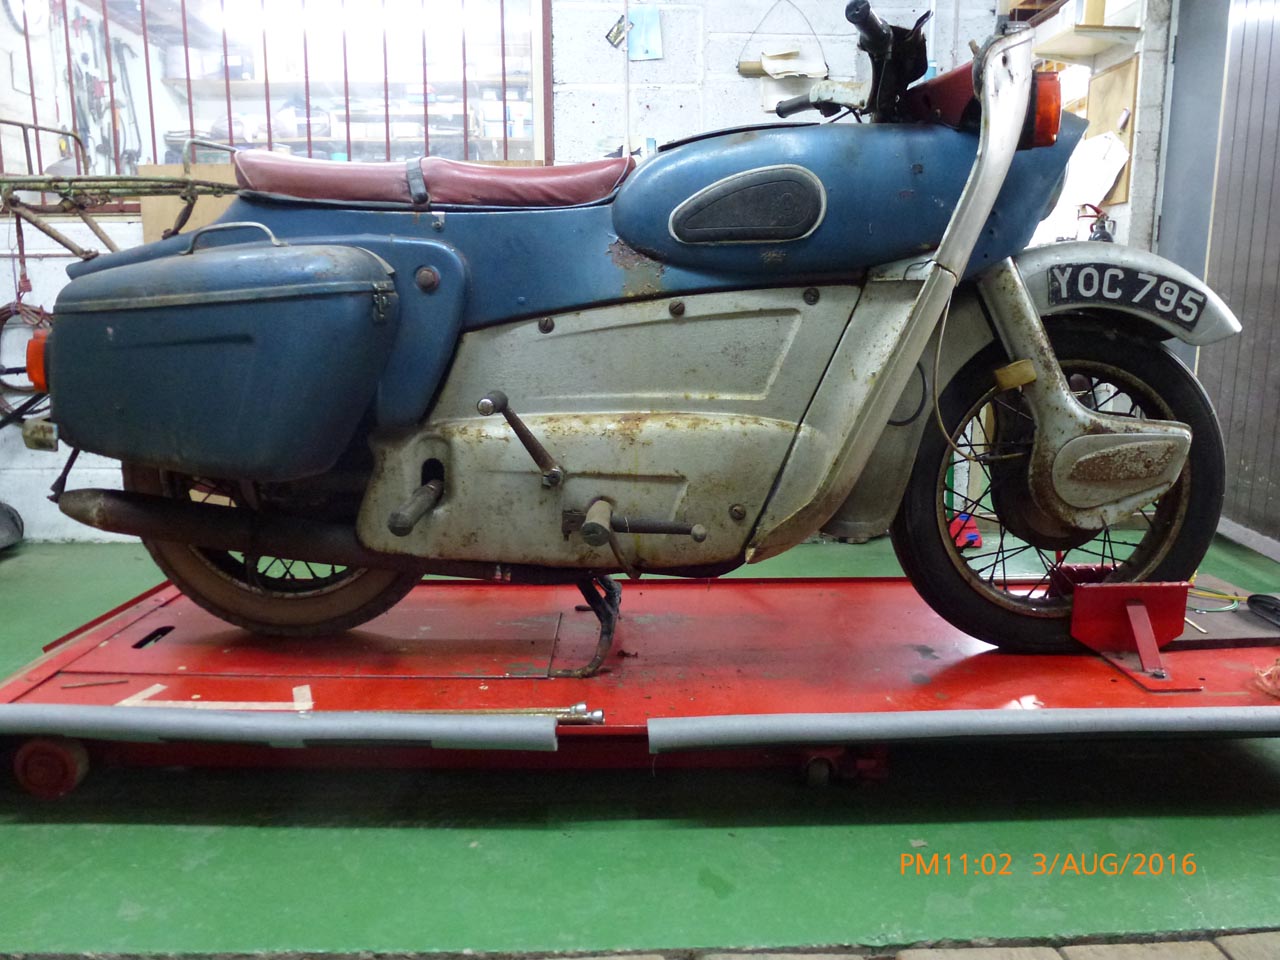
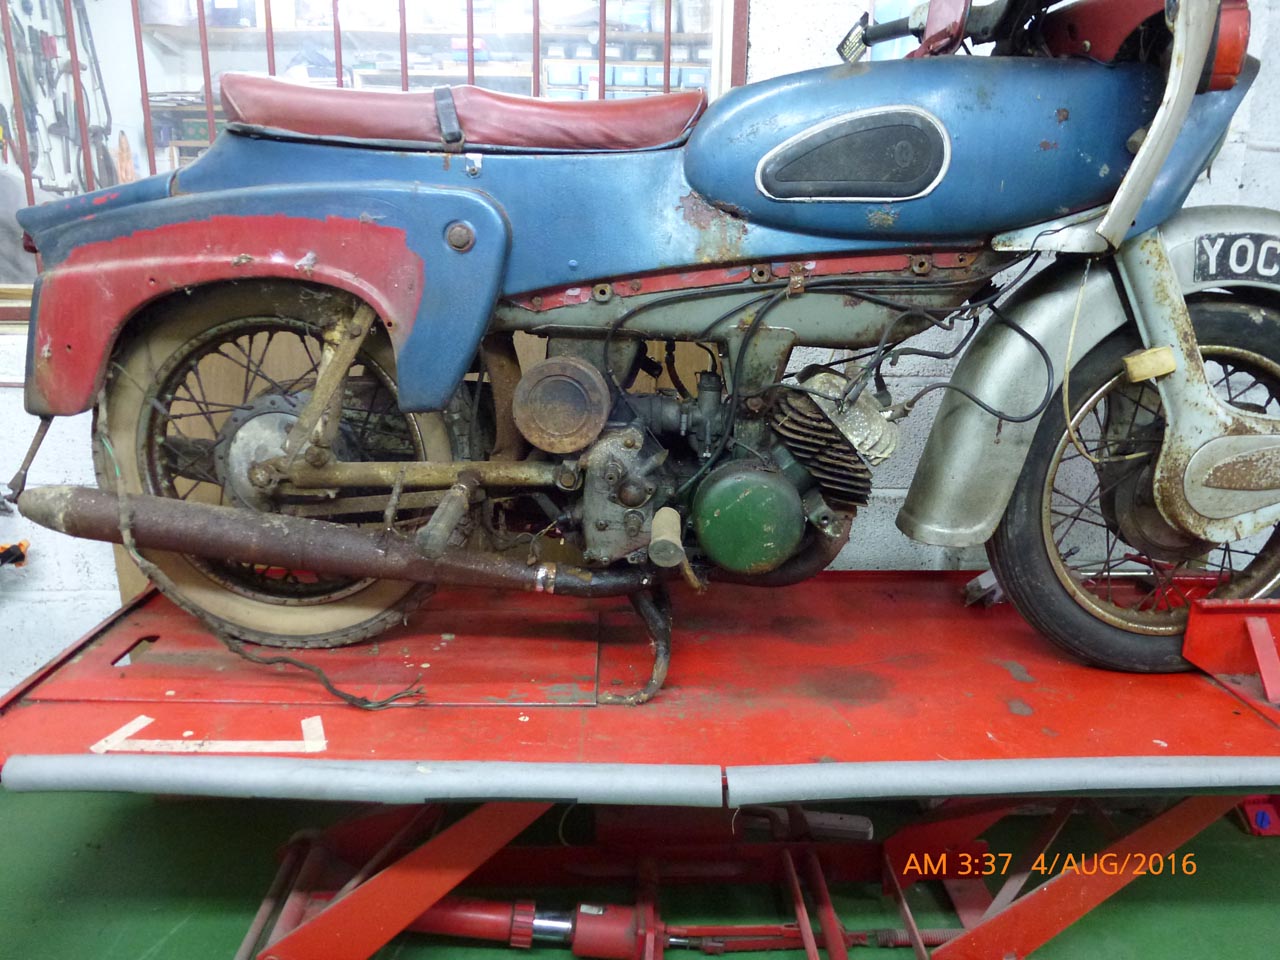
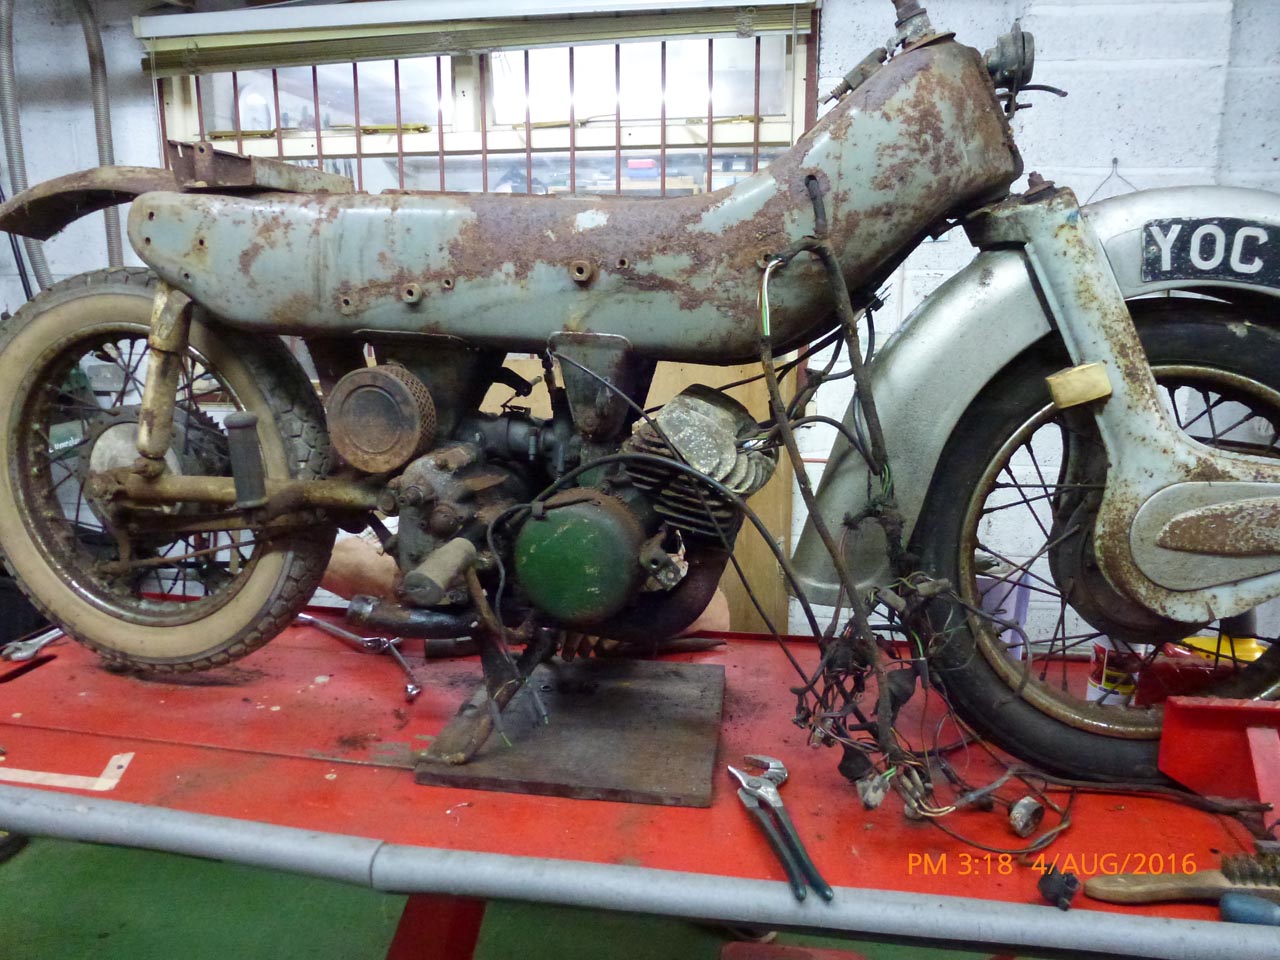
The first picture shows the motorbike as first aquired, you will notice that it does appear to be complete although in a questionable state of repair. At this stage, take lots of pictures, you won't see it this complete for a very long time!
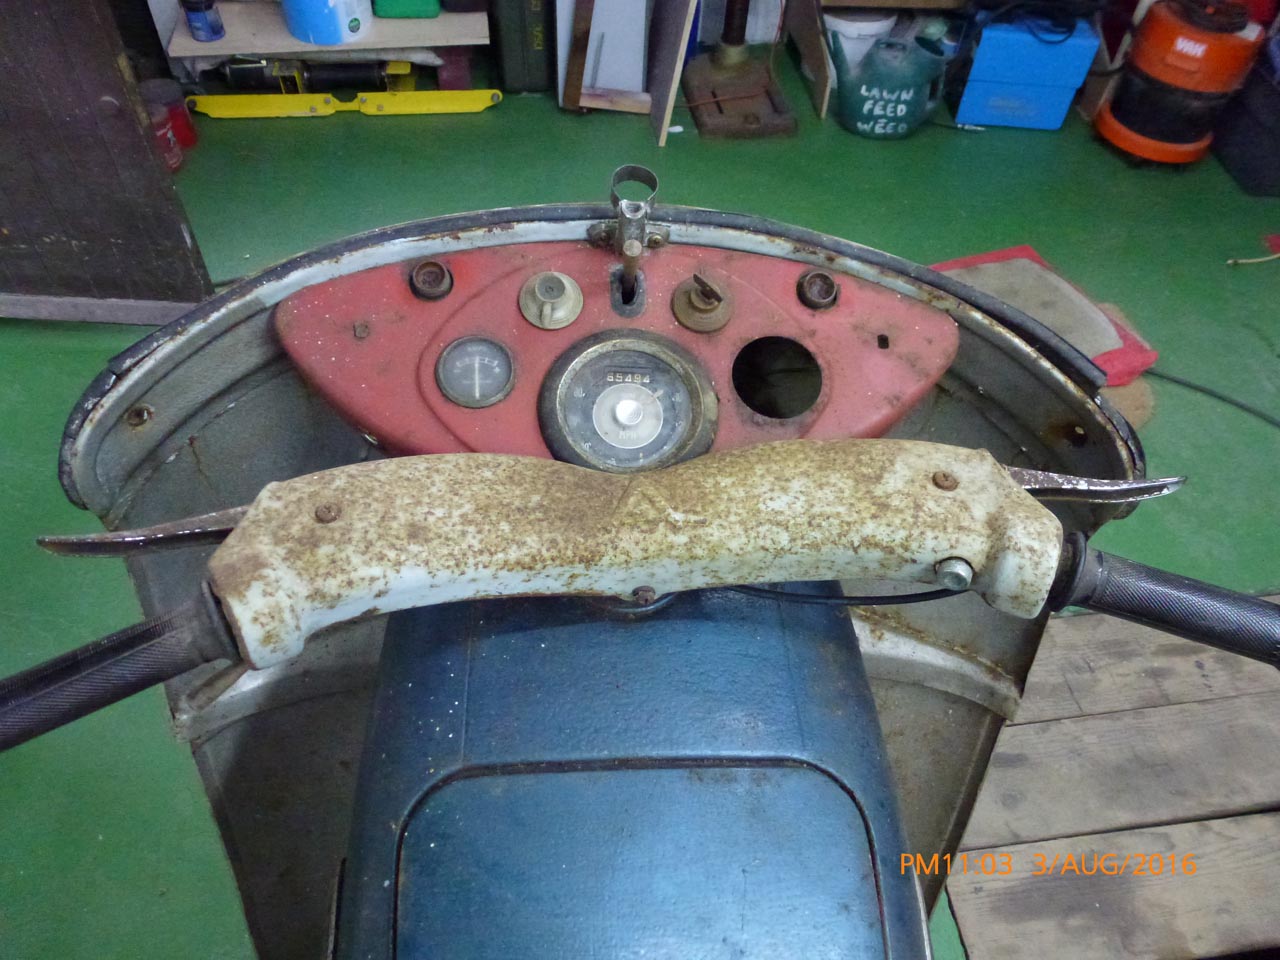
Shows the rather dilapidated state of the dash panel, no clock, broken indicator, tell tales, damaged ammeter etc.
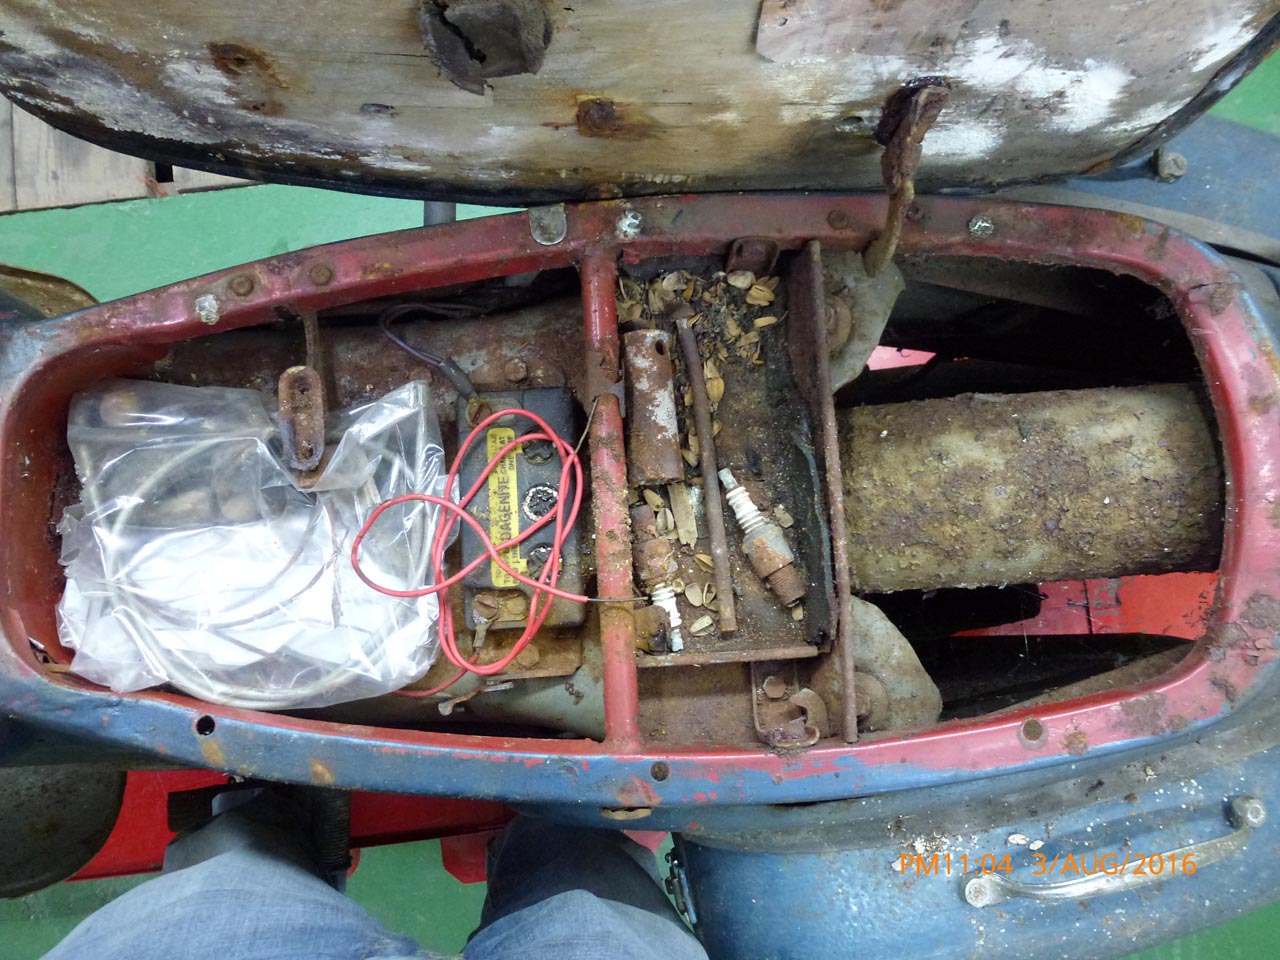
A quick look under the rotten saddle, (it has a wooden base), shows that it still has a corroded battery and some other paraphernalia left there since it was last ridden some forty years ago.
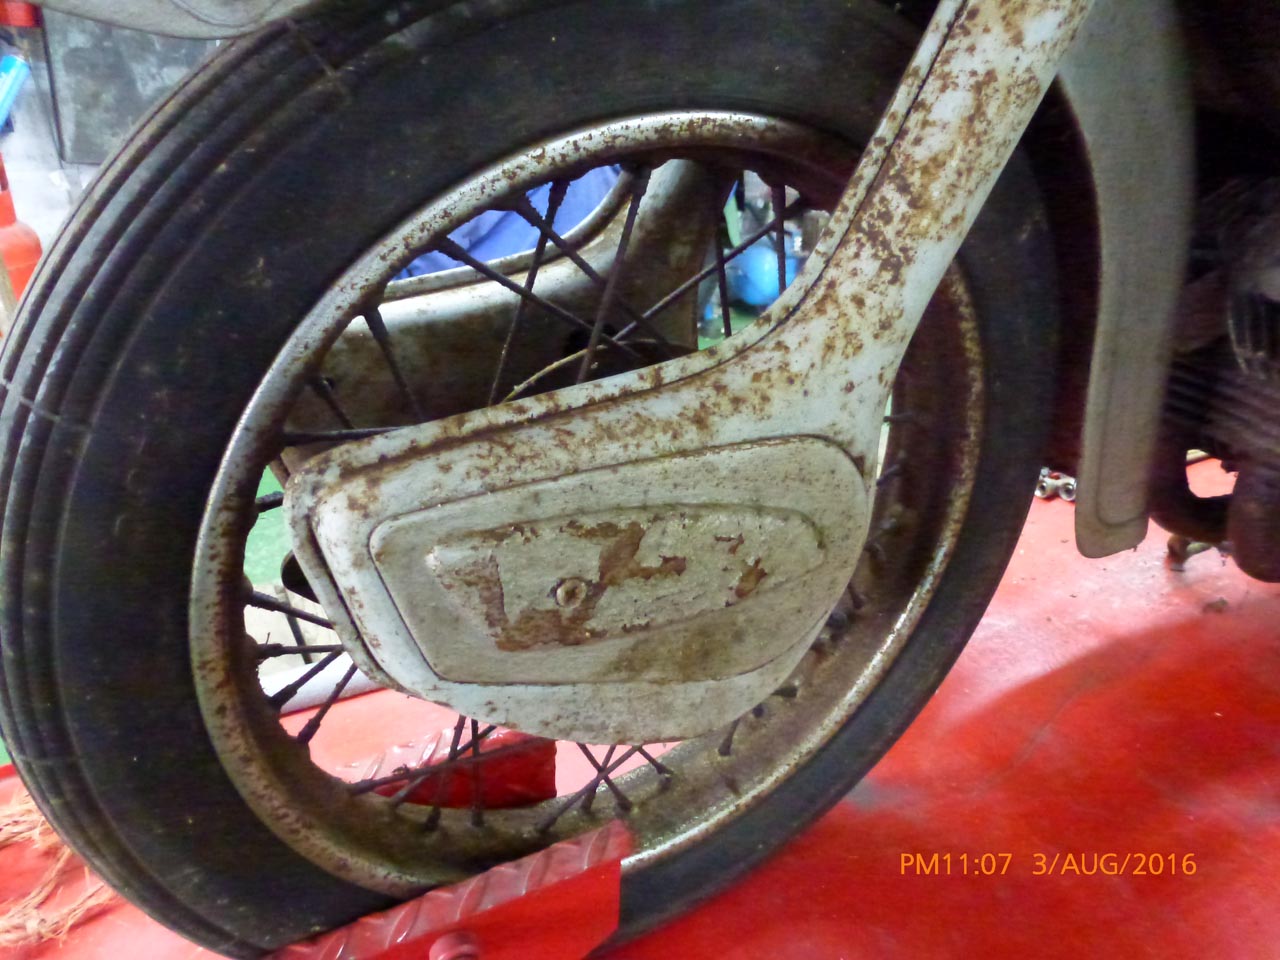
Quick look at the front forks show a good deal of rust damage to the metal surface.
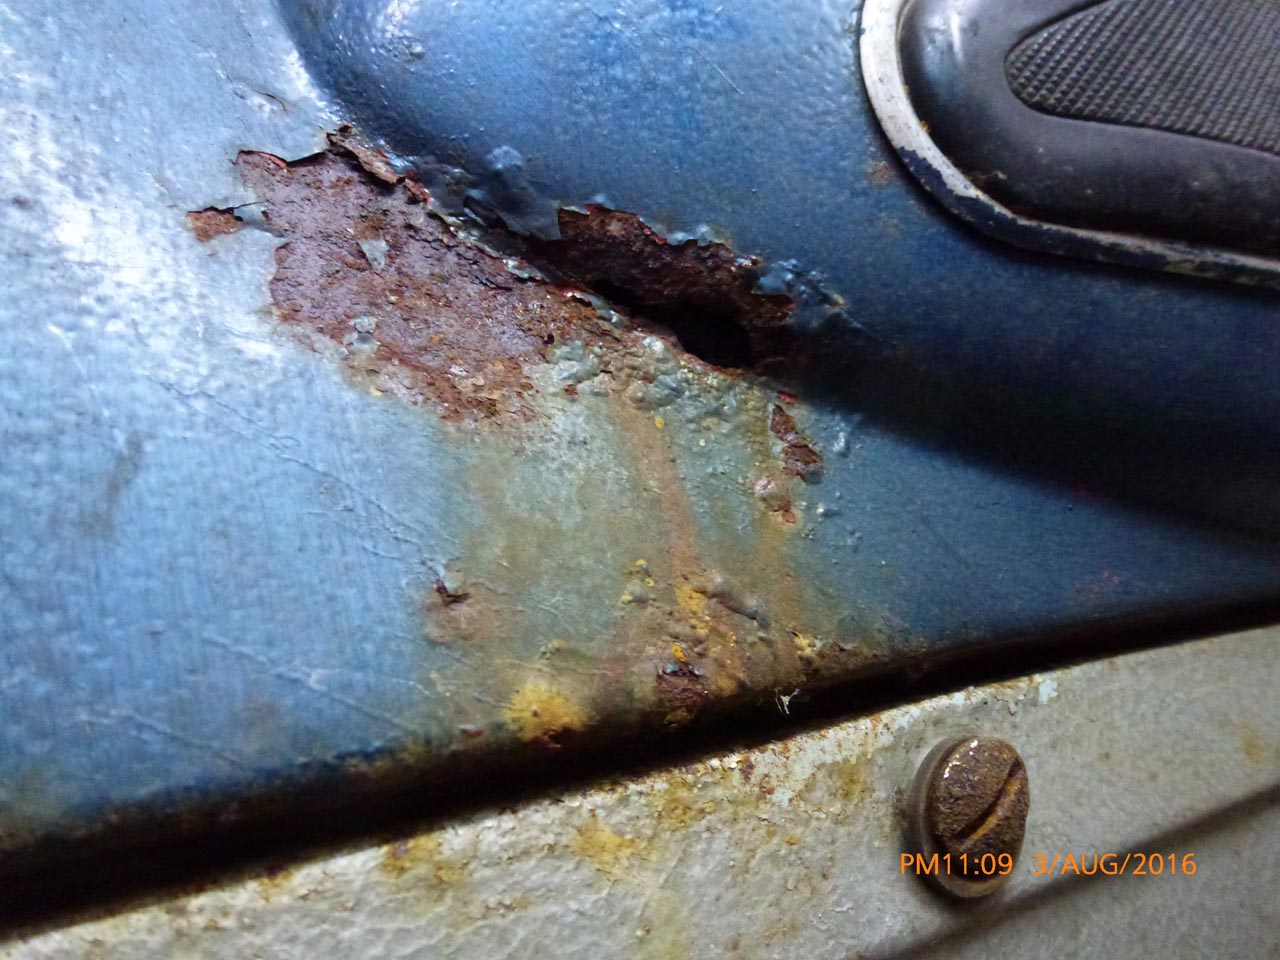
The upper body of the bike shows that in some places the rust is so bad that it has completely perforated the steel and will require welding and filing to get it back to its original profile.
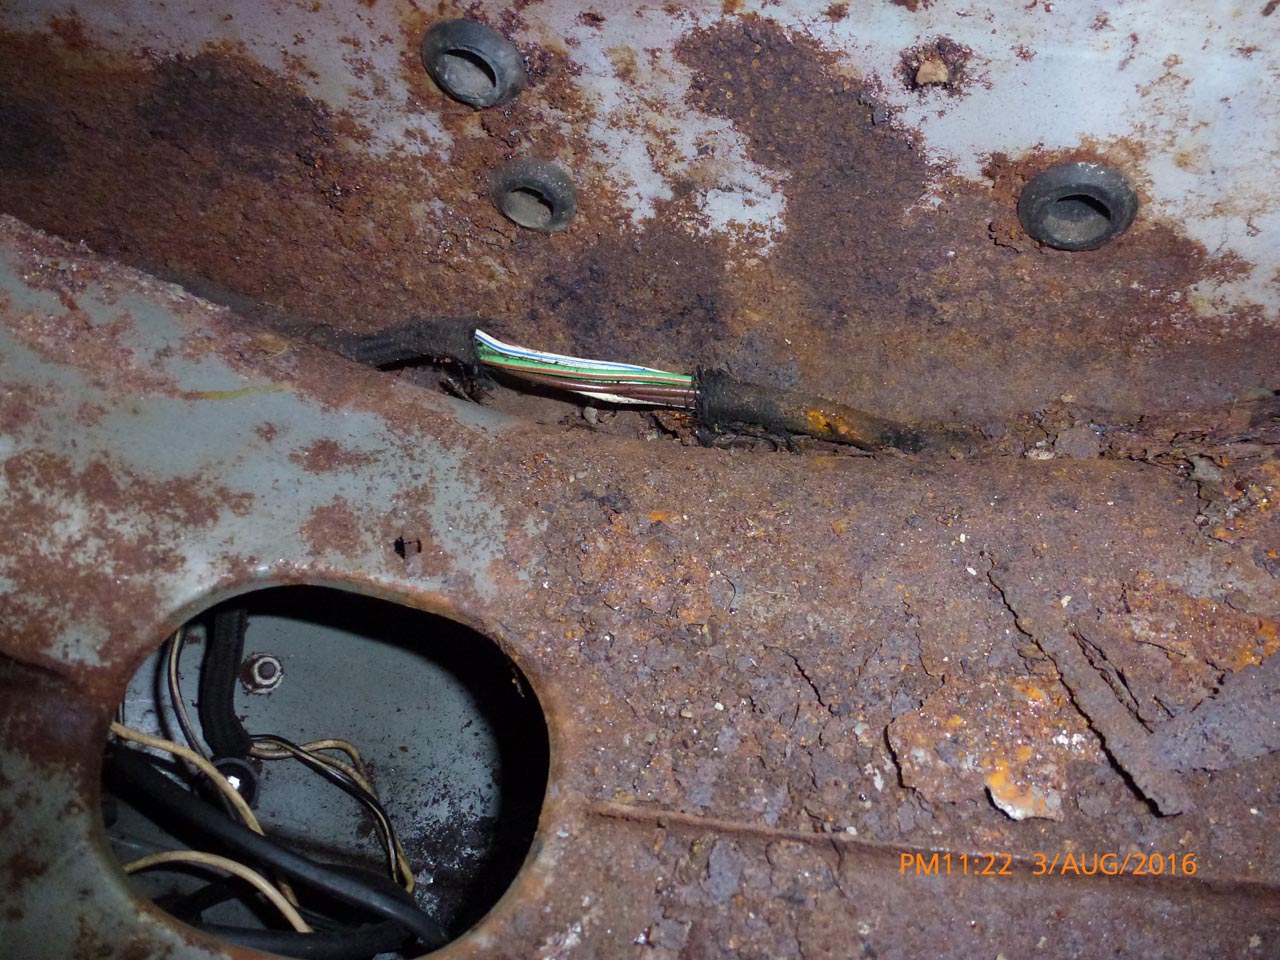
Look at the main body top, with a damaged wiring loom exposed...wow! There's an awful lot of rust damage here, mostly caused by condensation over a forty year period.
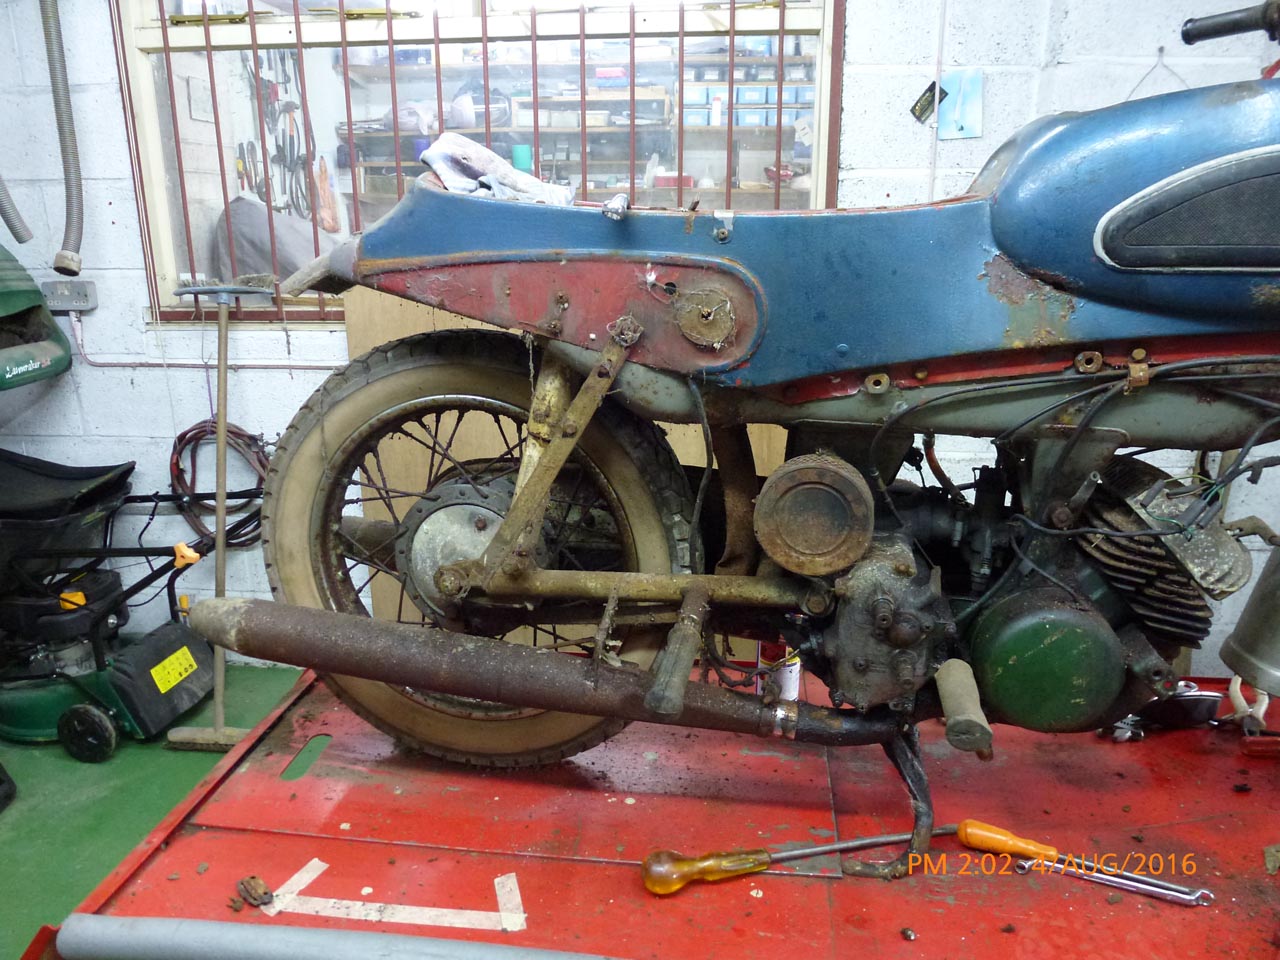
Just beginning to start the dismantling process , the panniers have been removed, clearly showing the state of the rear wheel hubs etc.

Pictured from the front end with headlight nacelle removed. Look at electrics chaos!.
Looking at the general view of the rear section of the bike
Bike now partly dismantled. Top false tank and covers all removed exposing the main structural section of the machine.
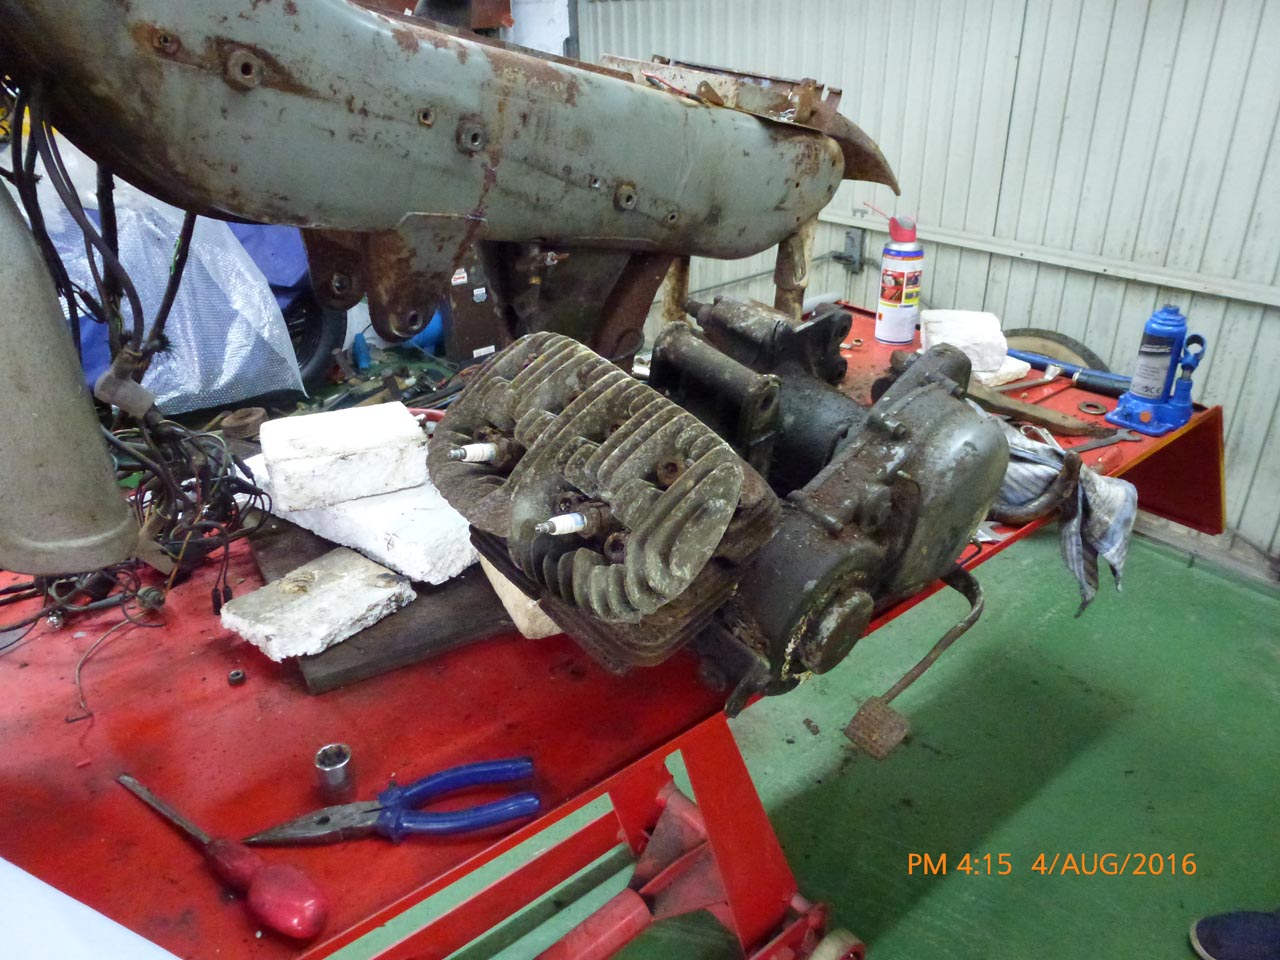
Engine and rear section now removed.
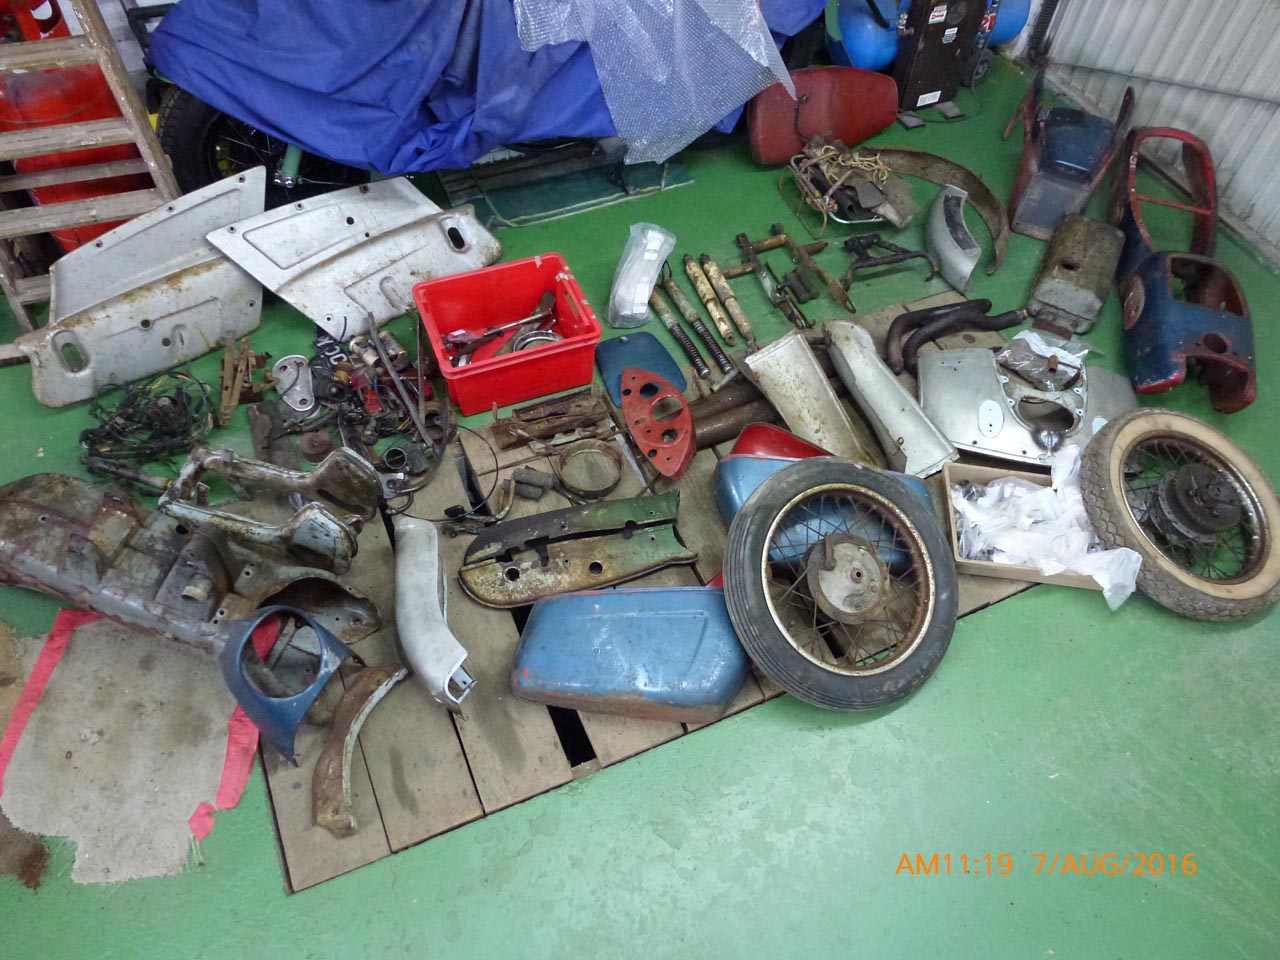
The bike is in bits, time to examine all parts and separate it into various categories, that is parts to chrome, body parts to clean of old paint, mechanical parts to strip clean and repair.
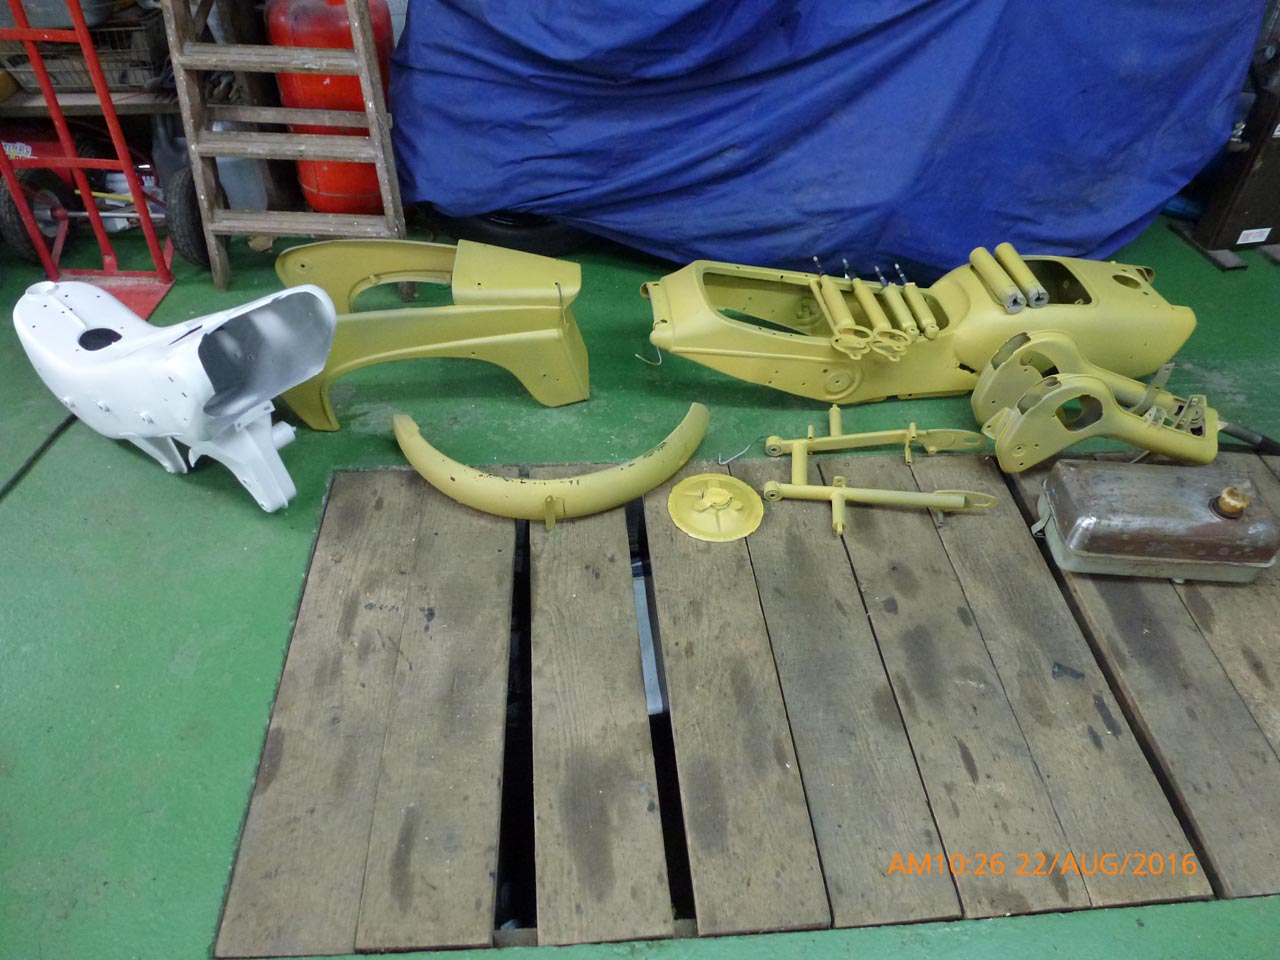
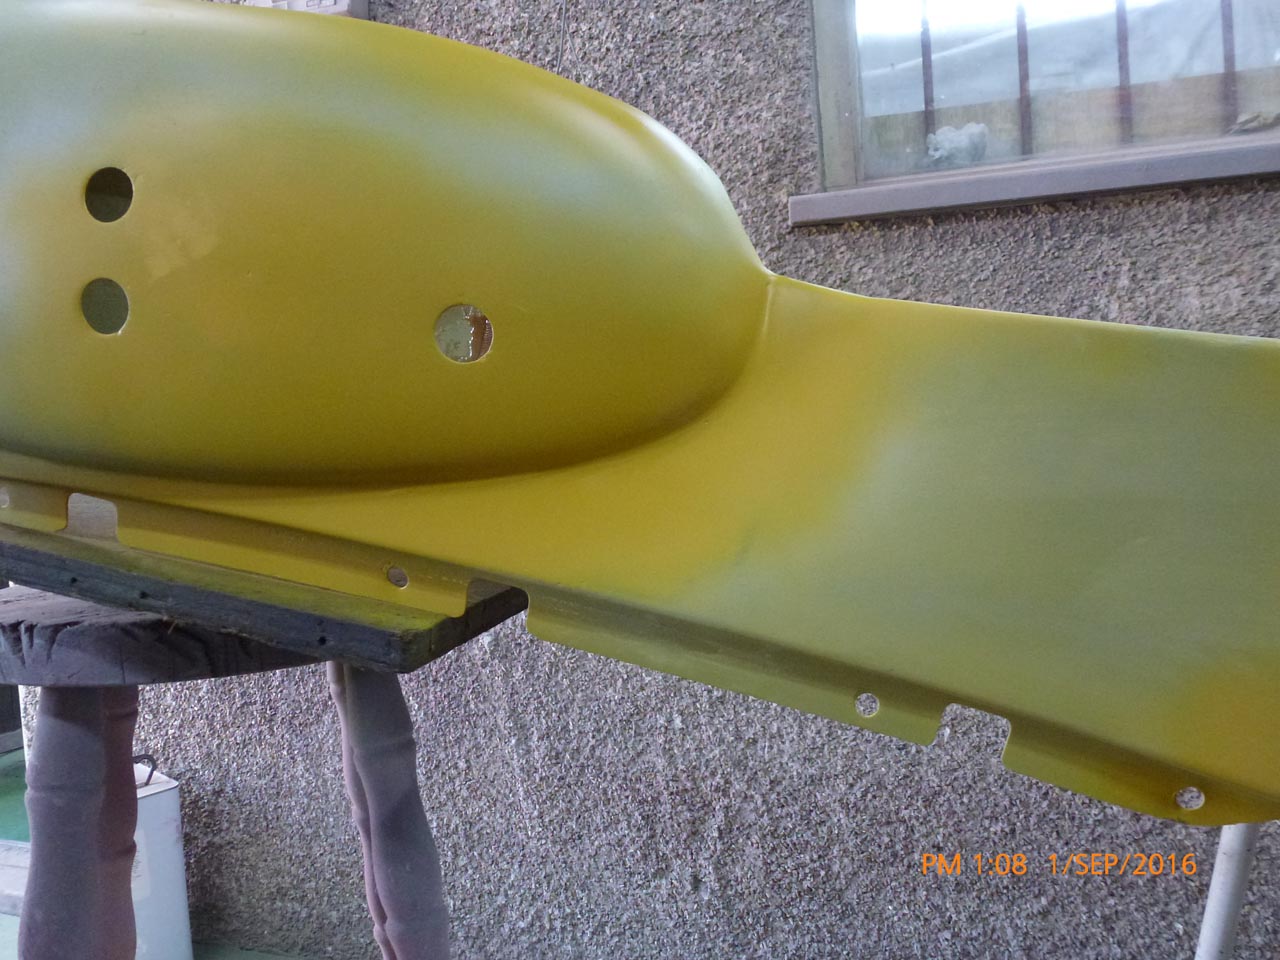
Some time after the last picture most parts have been grit blasted , this exposes all damaged areas that need repair. However, before repair, all exposed metal must be treated with etch primer to prevent further rusting of exposed metal. These are the first pieces to receive such treatment .

Cleaning by means of grit blasting reveals the true state of the various body panels. This particular piece is the rear mudguard after etch primer has been applied.
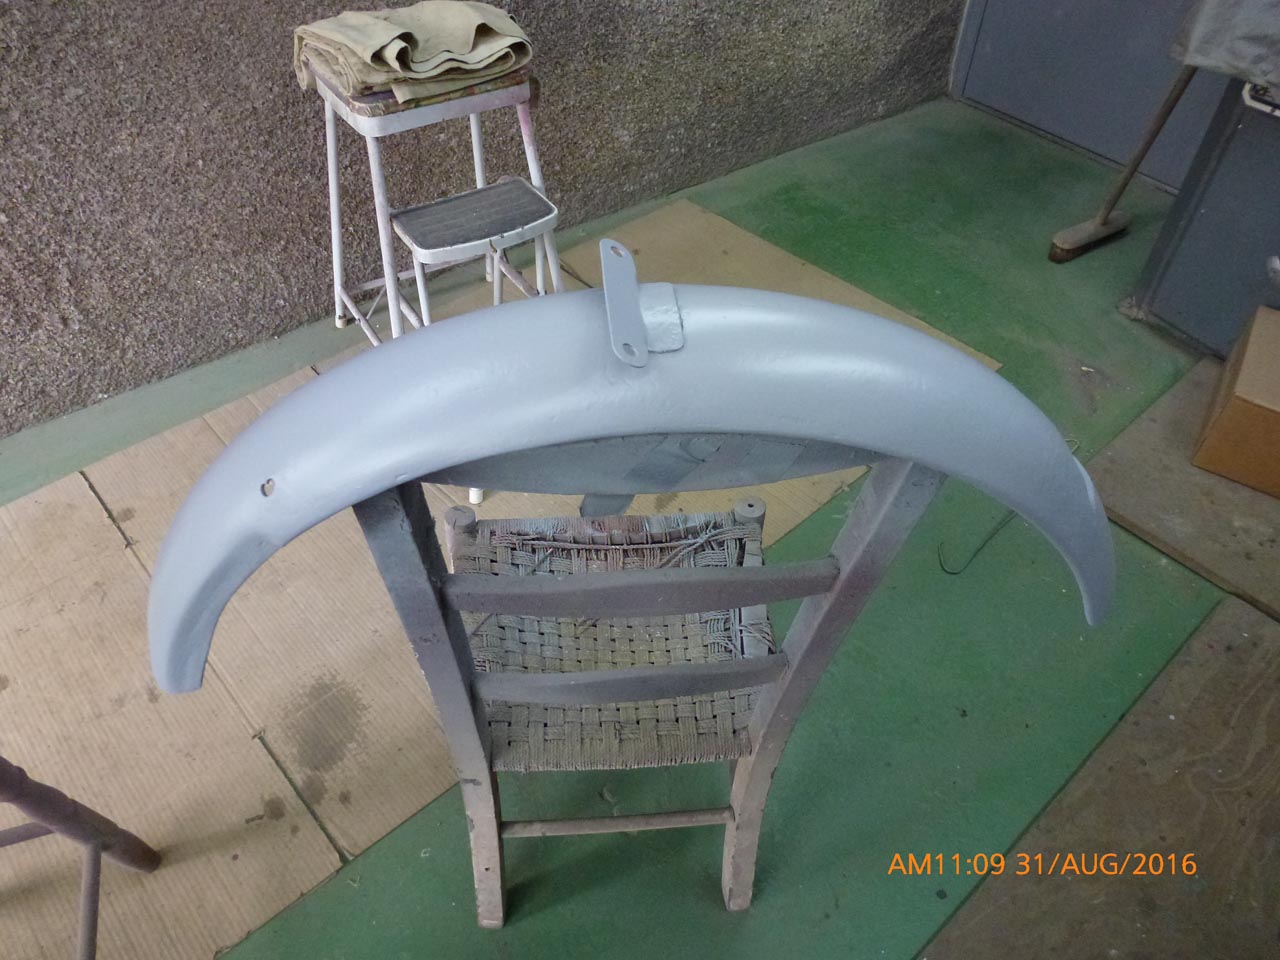
Rear mudguard after repair work and grey primer, even the worst areas can be repaired !
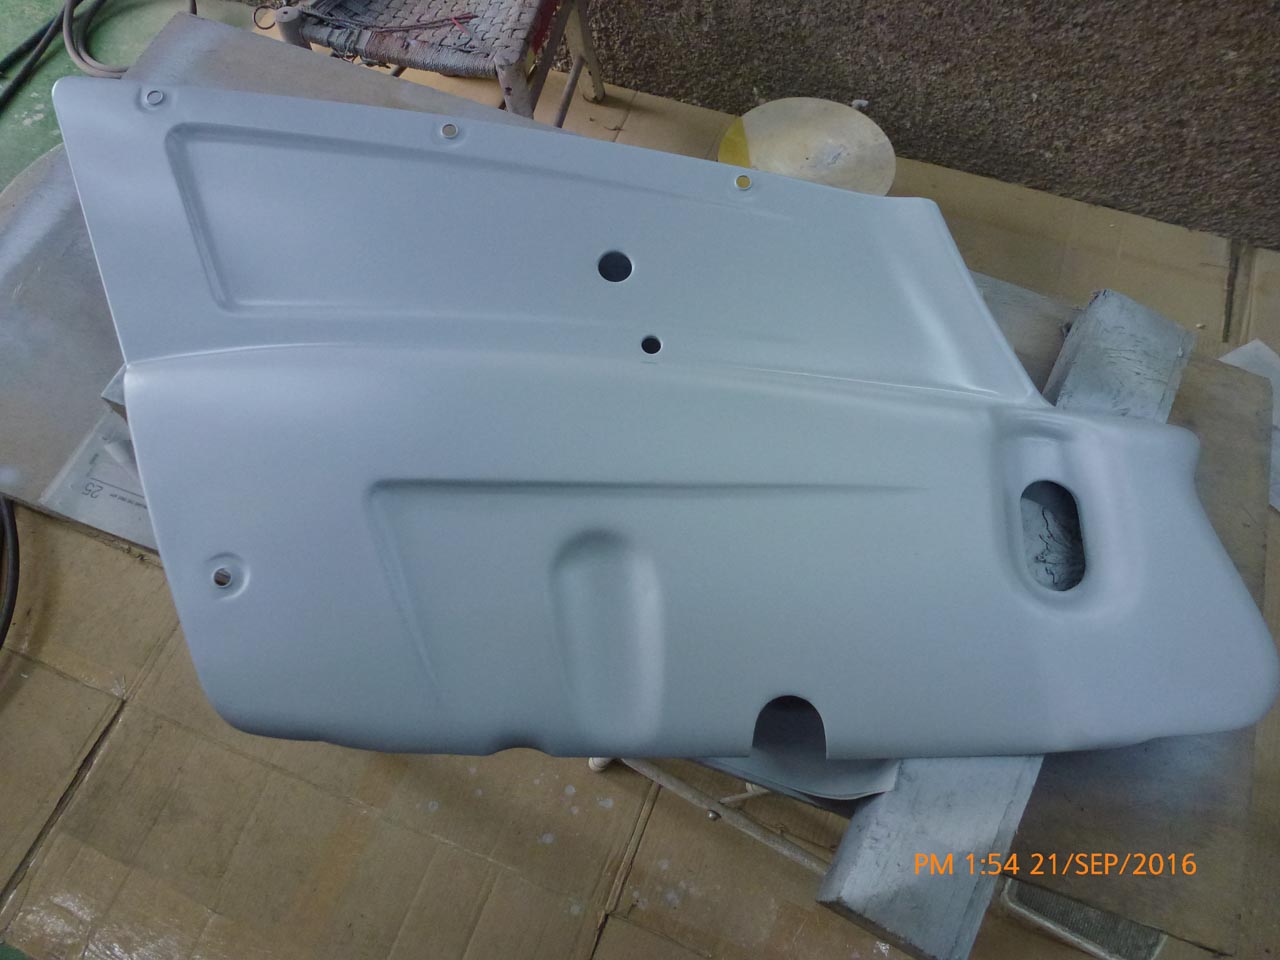
Further repair to top frame section before grey primer and final painting.
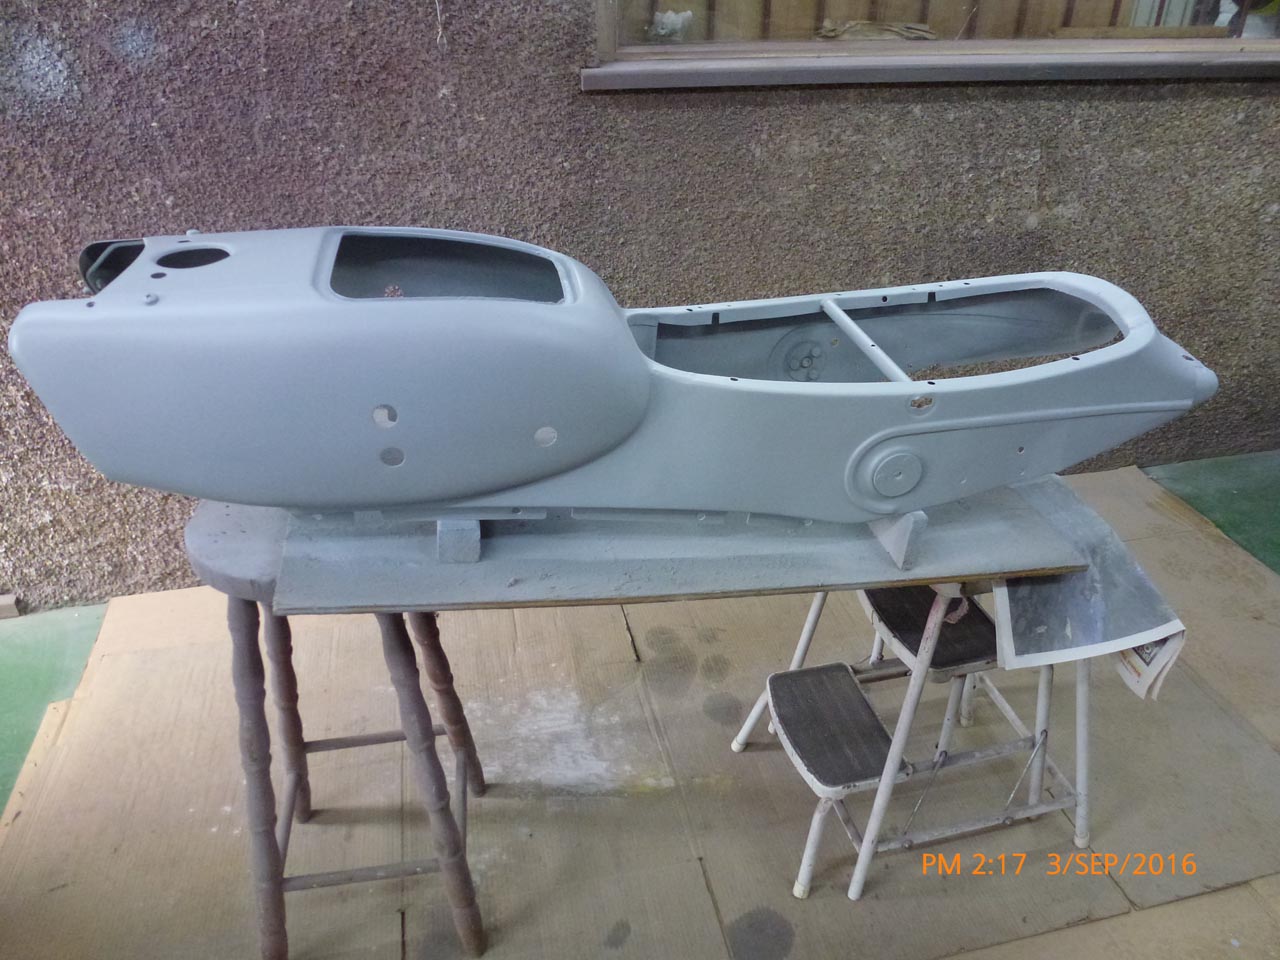
Top frame section now in grey primer ready for final topcoat and laquer.
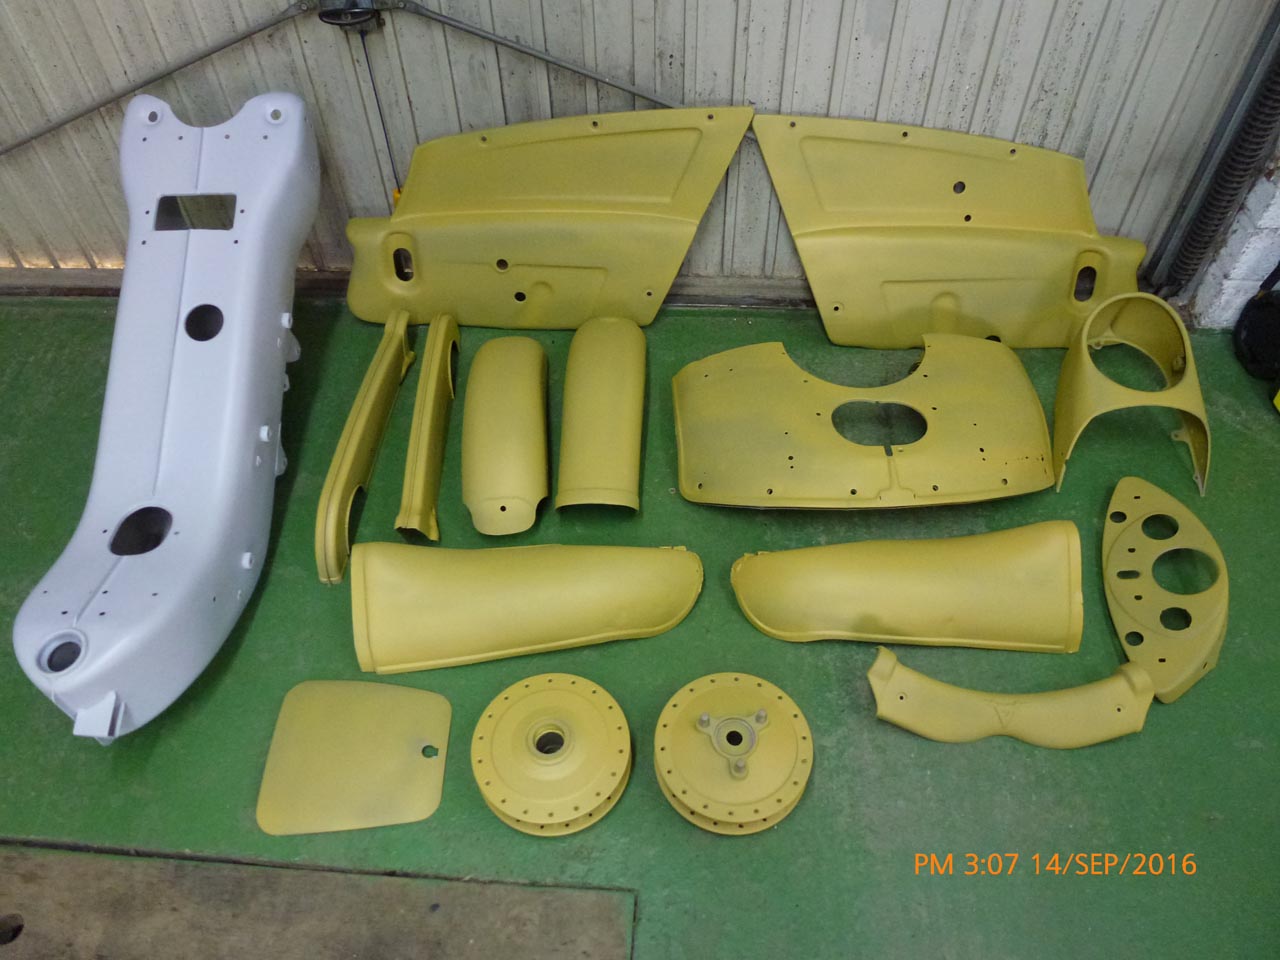
Various parts cleaned and etch primed before repair
Side panels repaired and primed ready for final colour
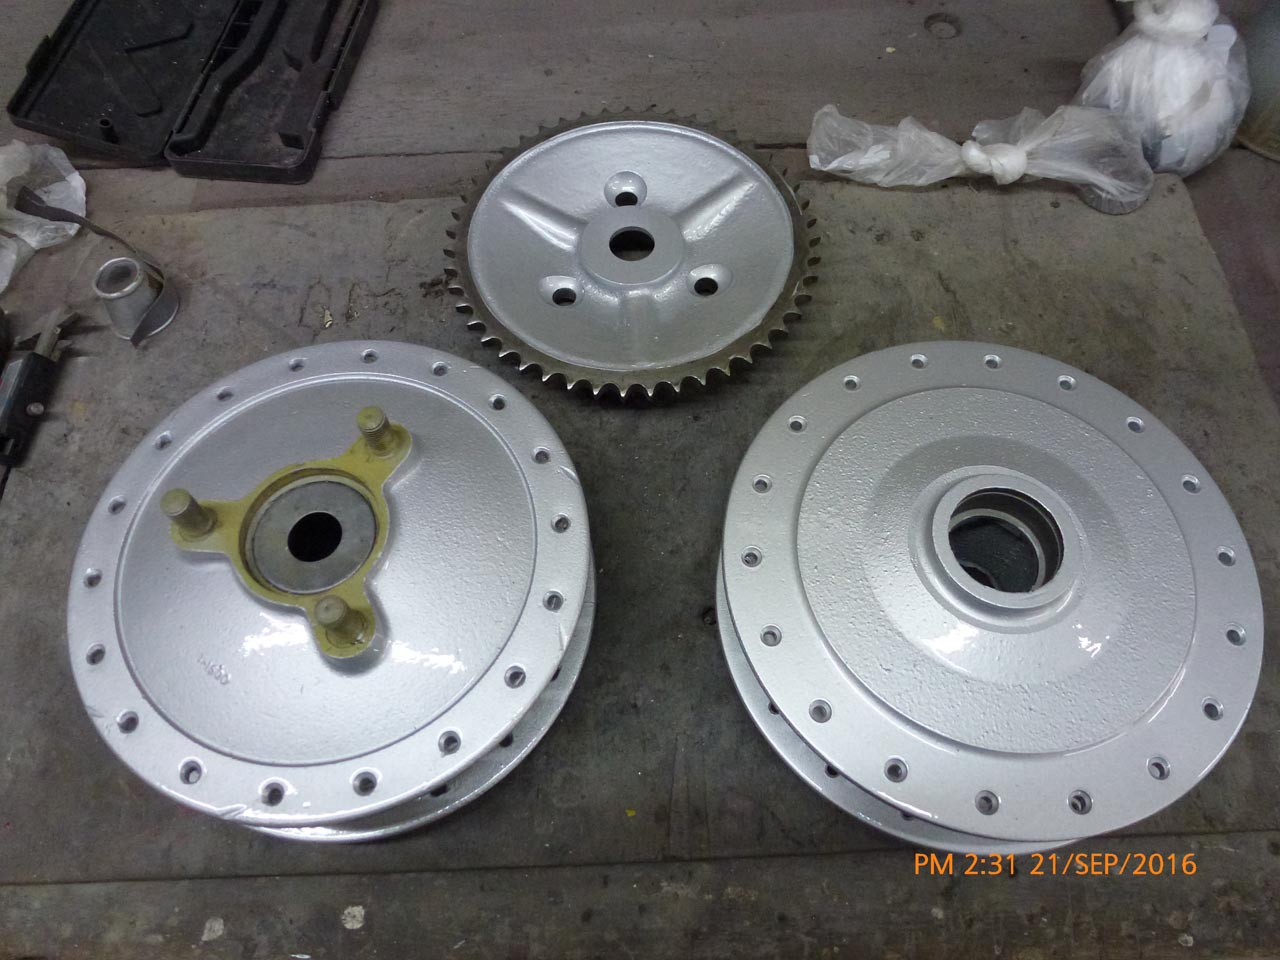
Wheel hubs cleaned , primed and painted silver ready for building with new rims spokes and bearings.