
1958 Ariel Leader Restoration - Part 3
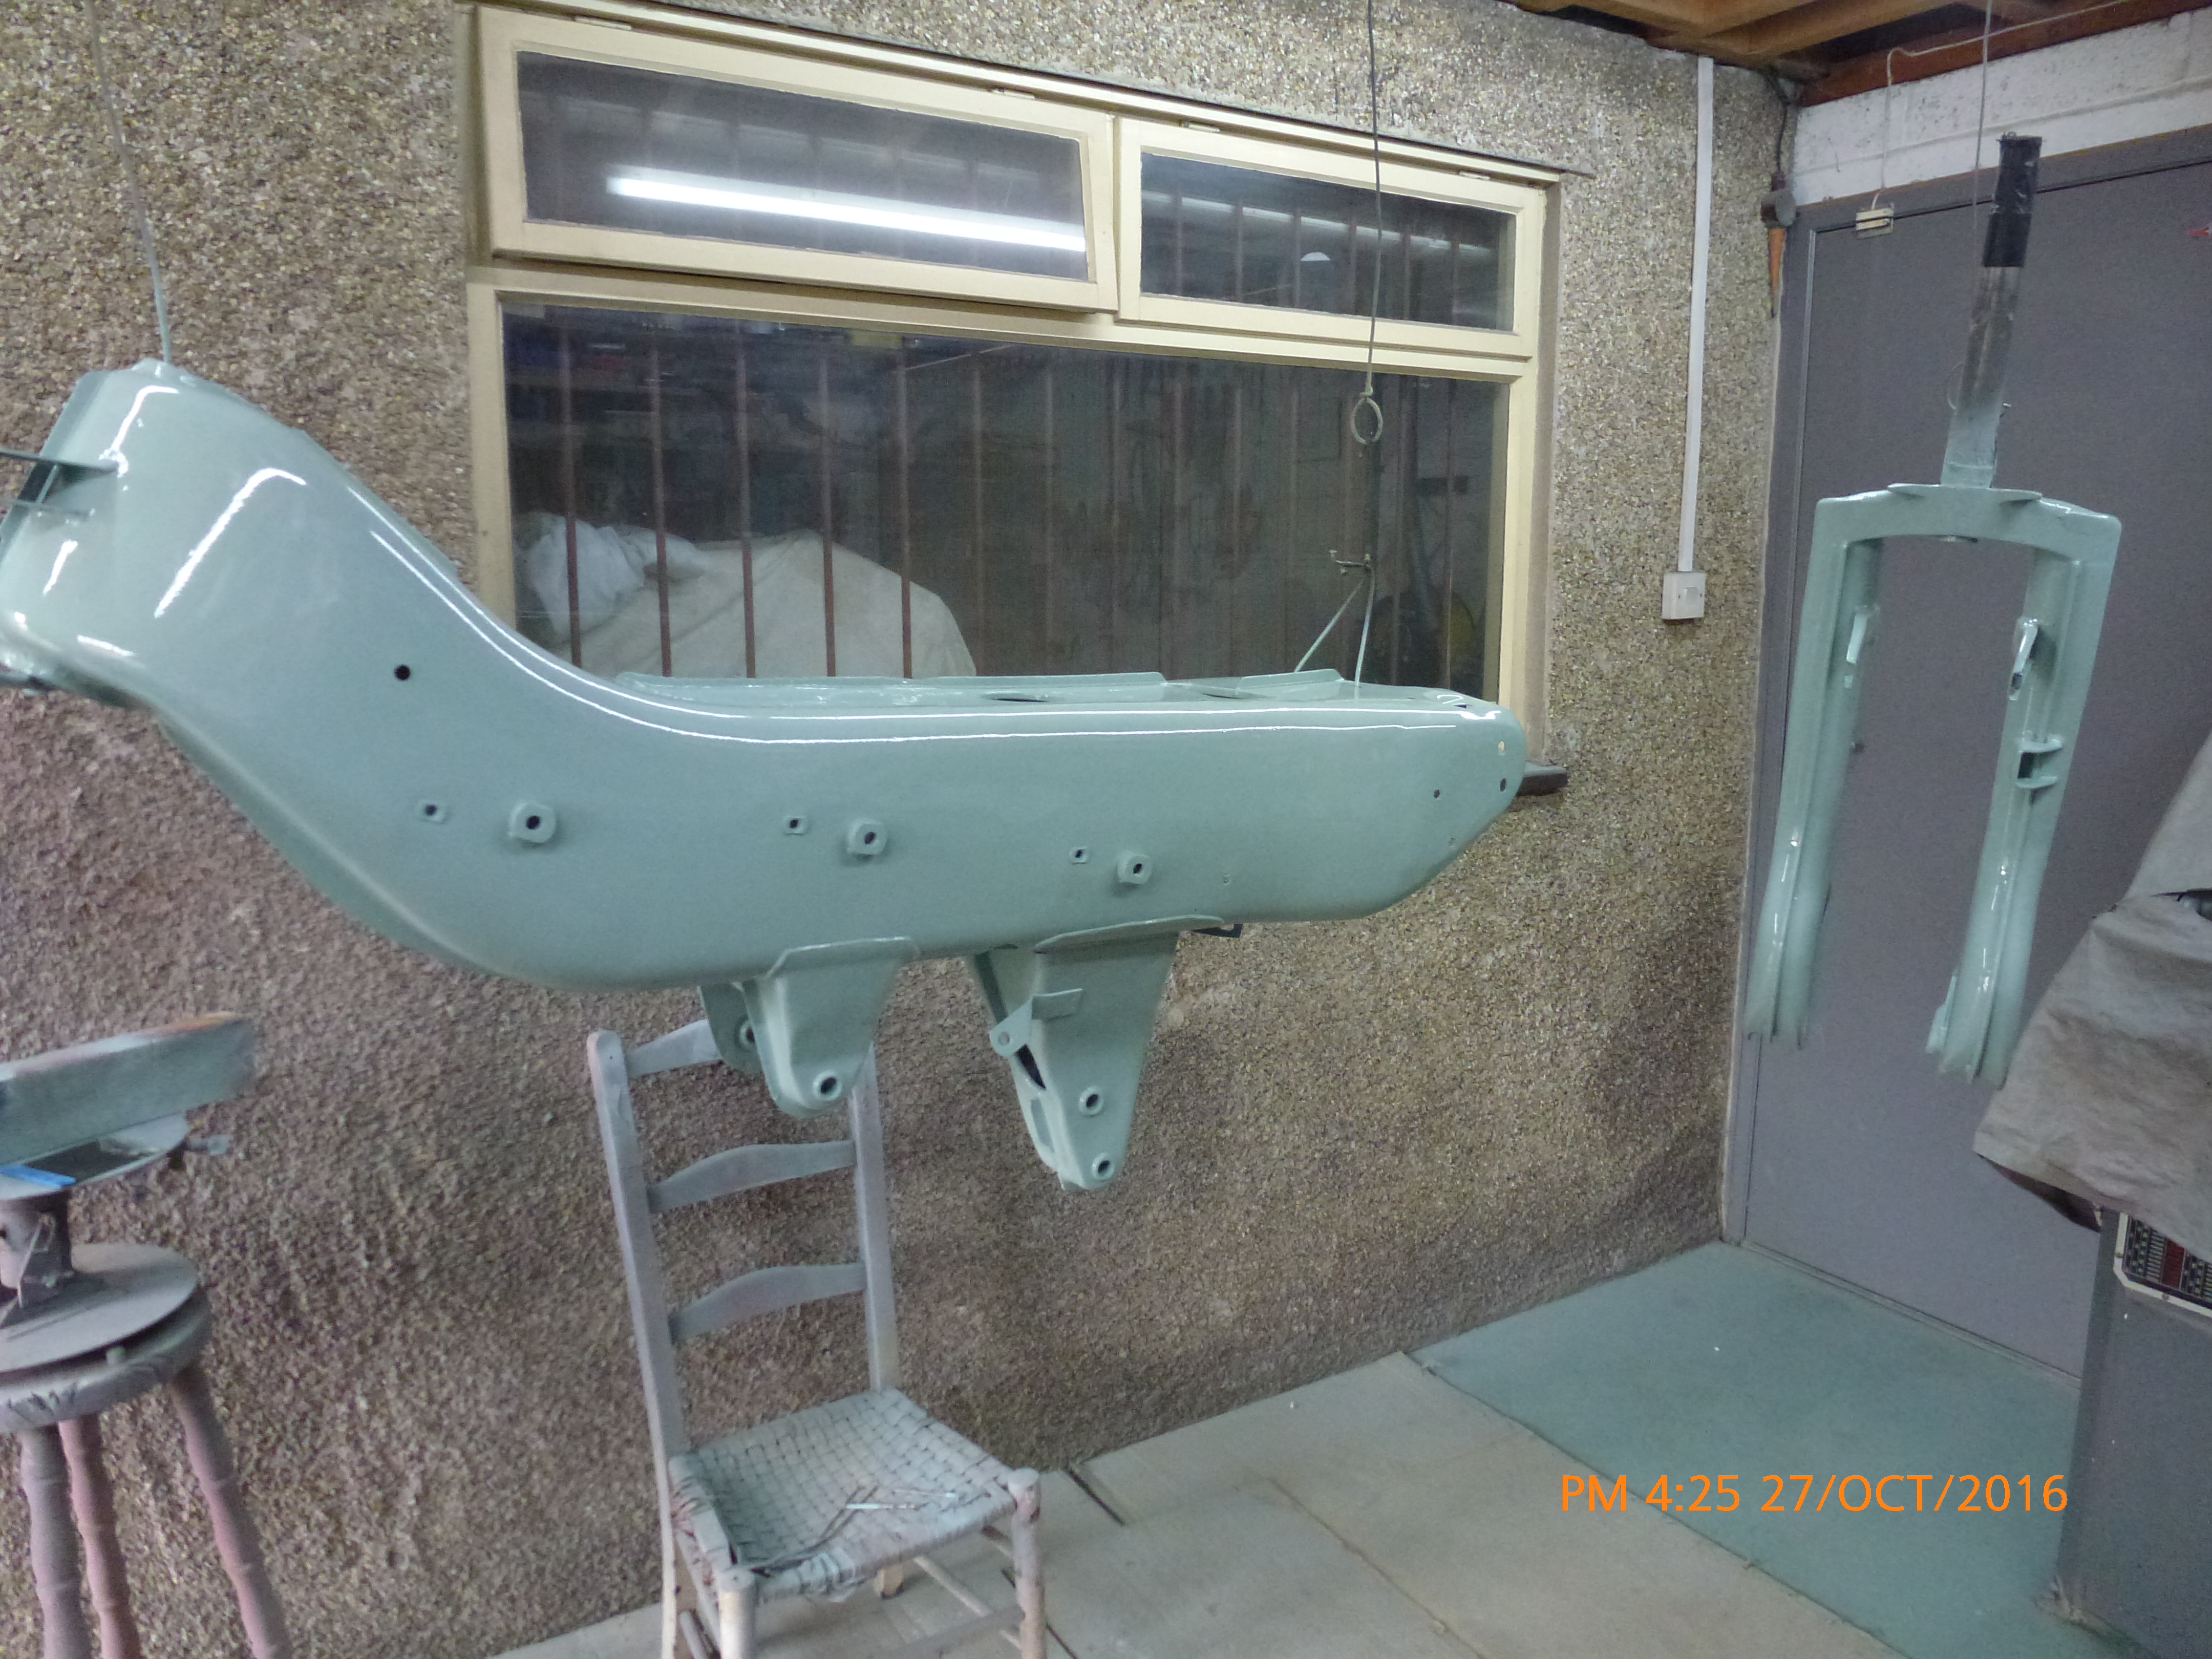
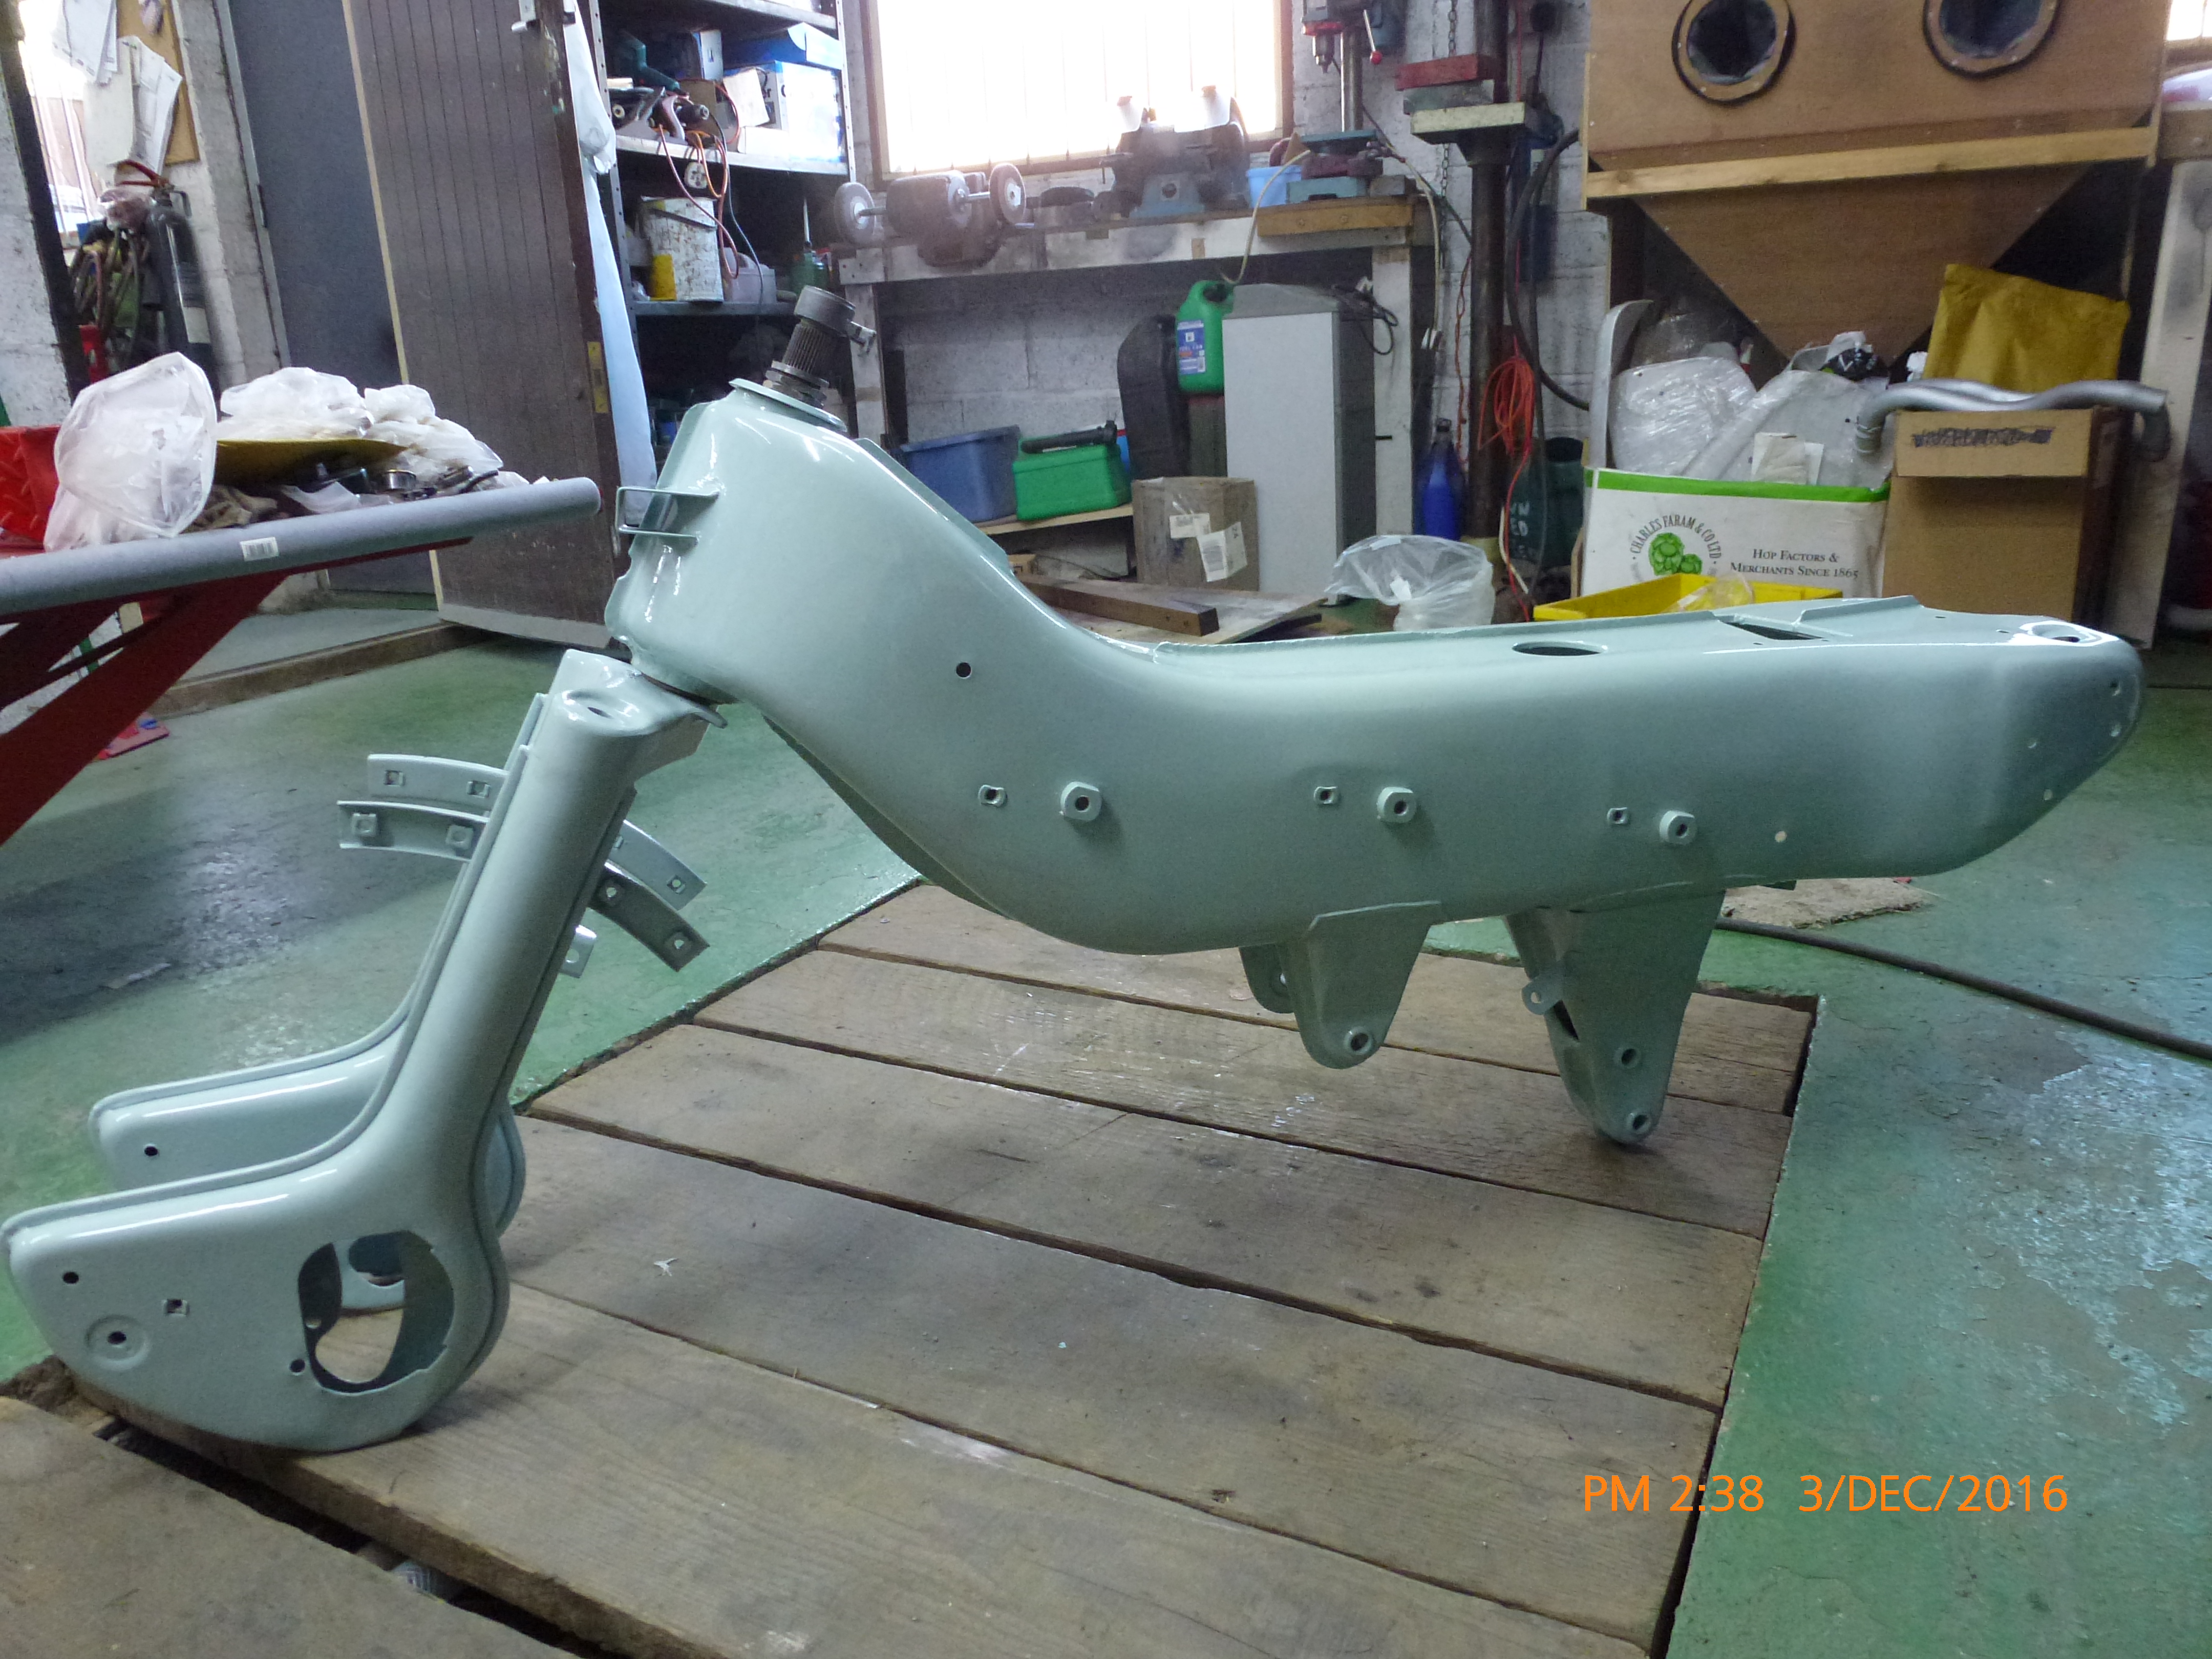
After some confusion with the colour, a lot of research and help from my paint supplier, we have settled on 'Light Admiralty Grey' and 'Oriental Blue. First part painted was the subframe.
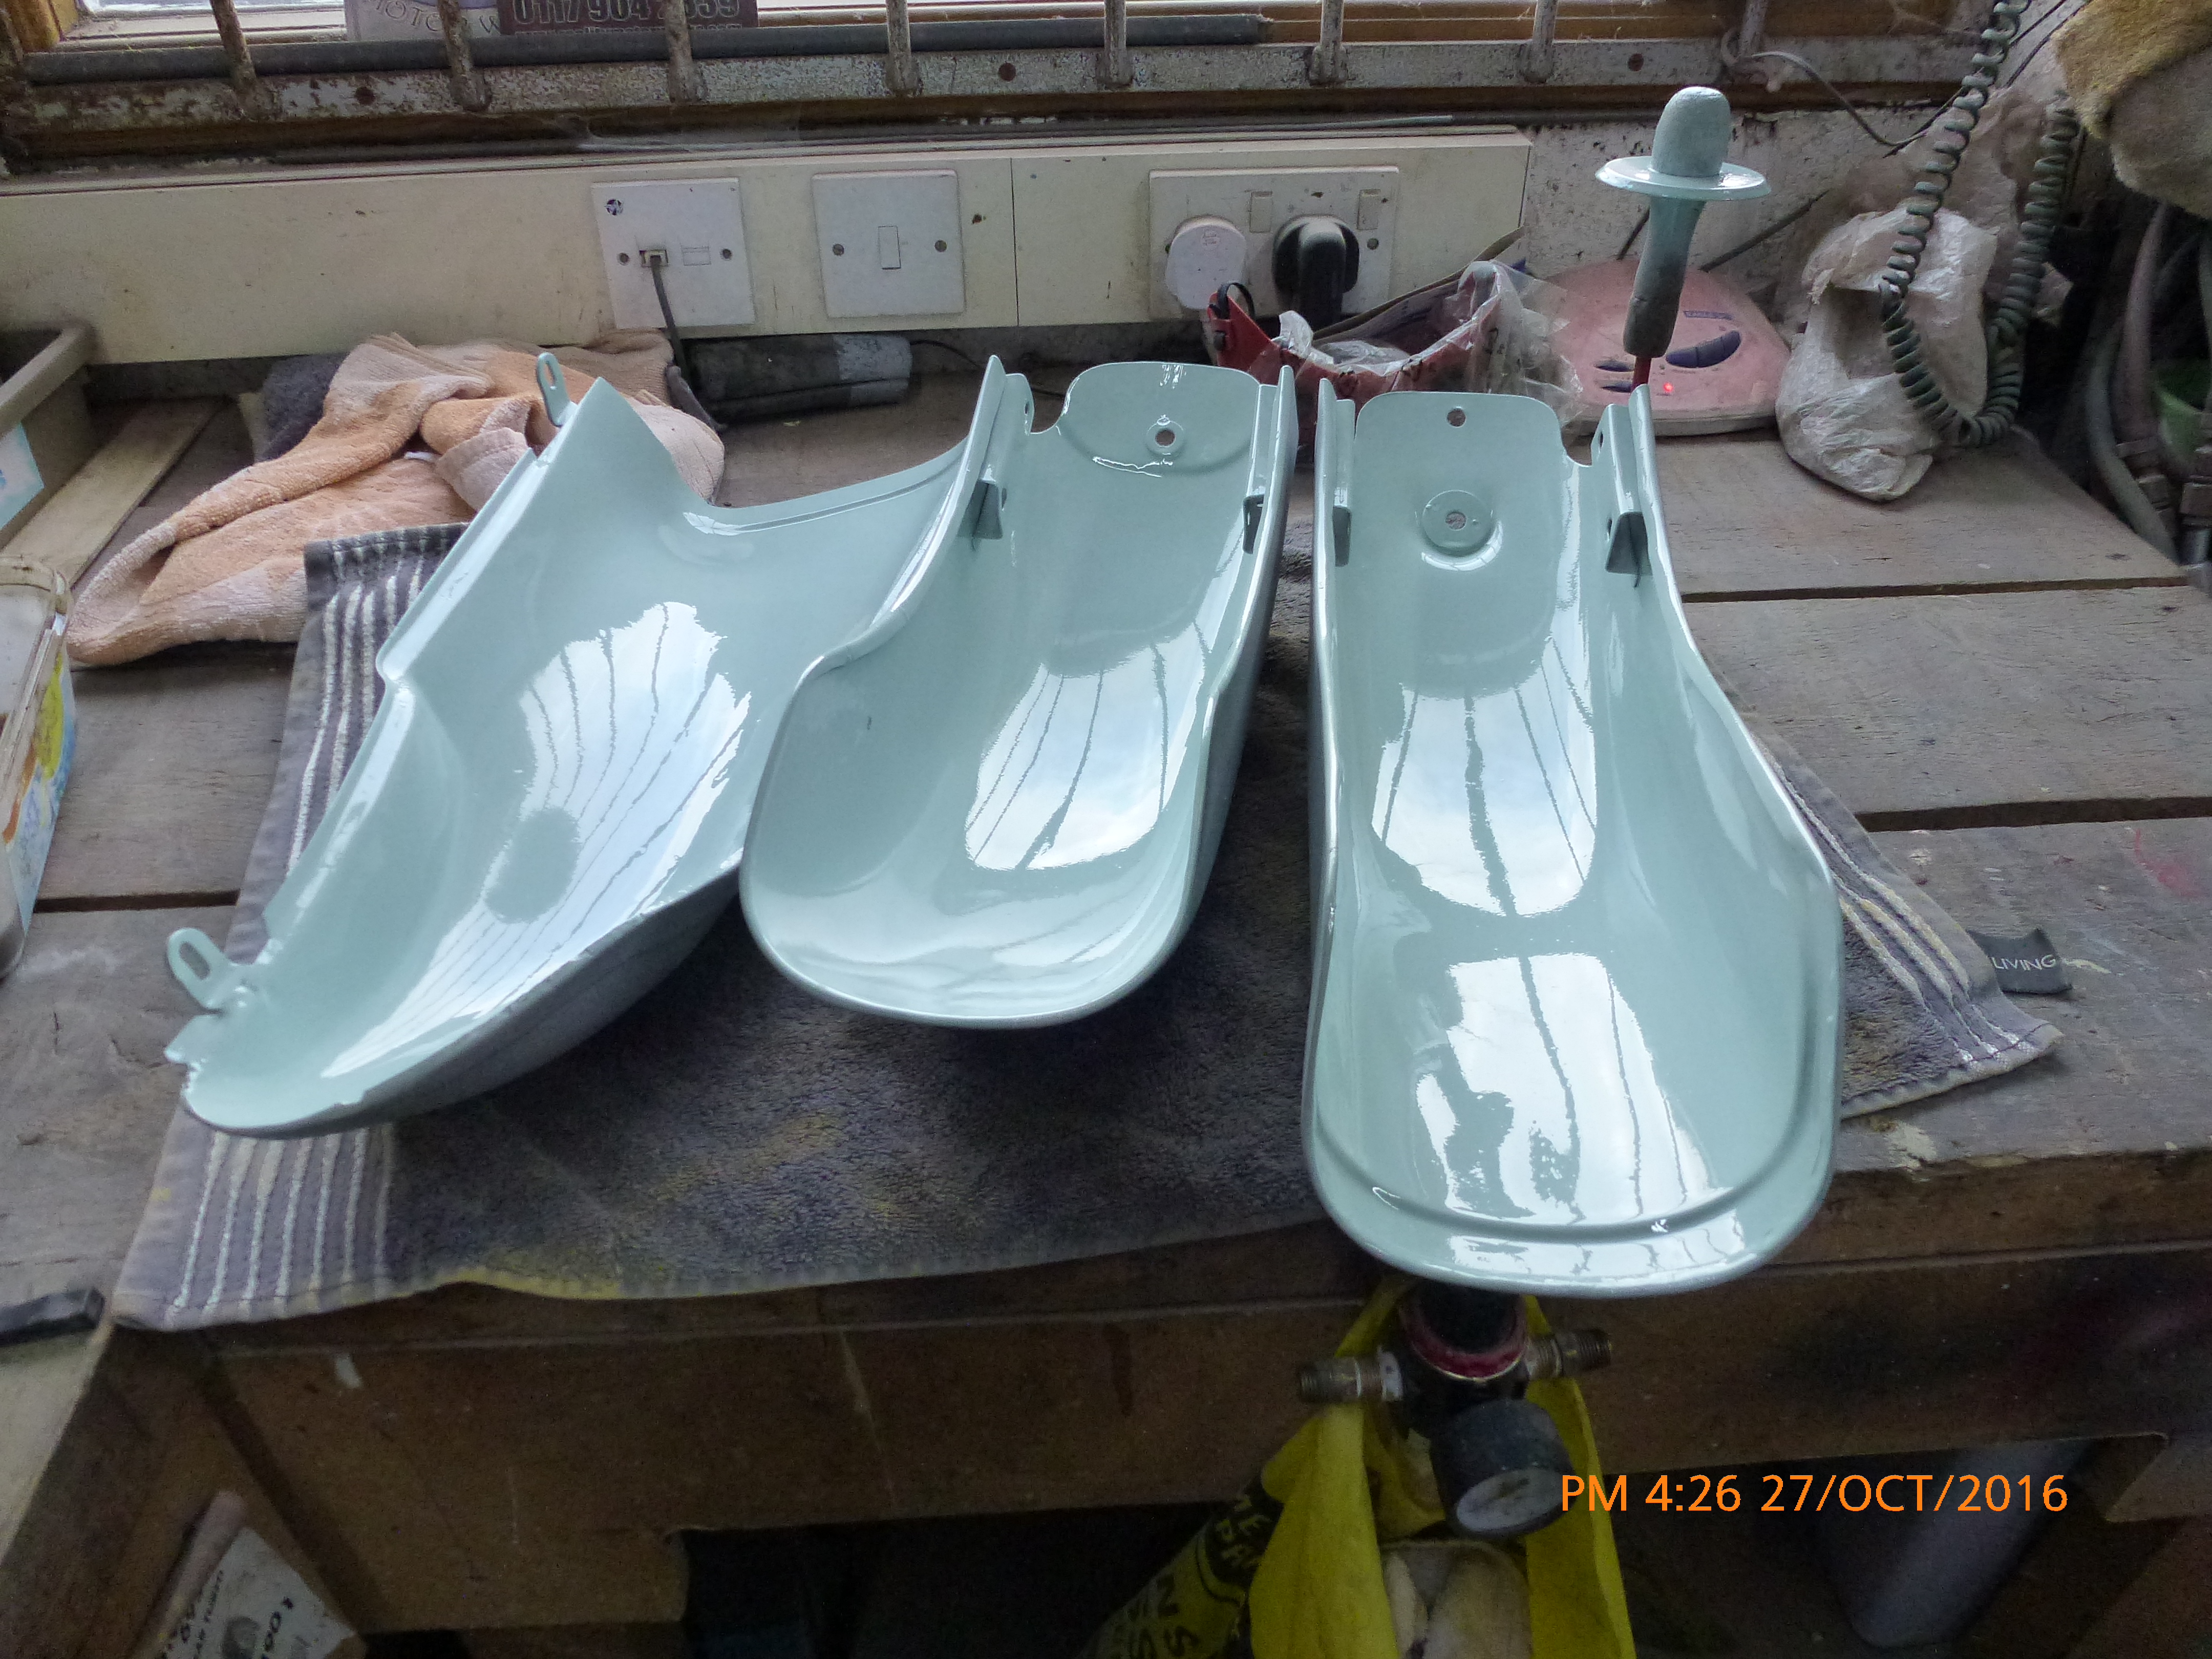
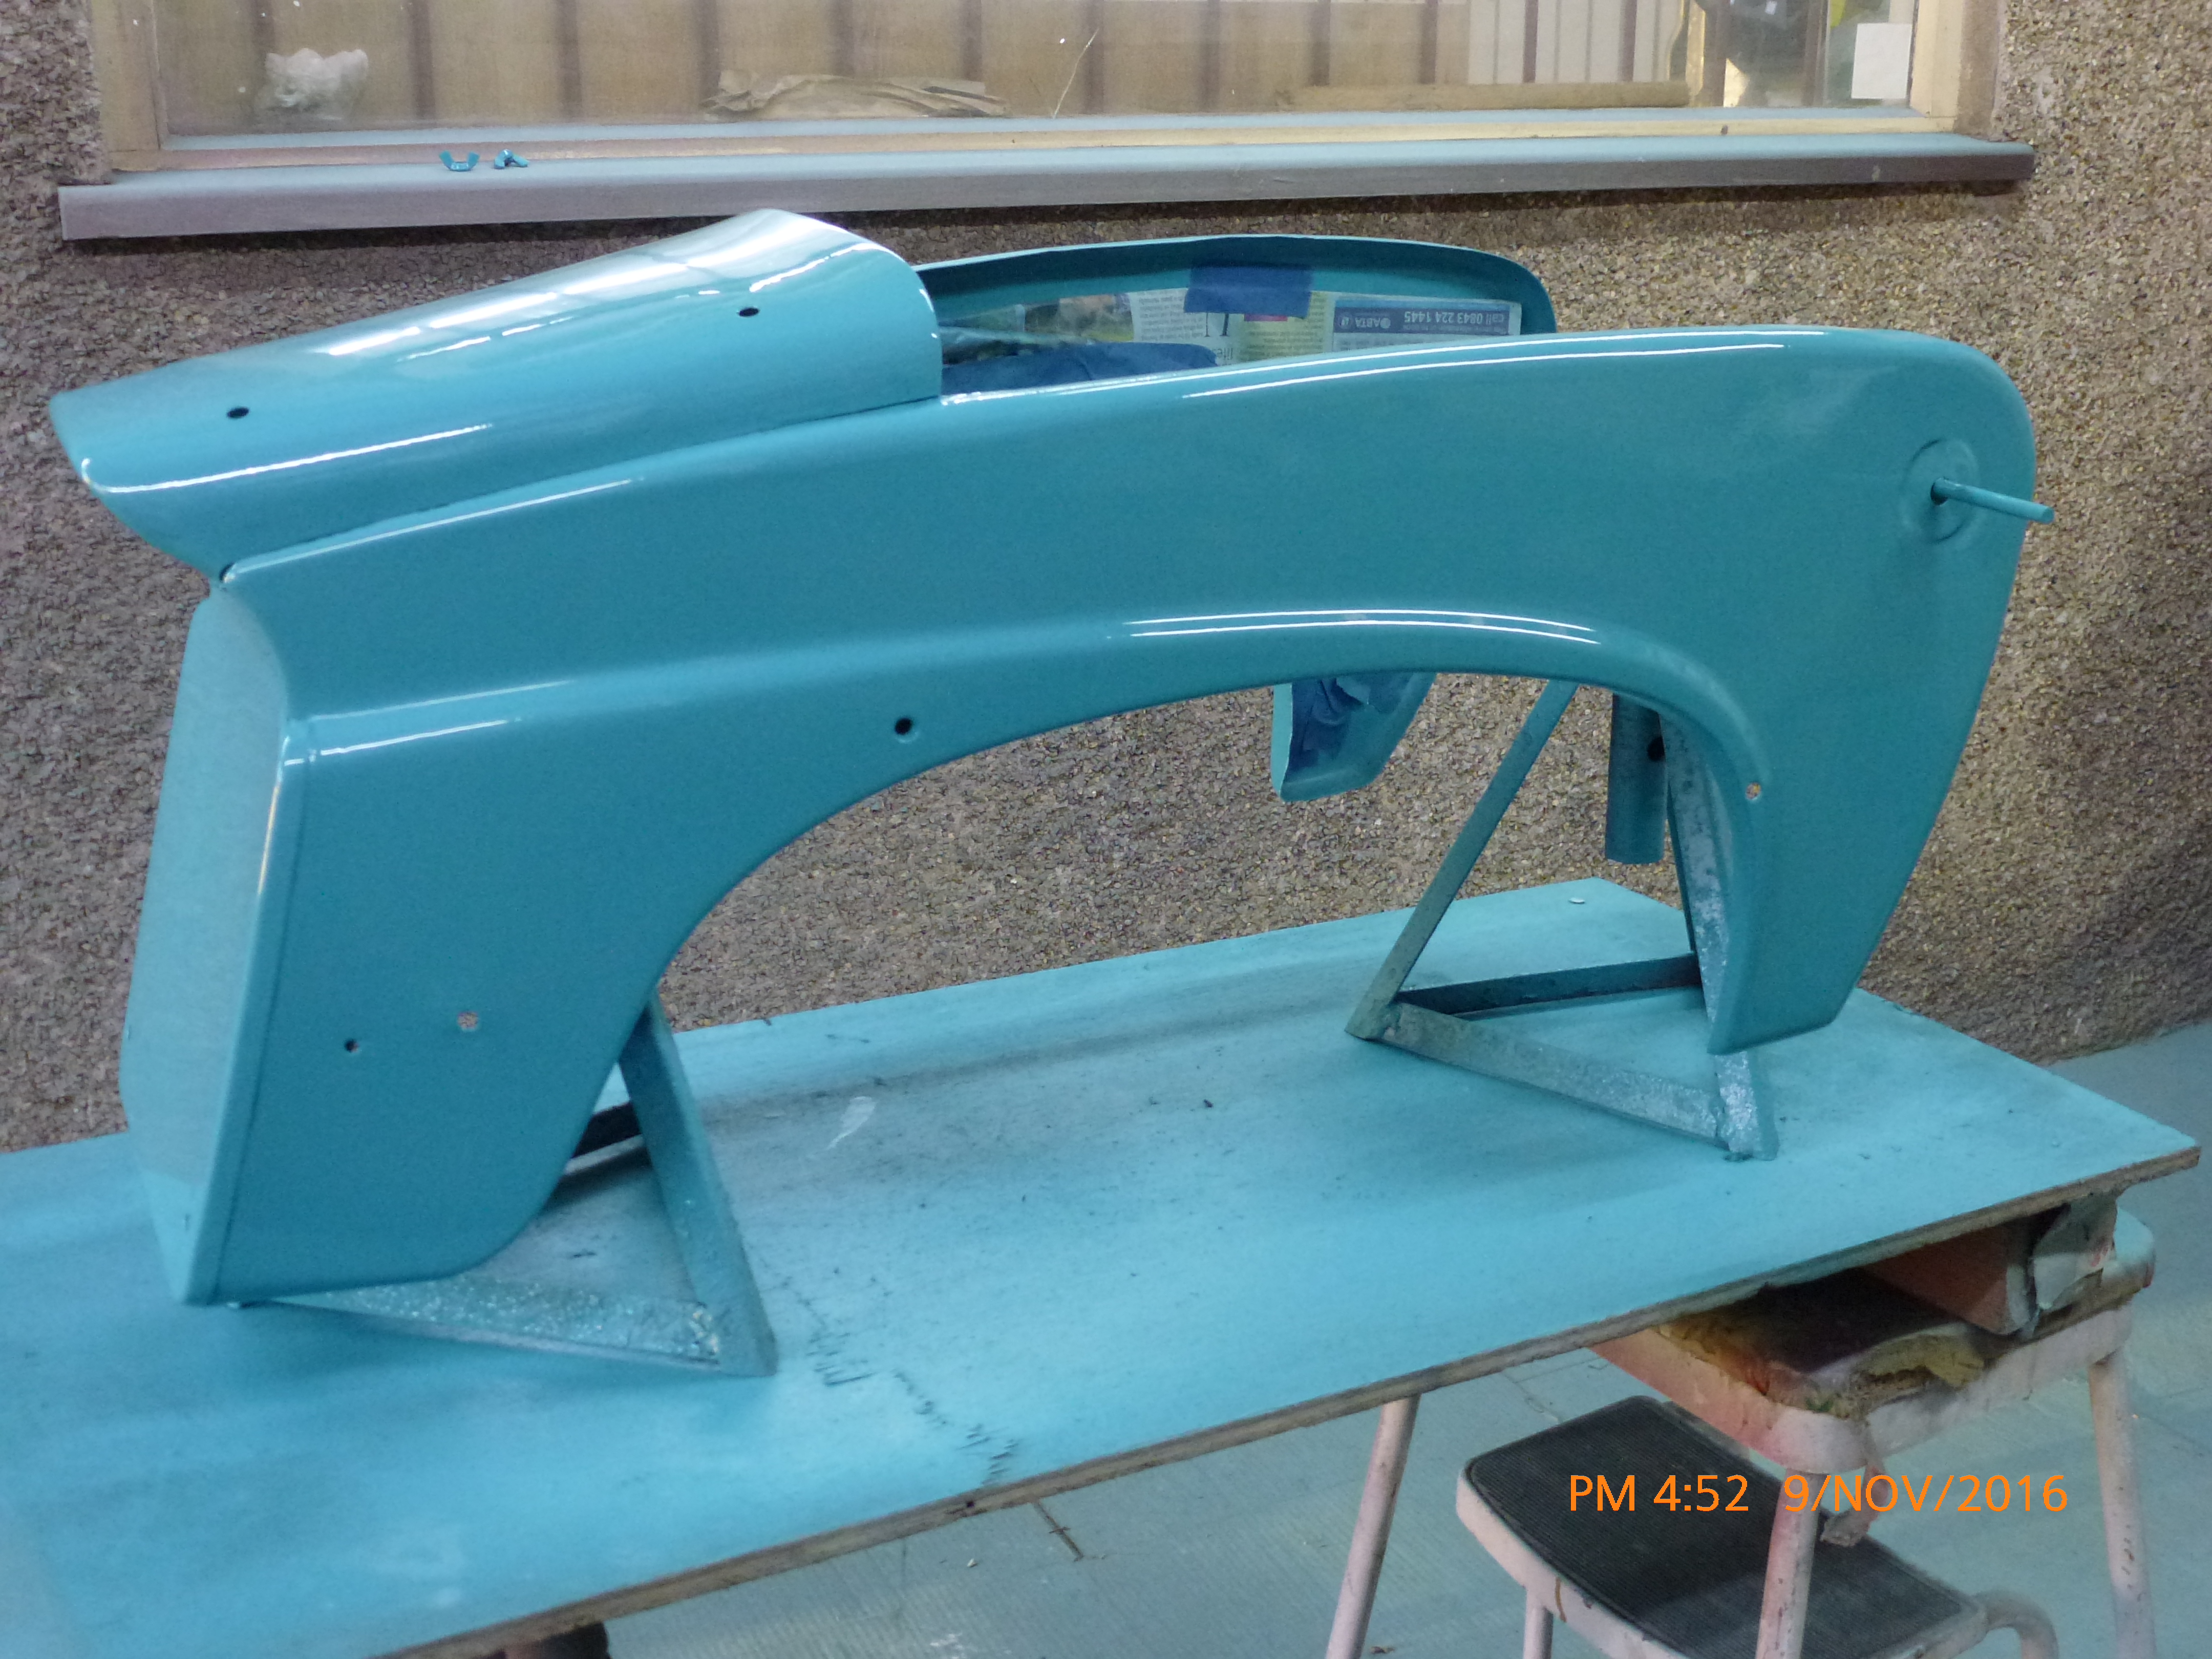
Fairly large areas to paint for a motorcycle. These are the mudguards and one leg shield.
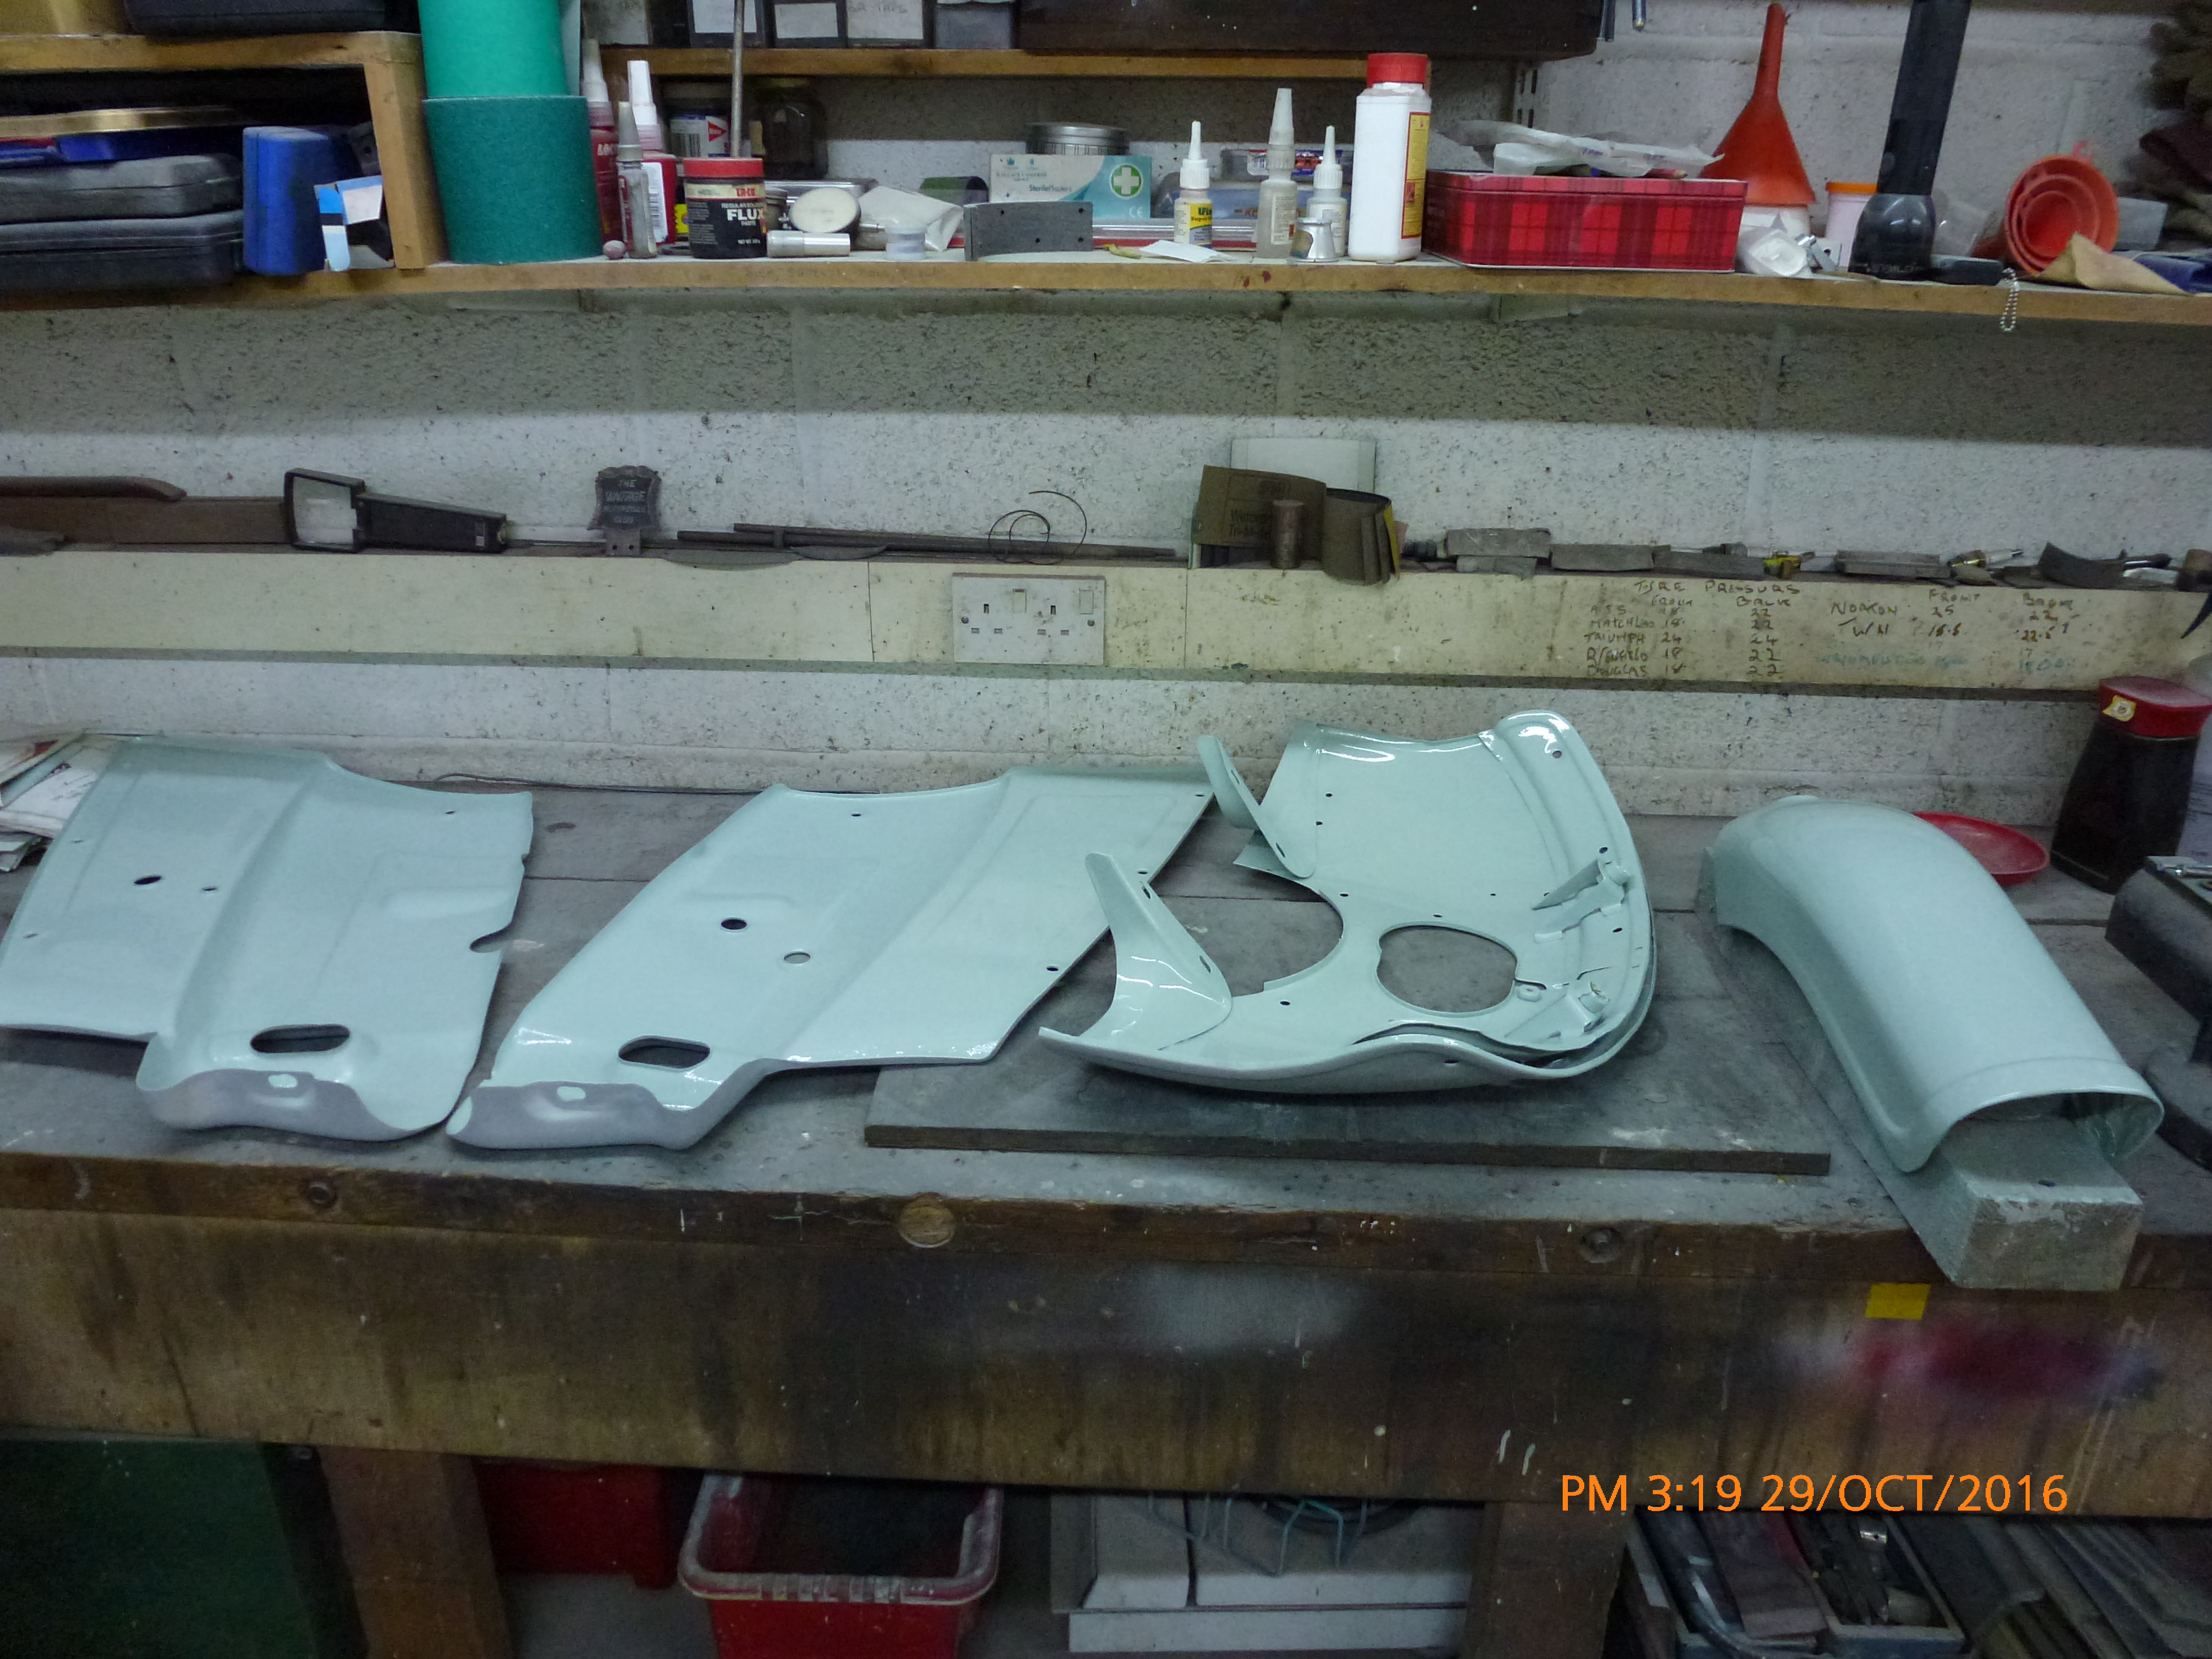
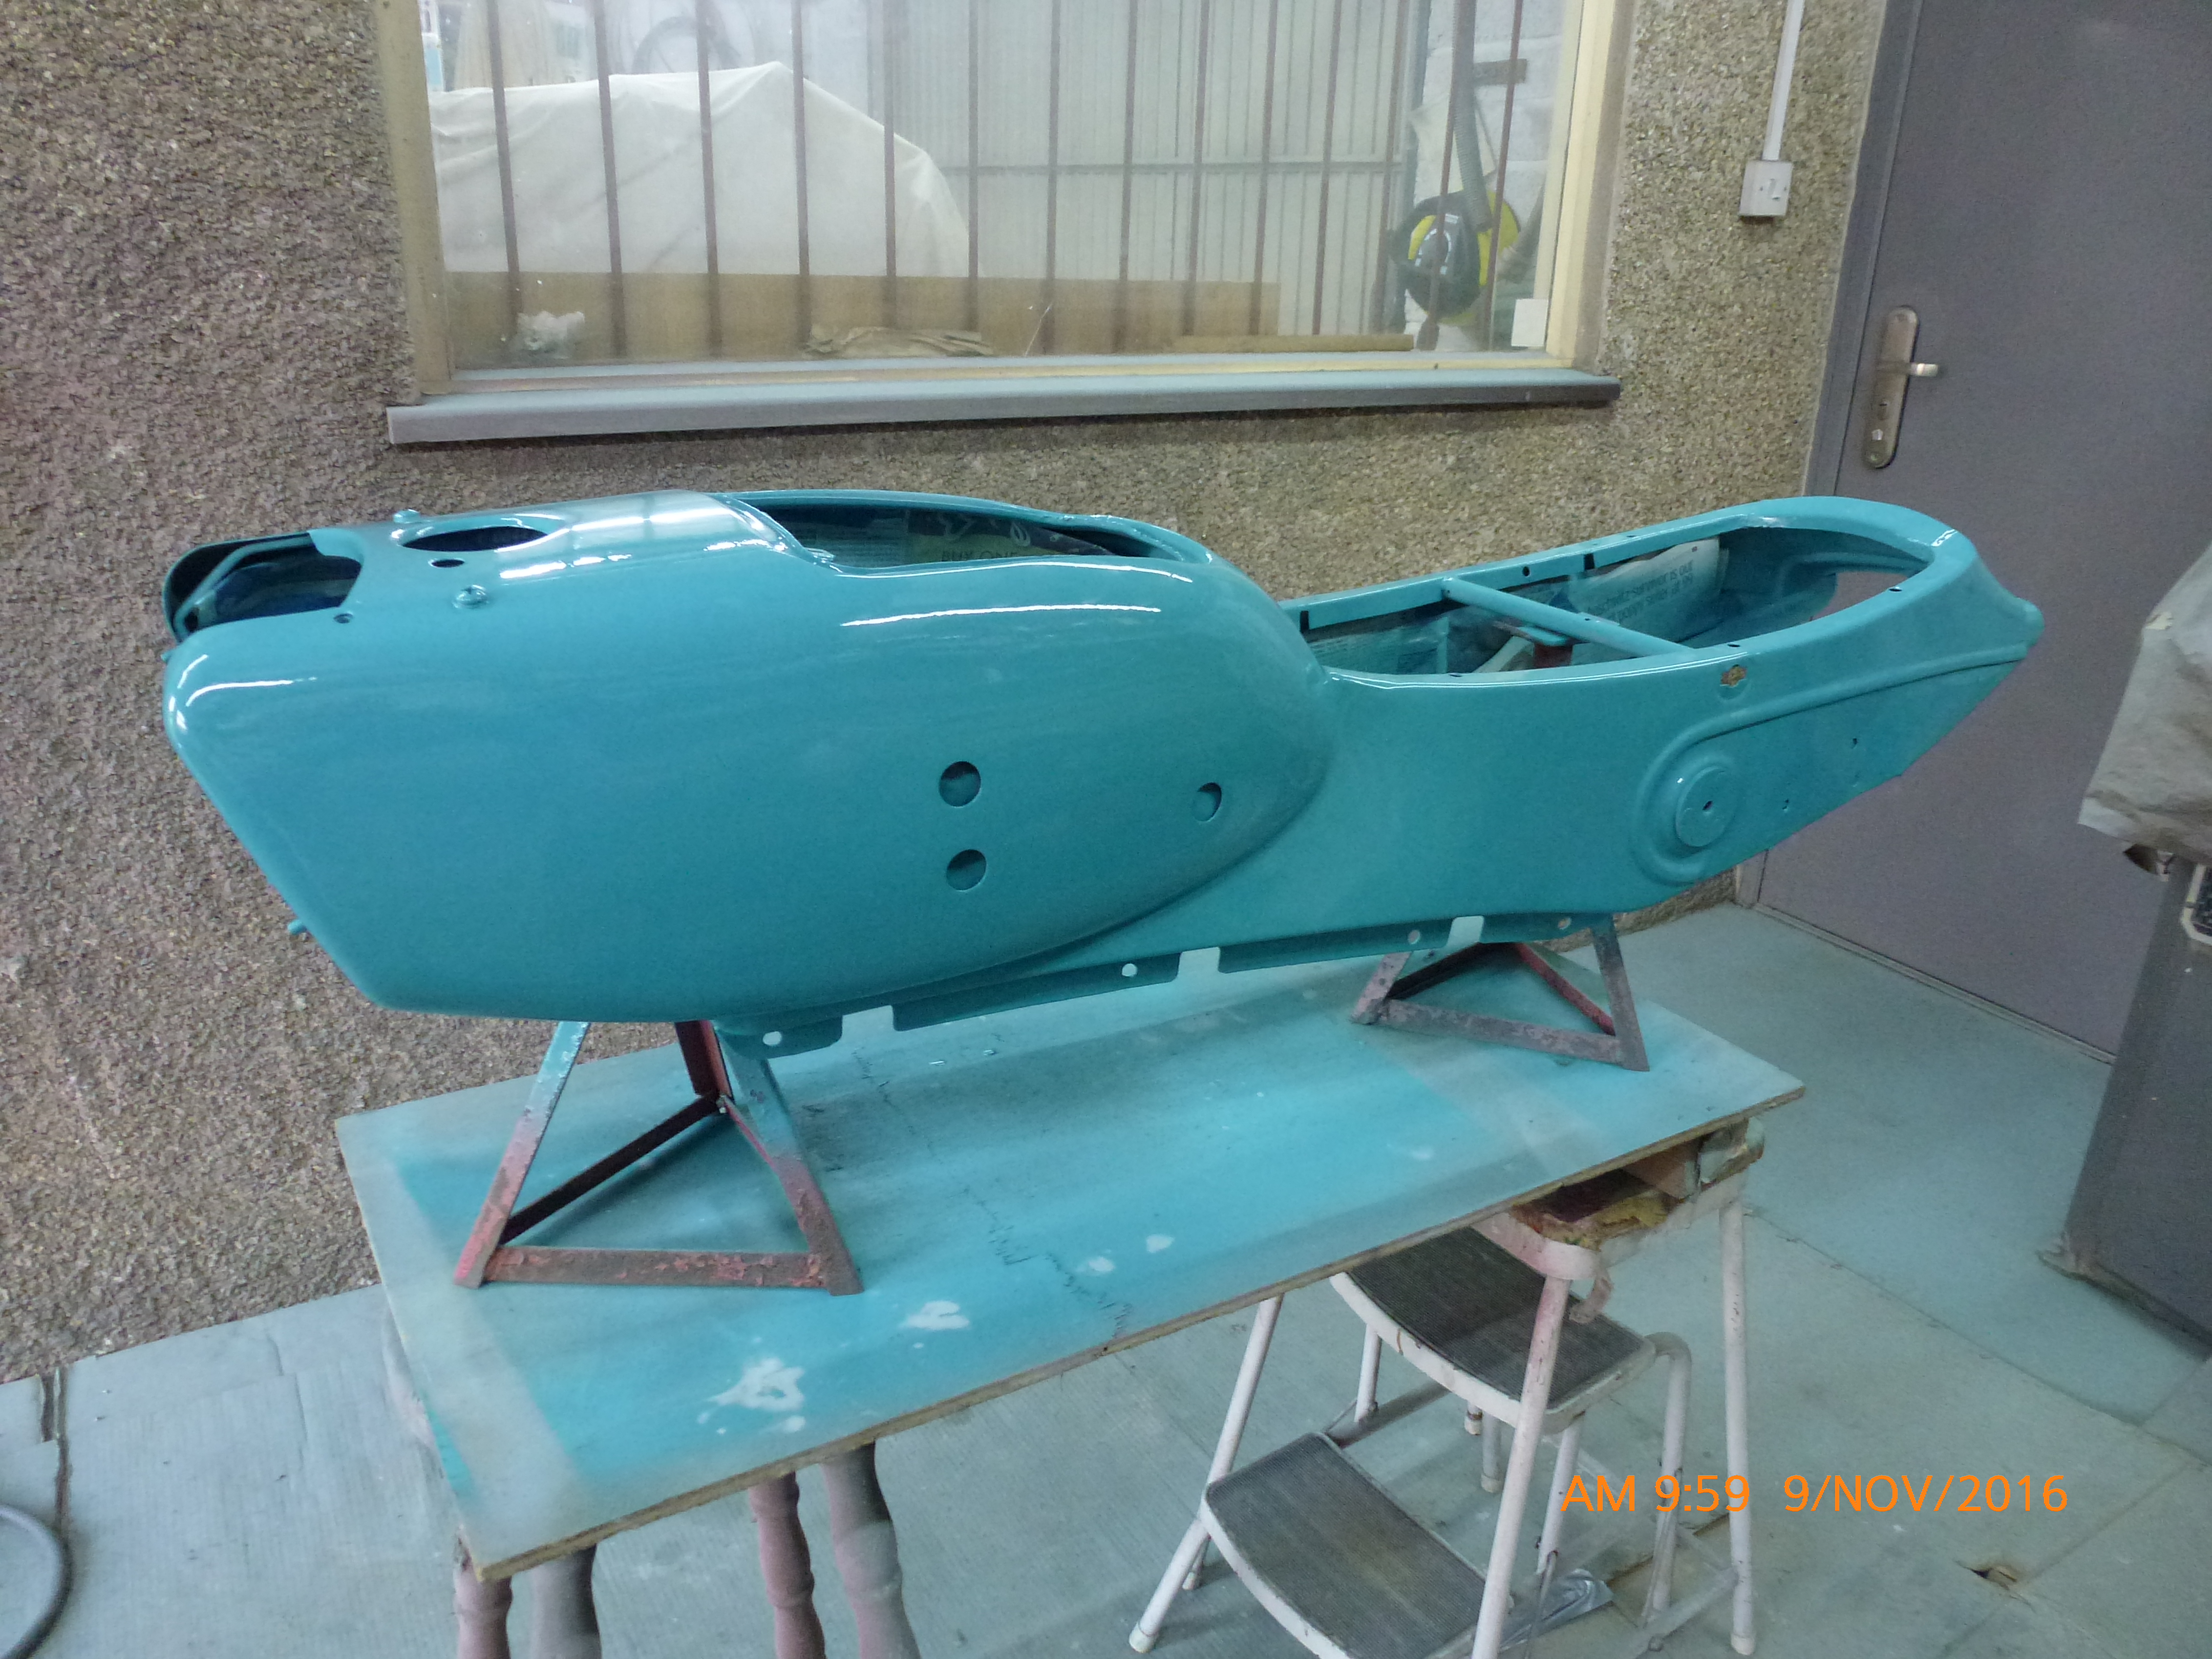
Continuing with the large parts, this is the front apron and side panels. There are 63 seperate items to prepare and paint before assembly can be started. Long way to go yet!
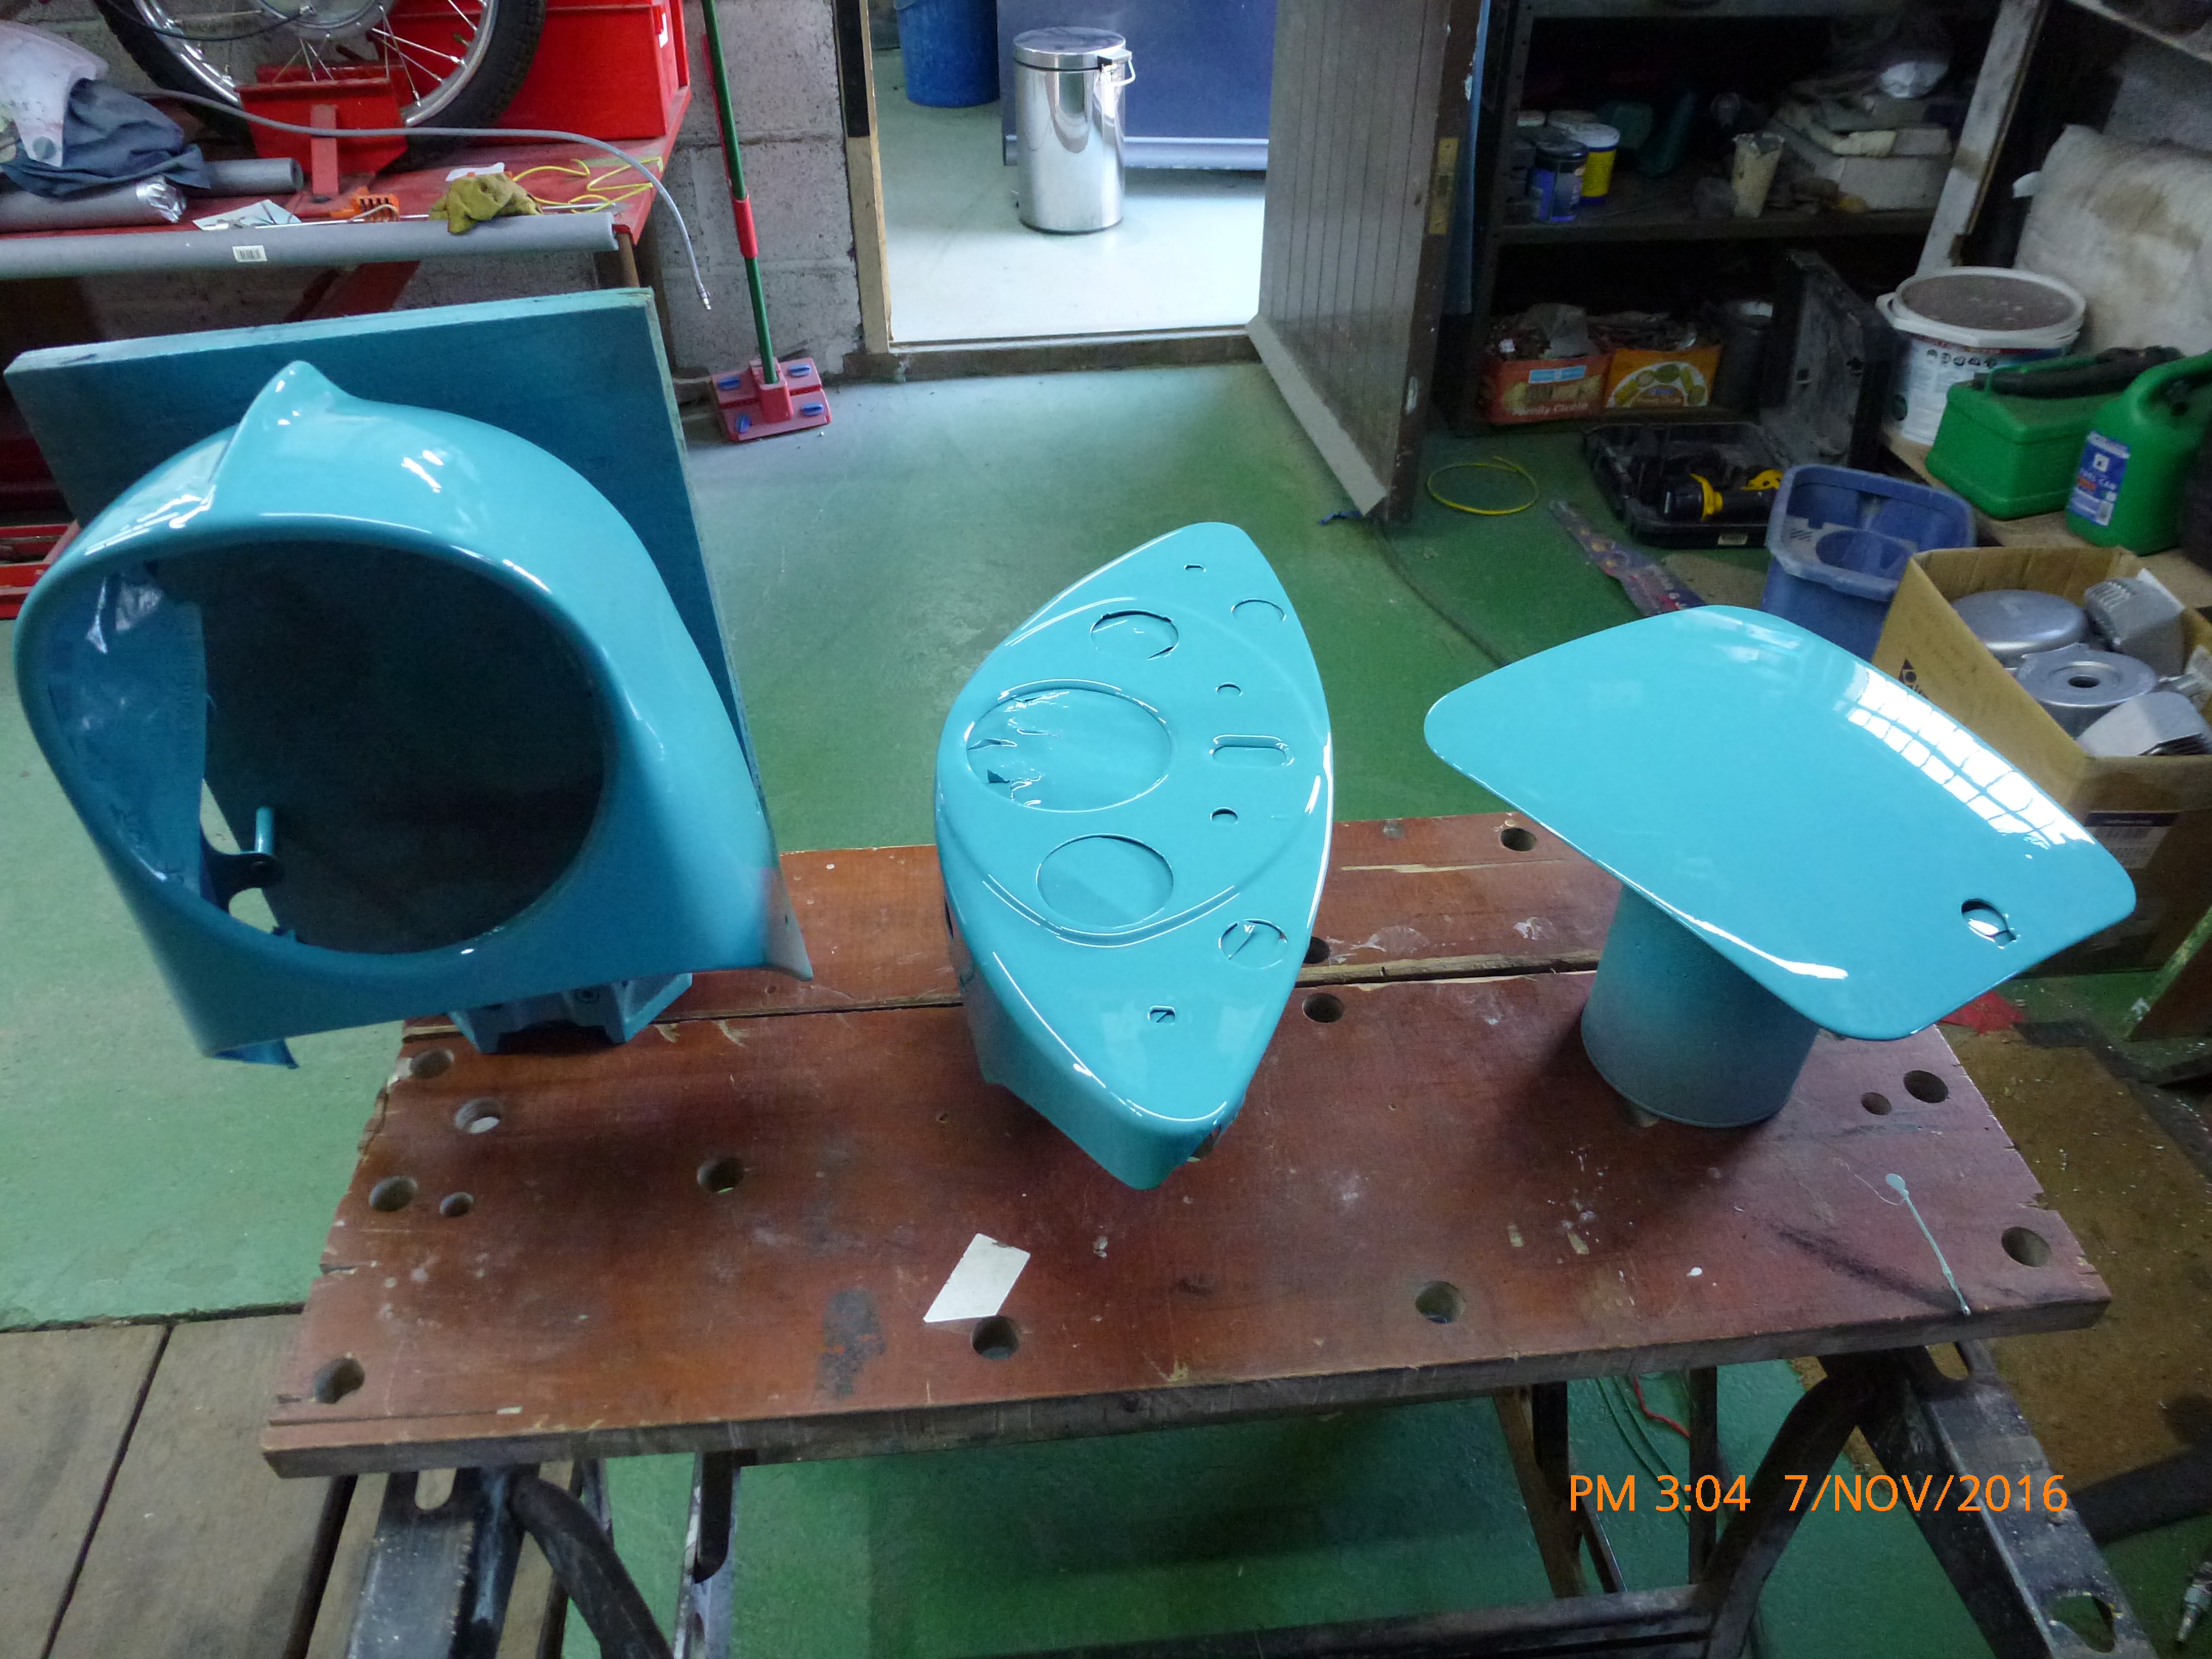
The first large parts to be painted in a vibrant Oriental Blue.
Top frame section painted, now to be careful with storage and handling.
Rear section, now painted, along with all the rest of the 63 items from tiny brackets to covers and dash panel.
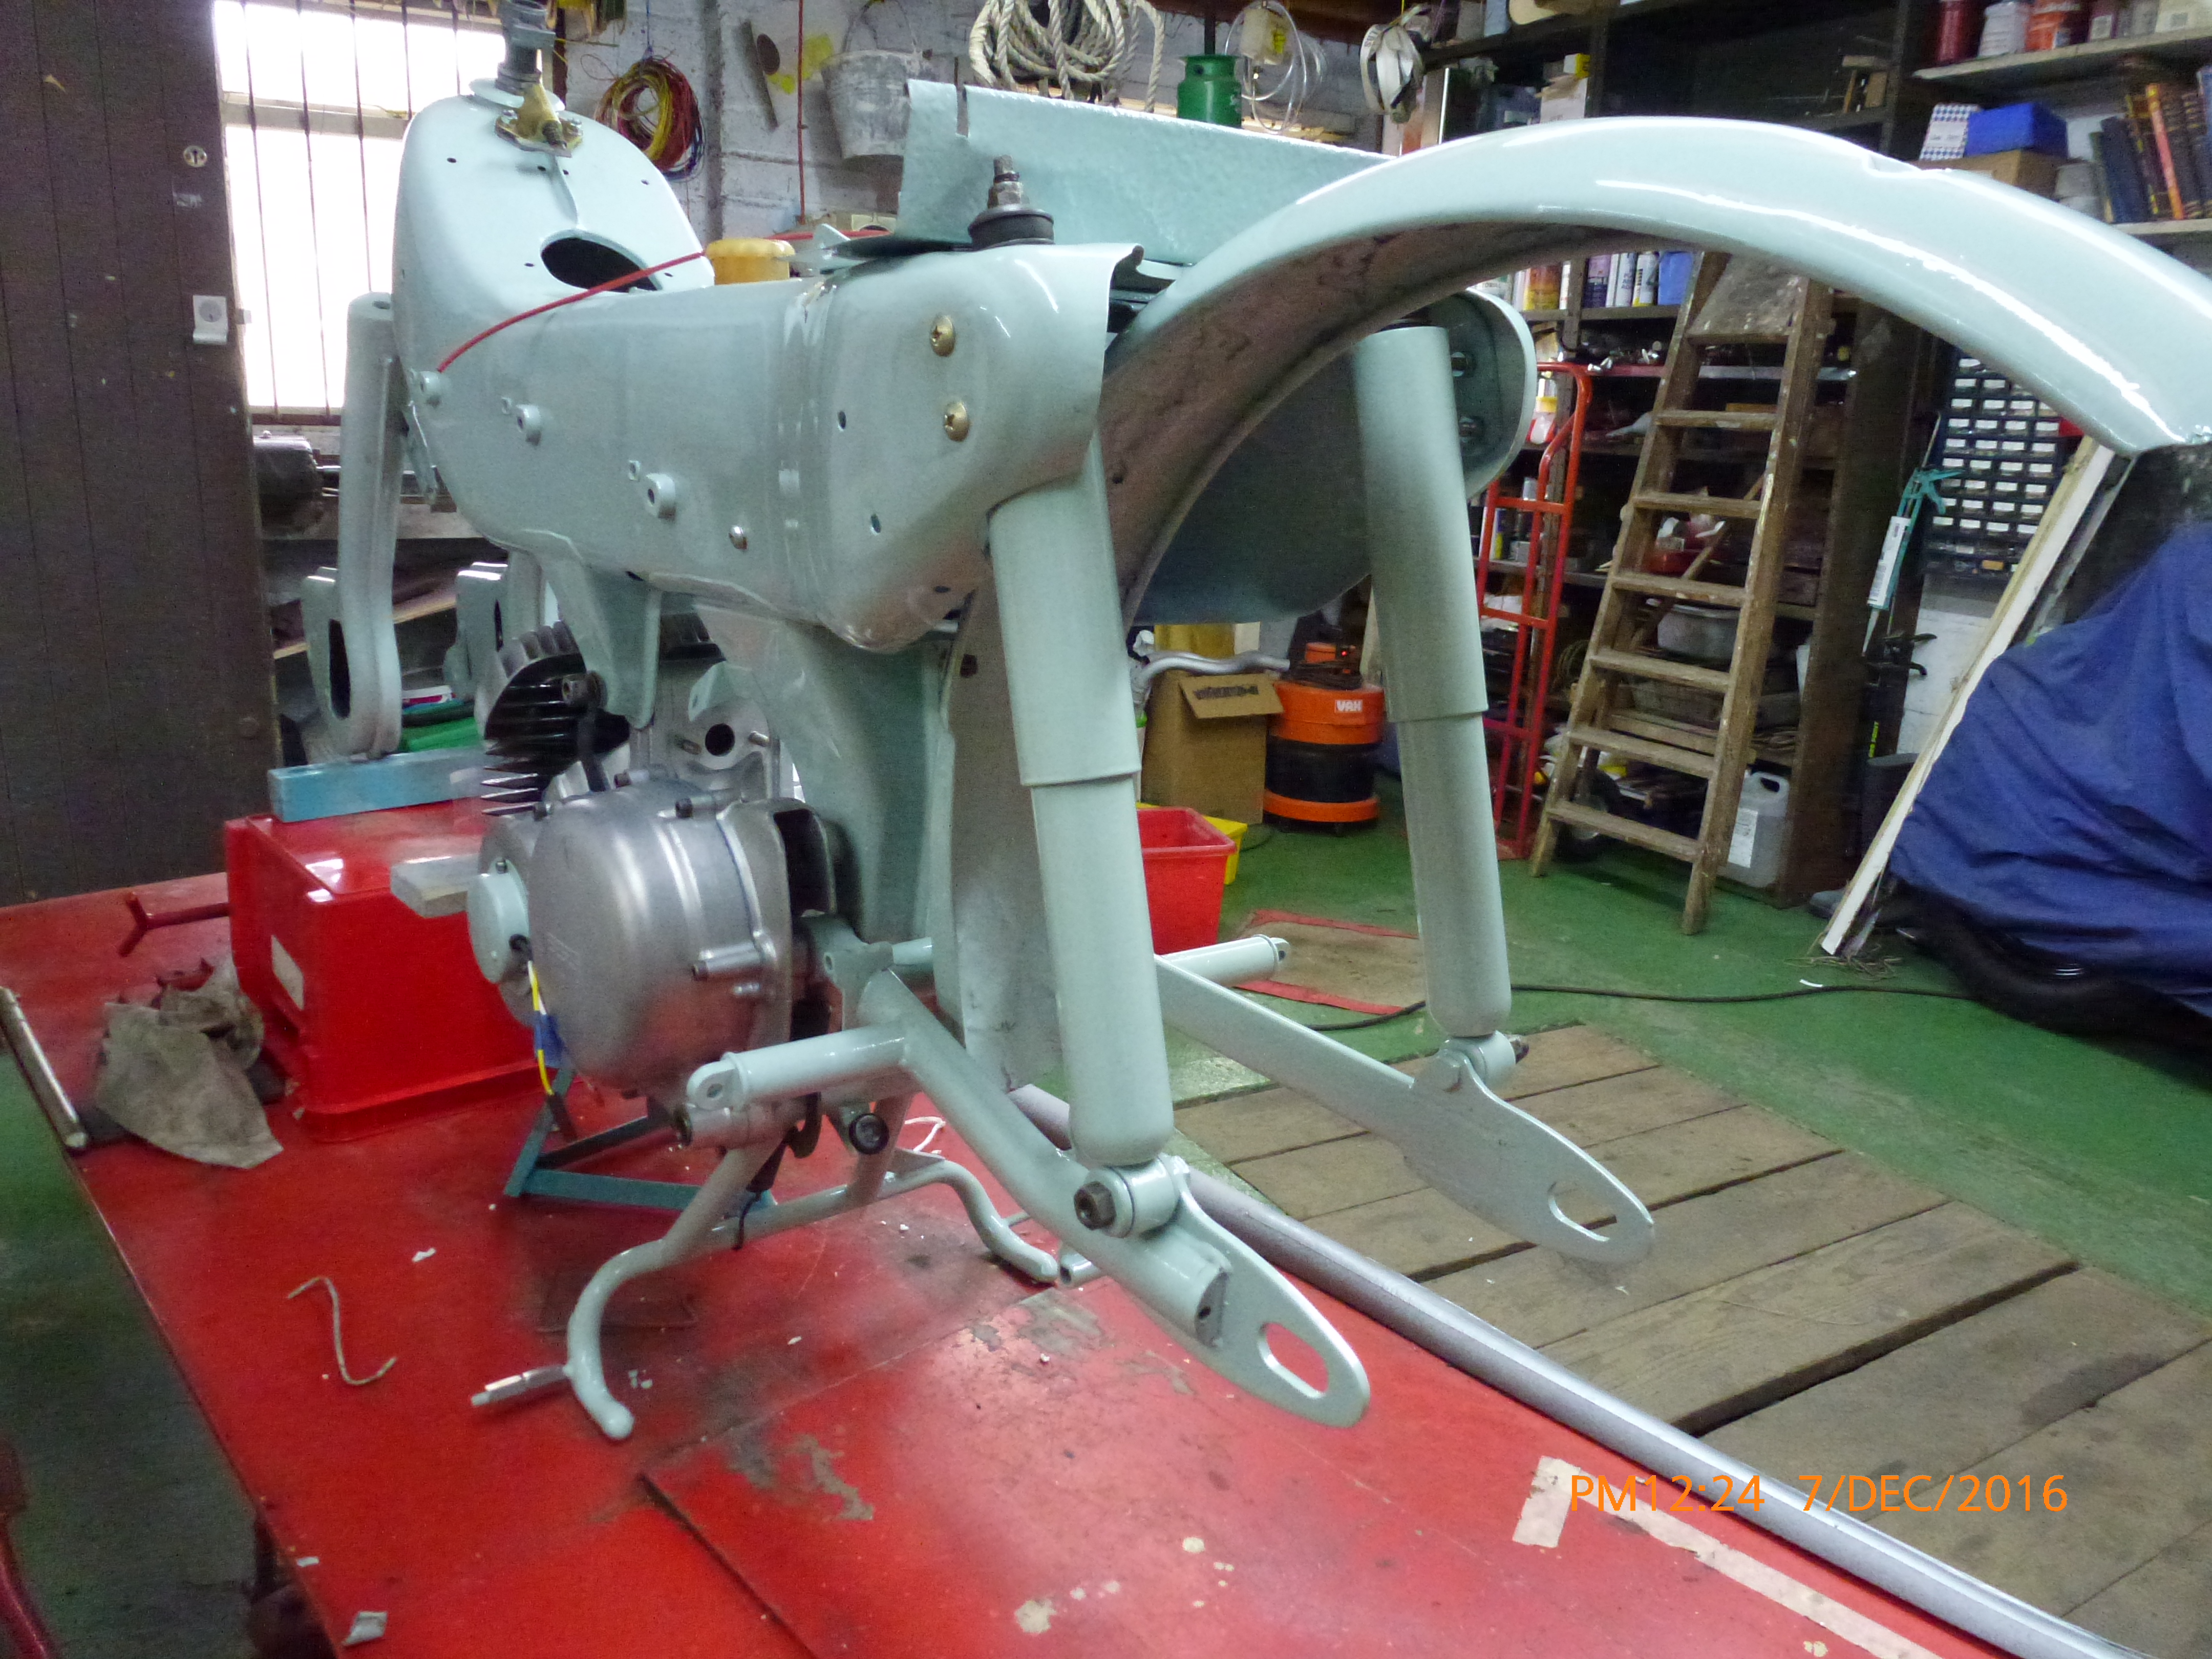
Assembly begins, front forks have been fitted to the subframe with all the loose ball bearings carefully fitted in the steering head.

Subframe being fitted to the rebuilt engine, standing on the center stand.
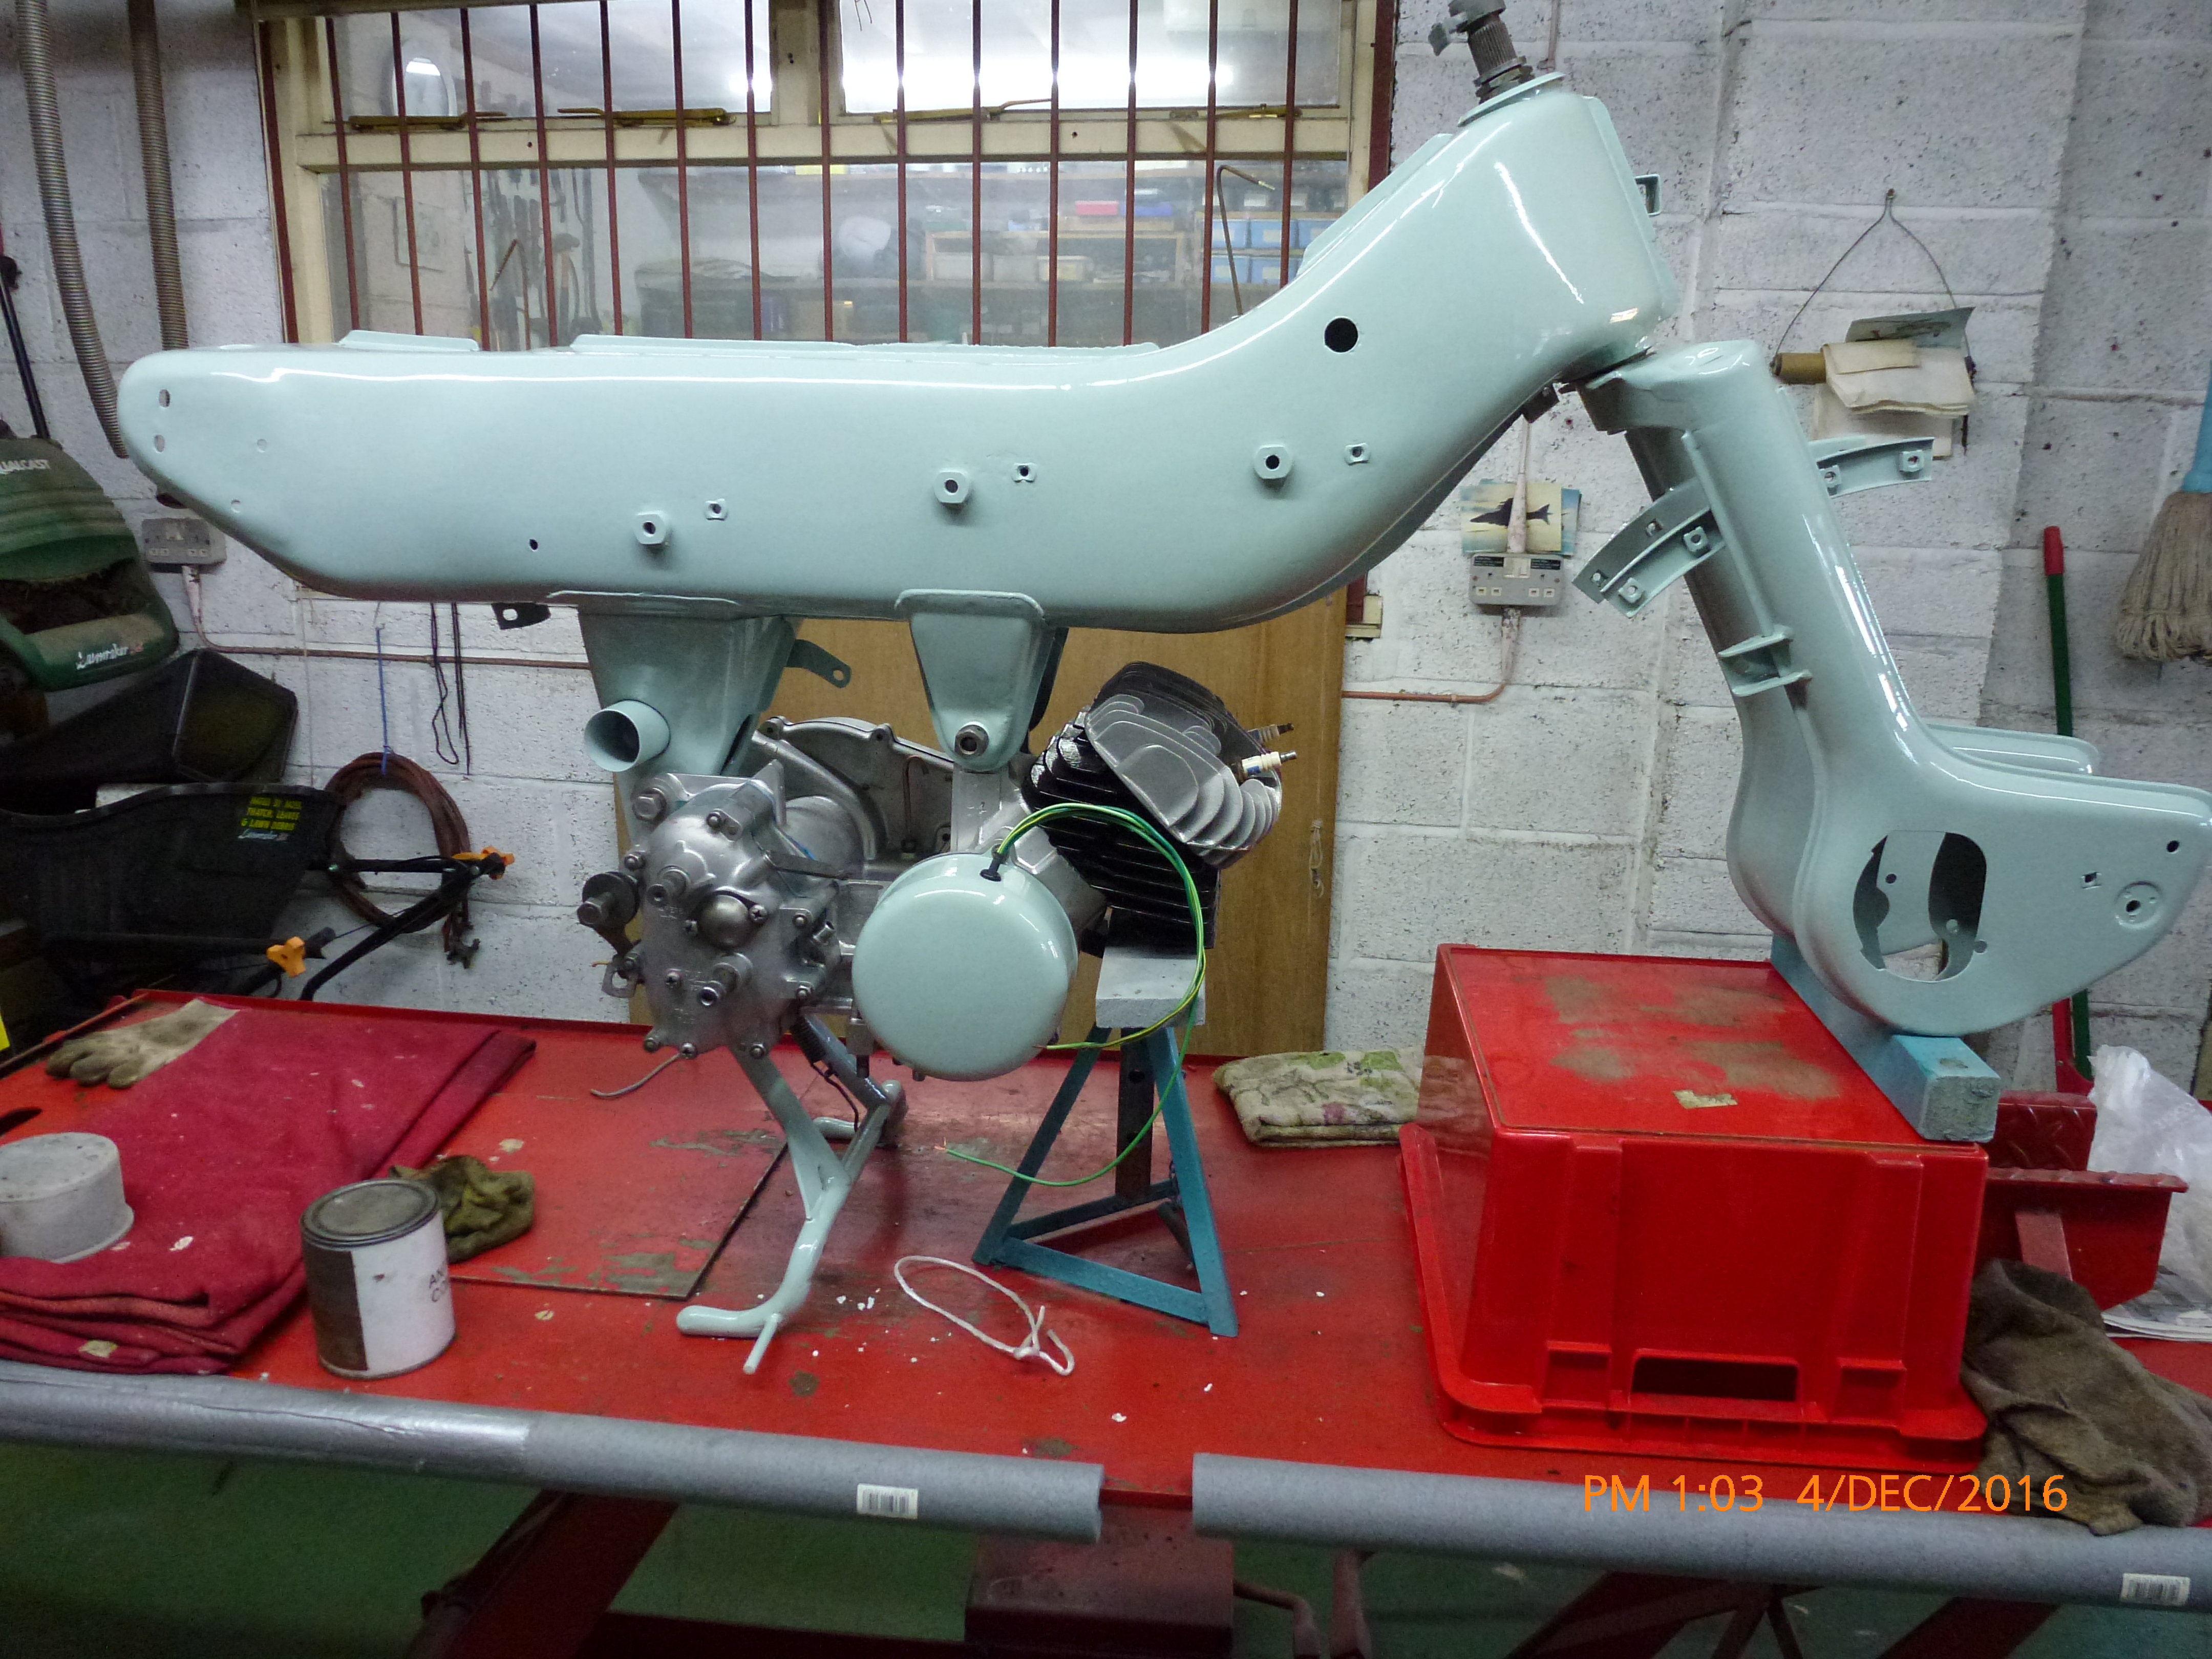
Subframe and engine now bolted together, long time before it runs though!

Time to start adding all the parts that will eventually to rebuilding the complete motorbike.
Rear suspension dampers and swinging arm fitted, getting ready to fit the wheels. Much easier than when it is balanced on boxes and stands.

Wheels rebuild, complete with tyres and white walls. Truly looks like a bike from the 1950/60s.

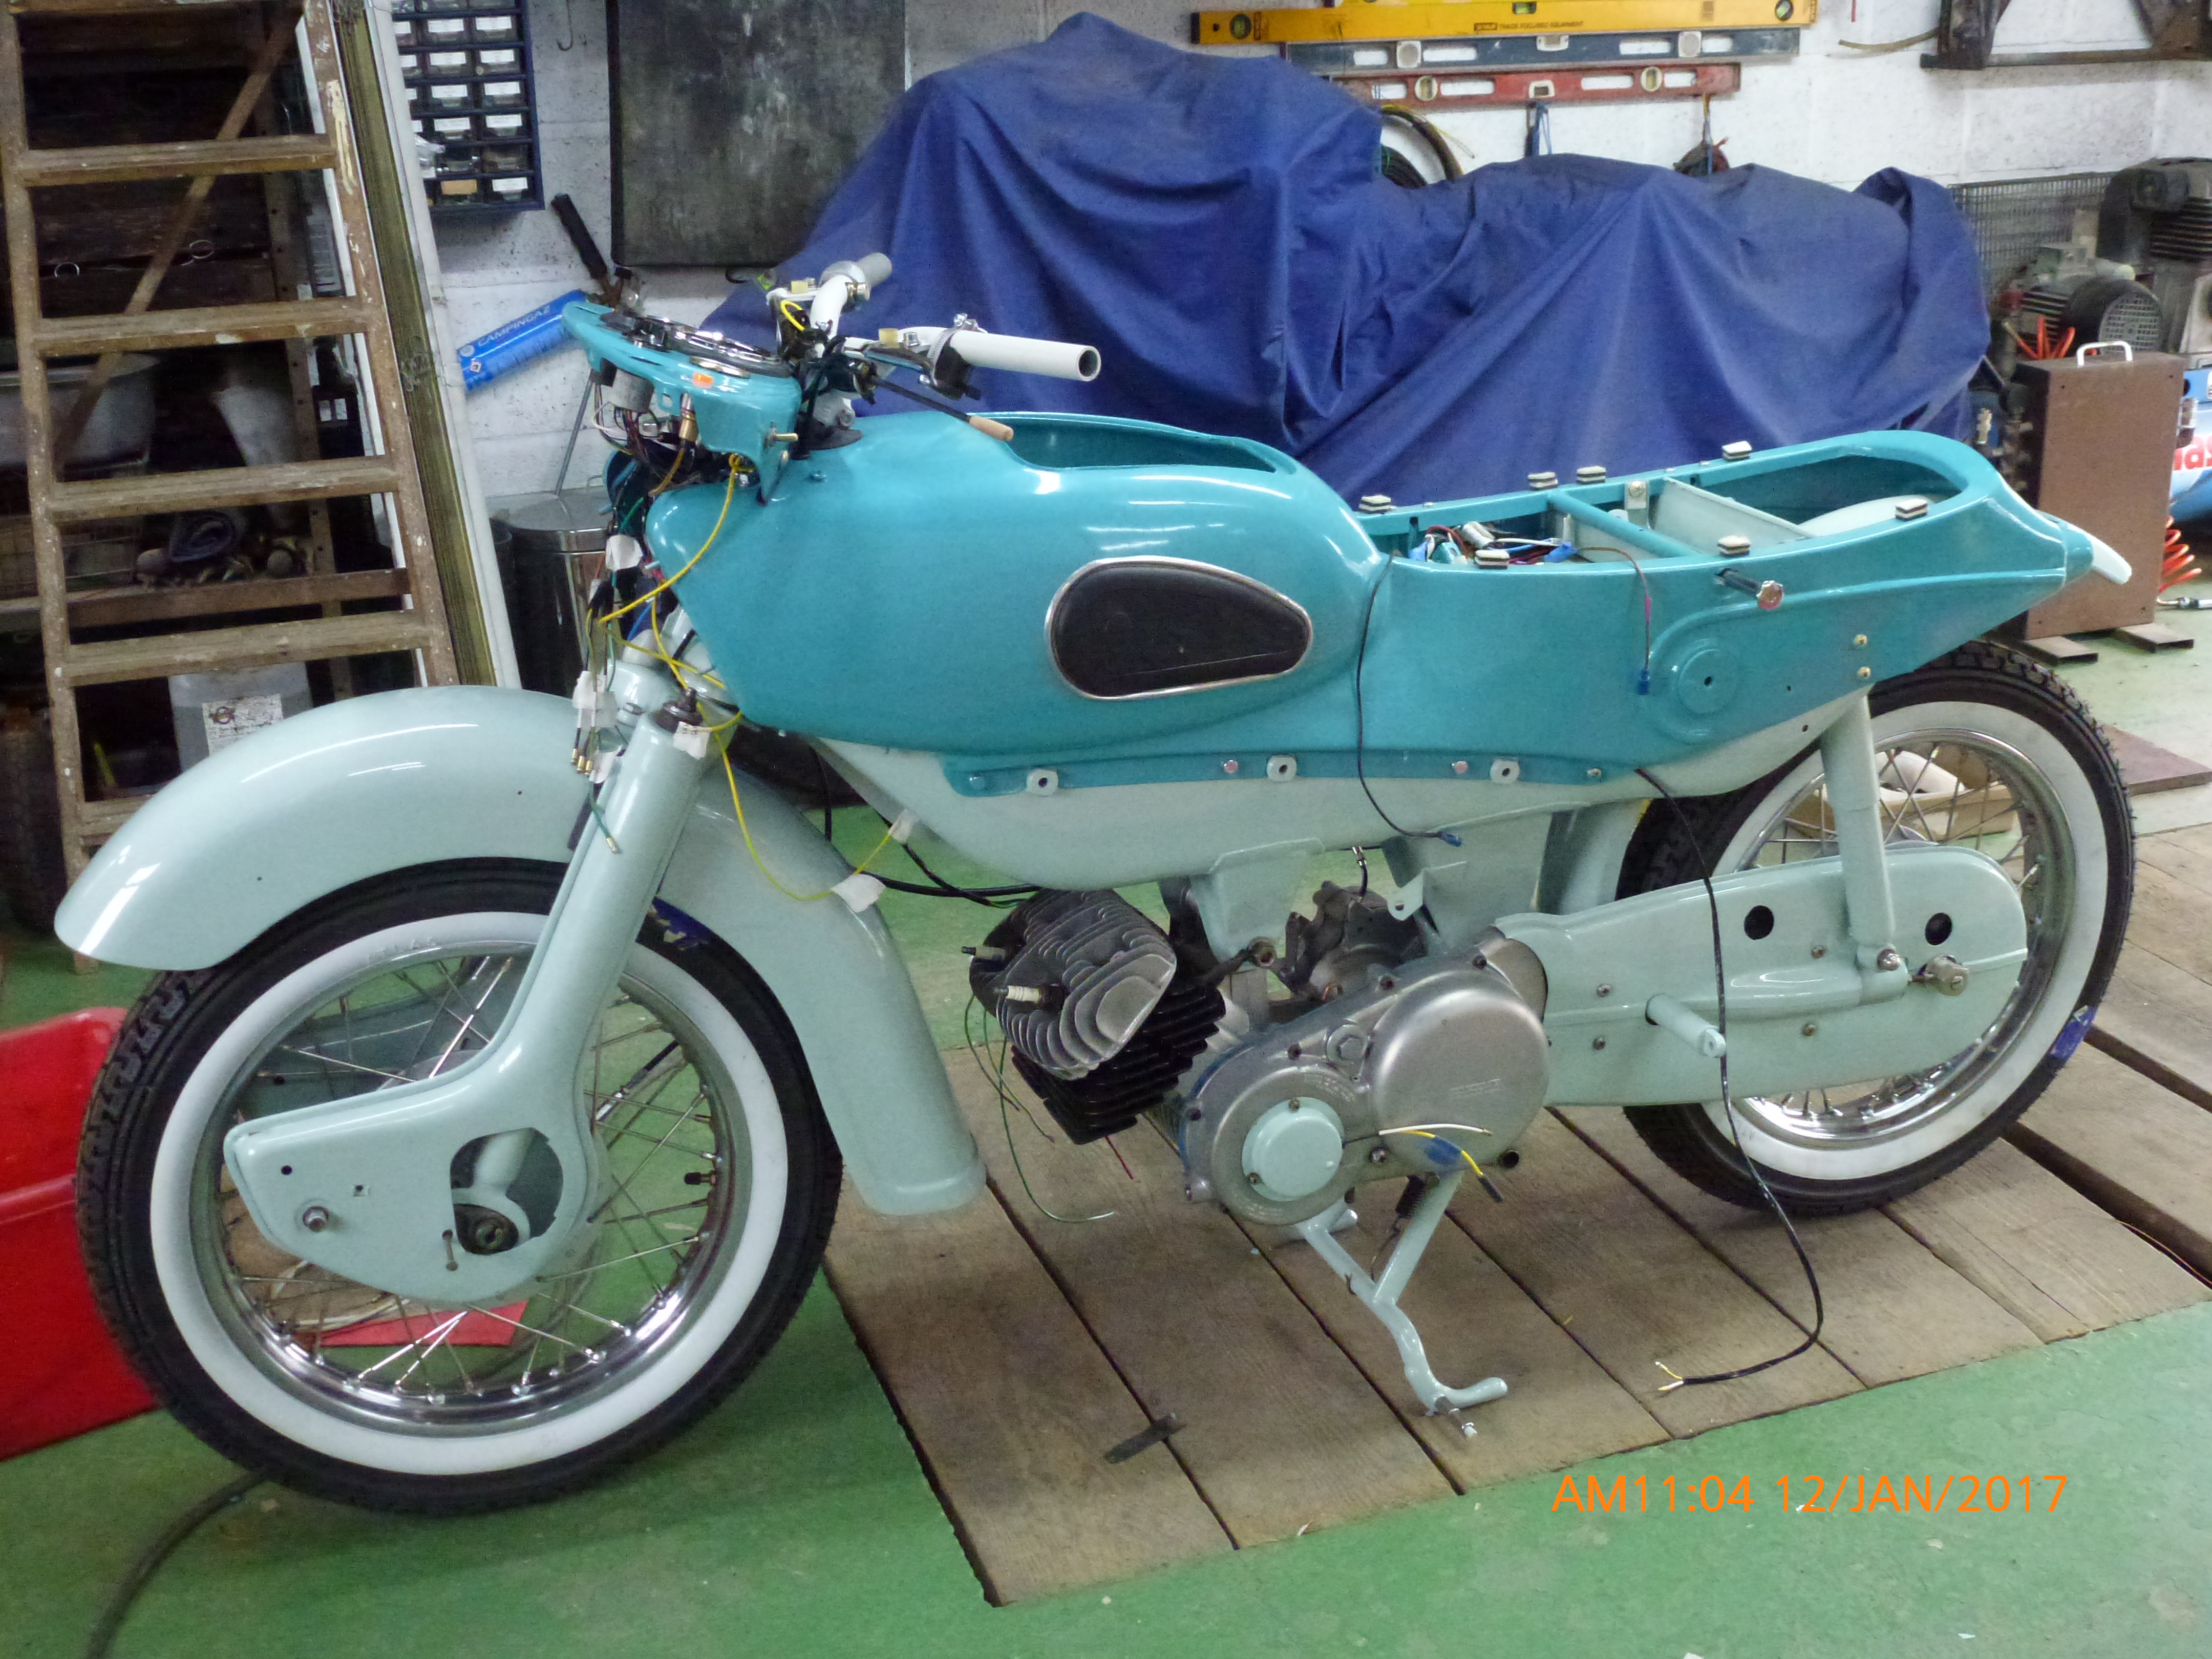
Upper body fitted, now complete with suspension and rear wheel.
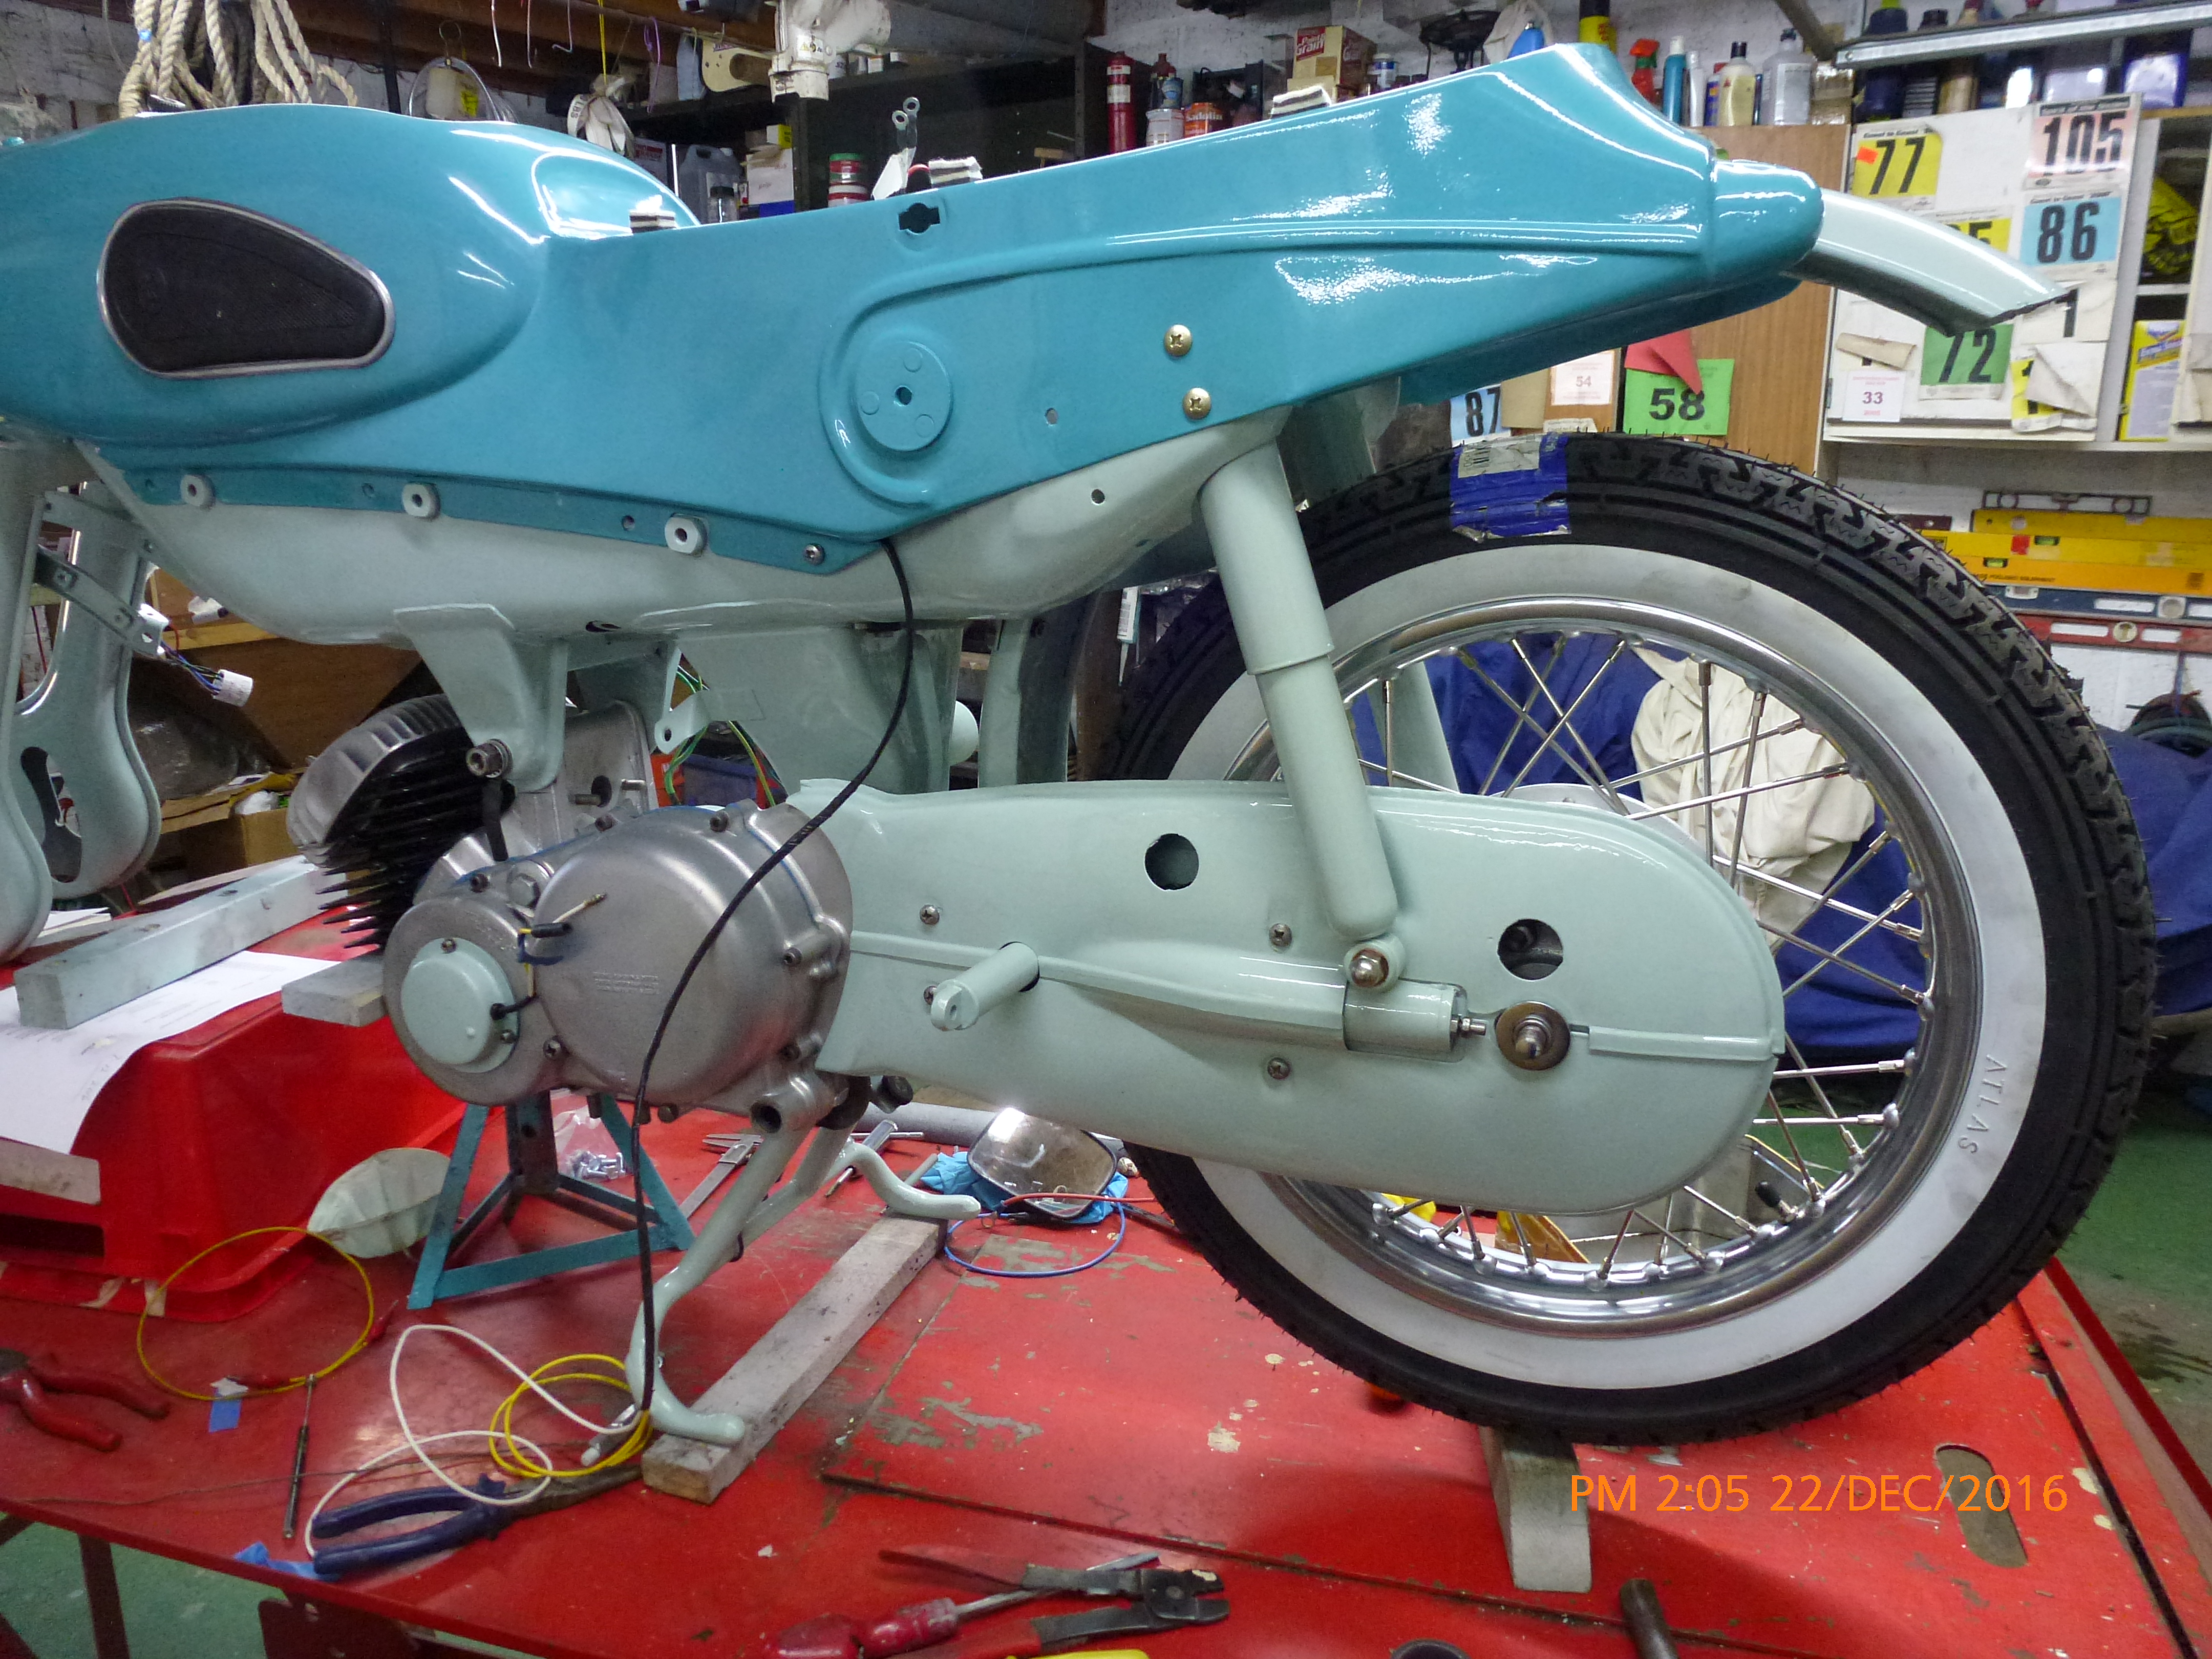
Just as well I fitted the chain and enclosed chainguard now, it would be difficult to fit later.
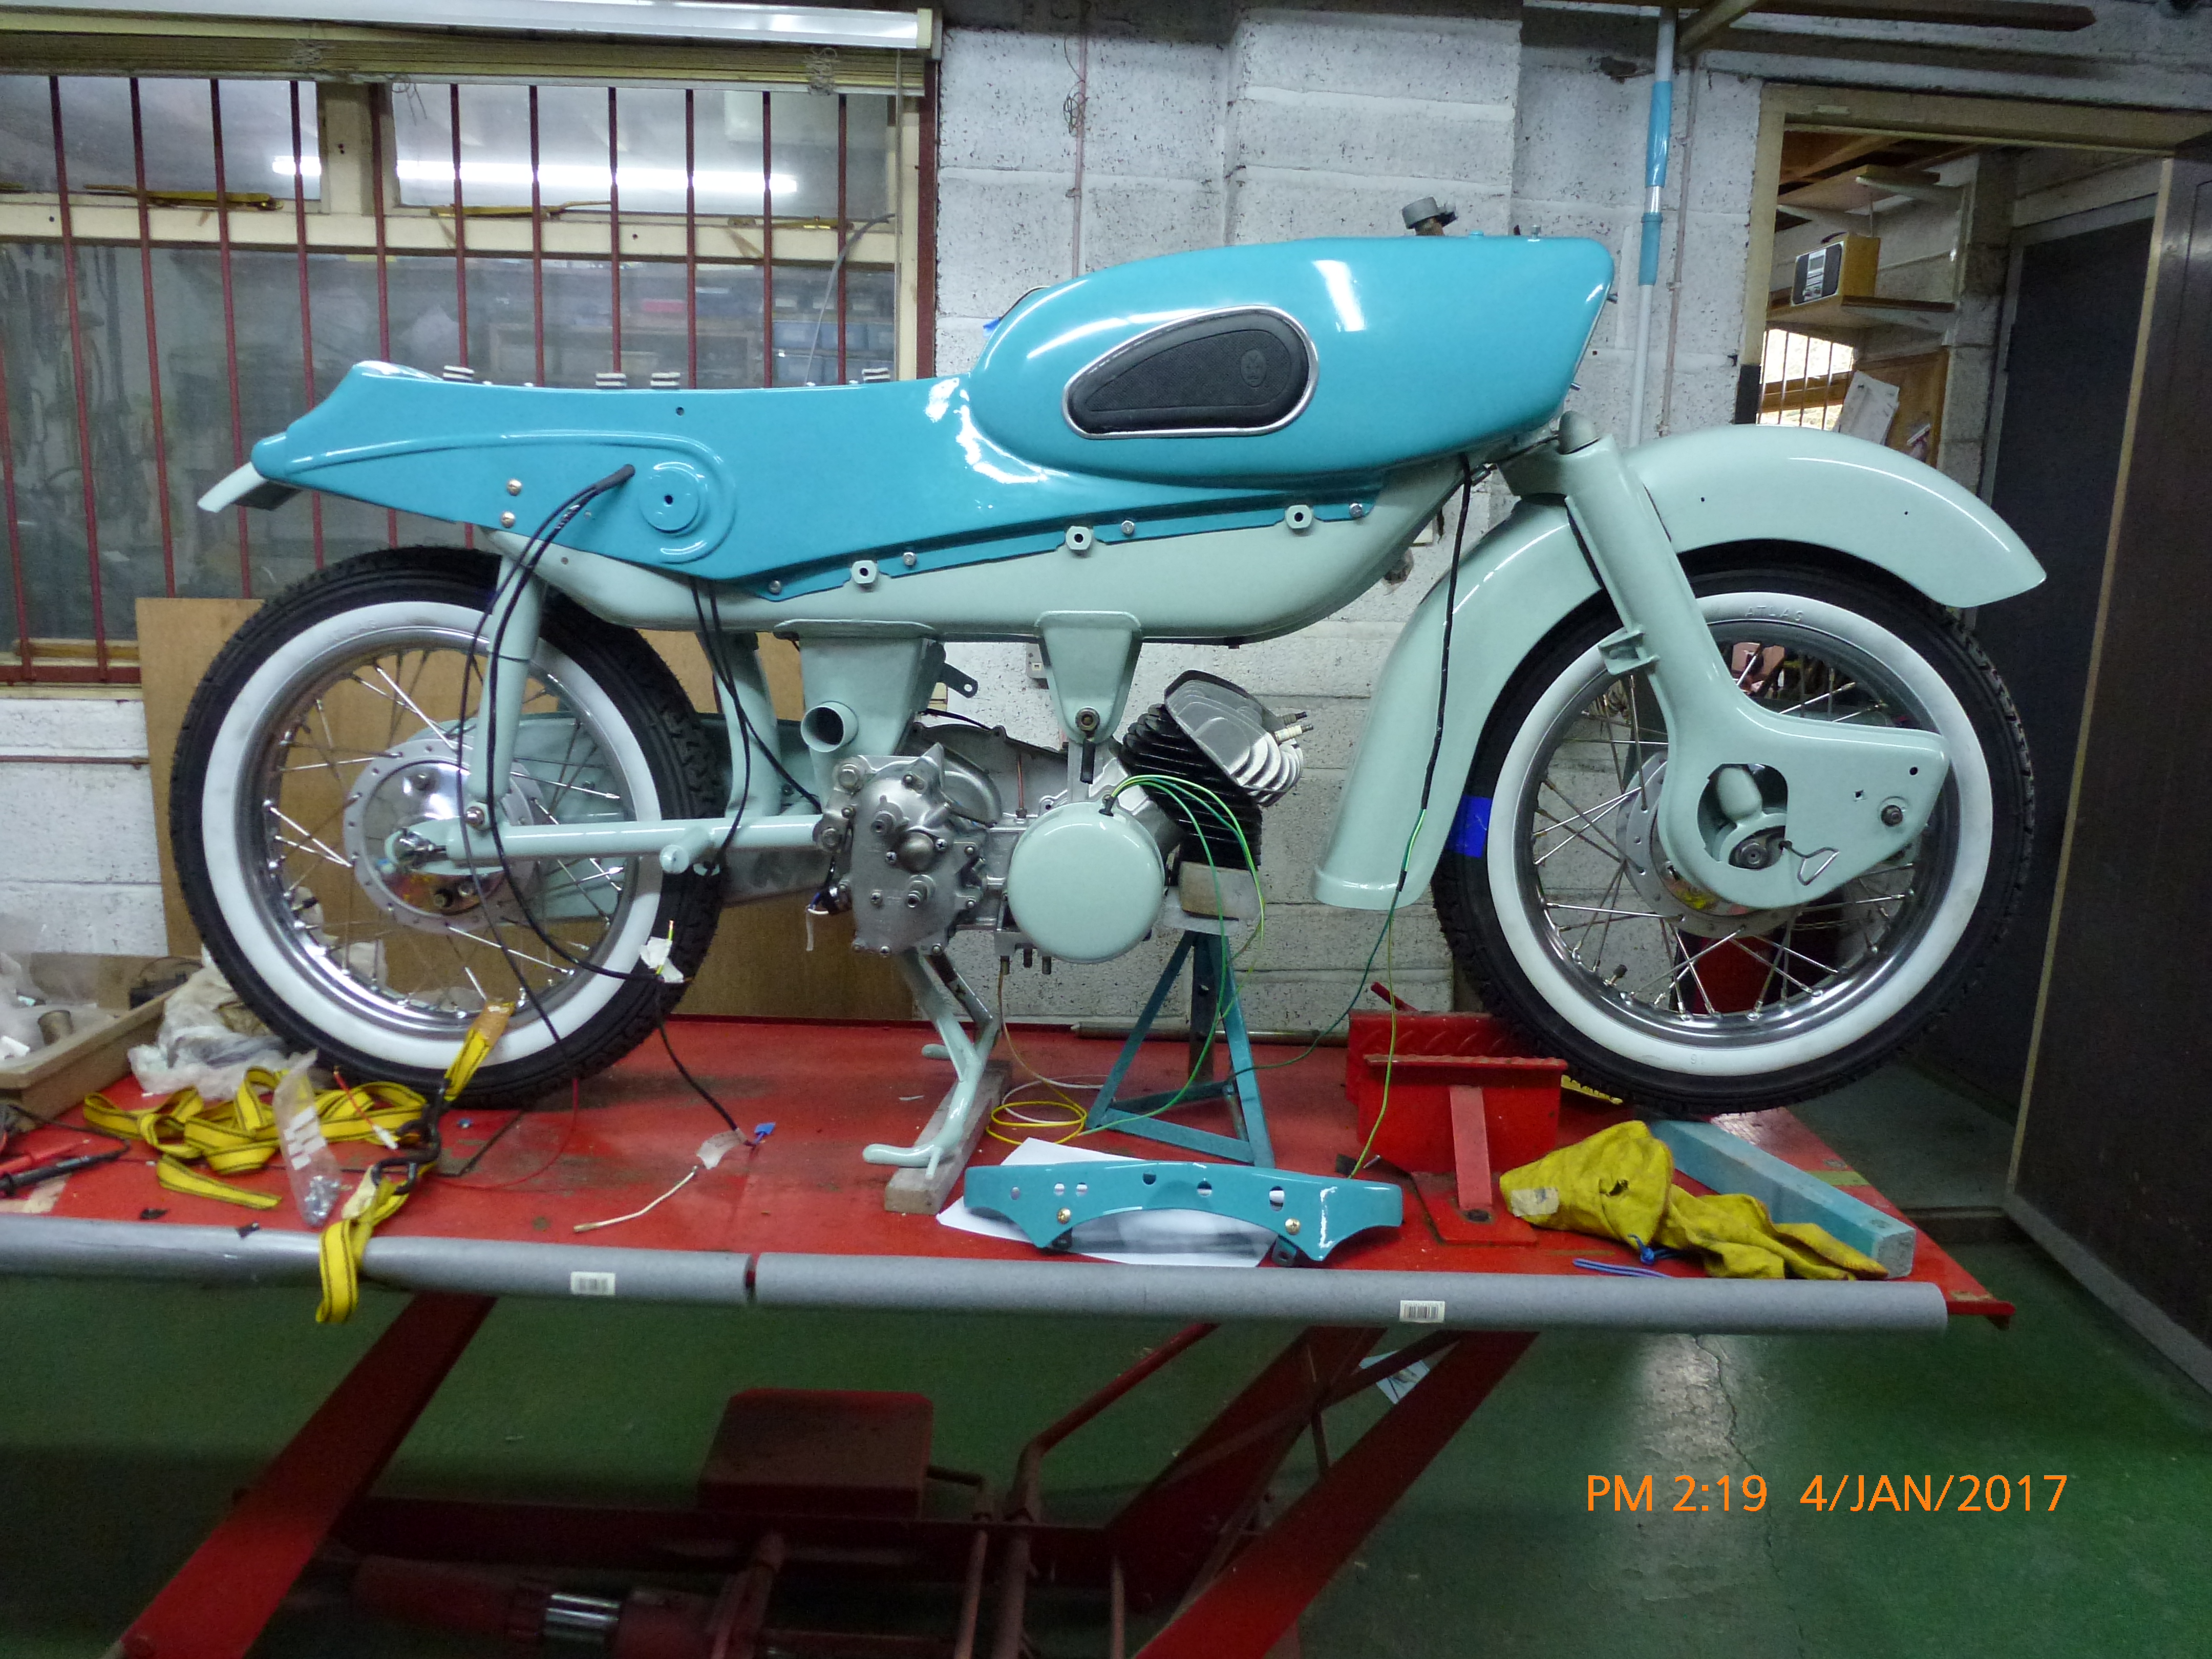
Beginning to look like a motorbike now, both wheels have been fitted.

Time for the electrics. WOW, with all the gadgets on the bike it's a headache! There are indicators, front and back brake lights, neutral indicators, with indicator lamps on the dash panel.
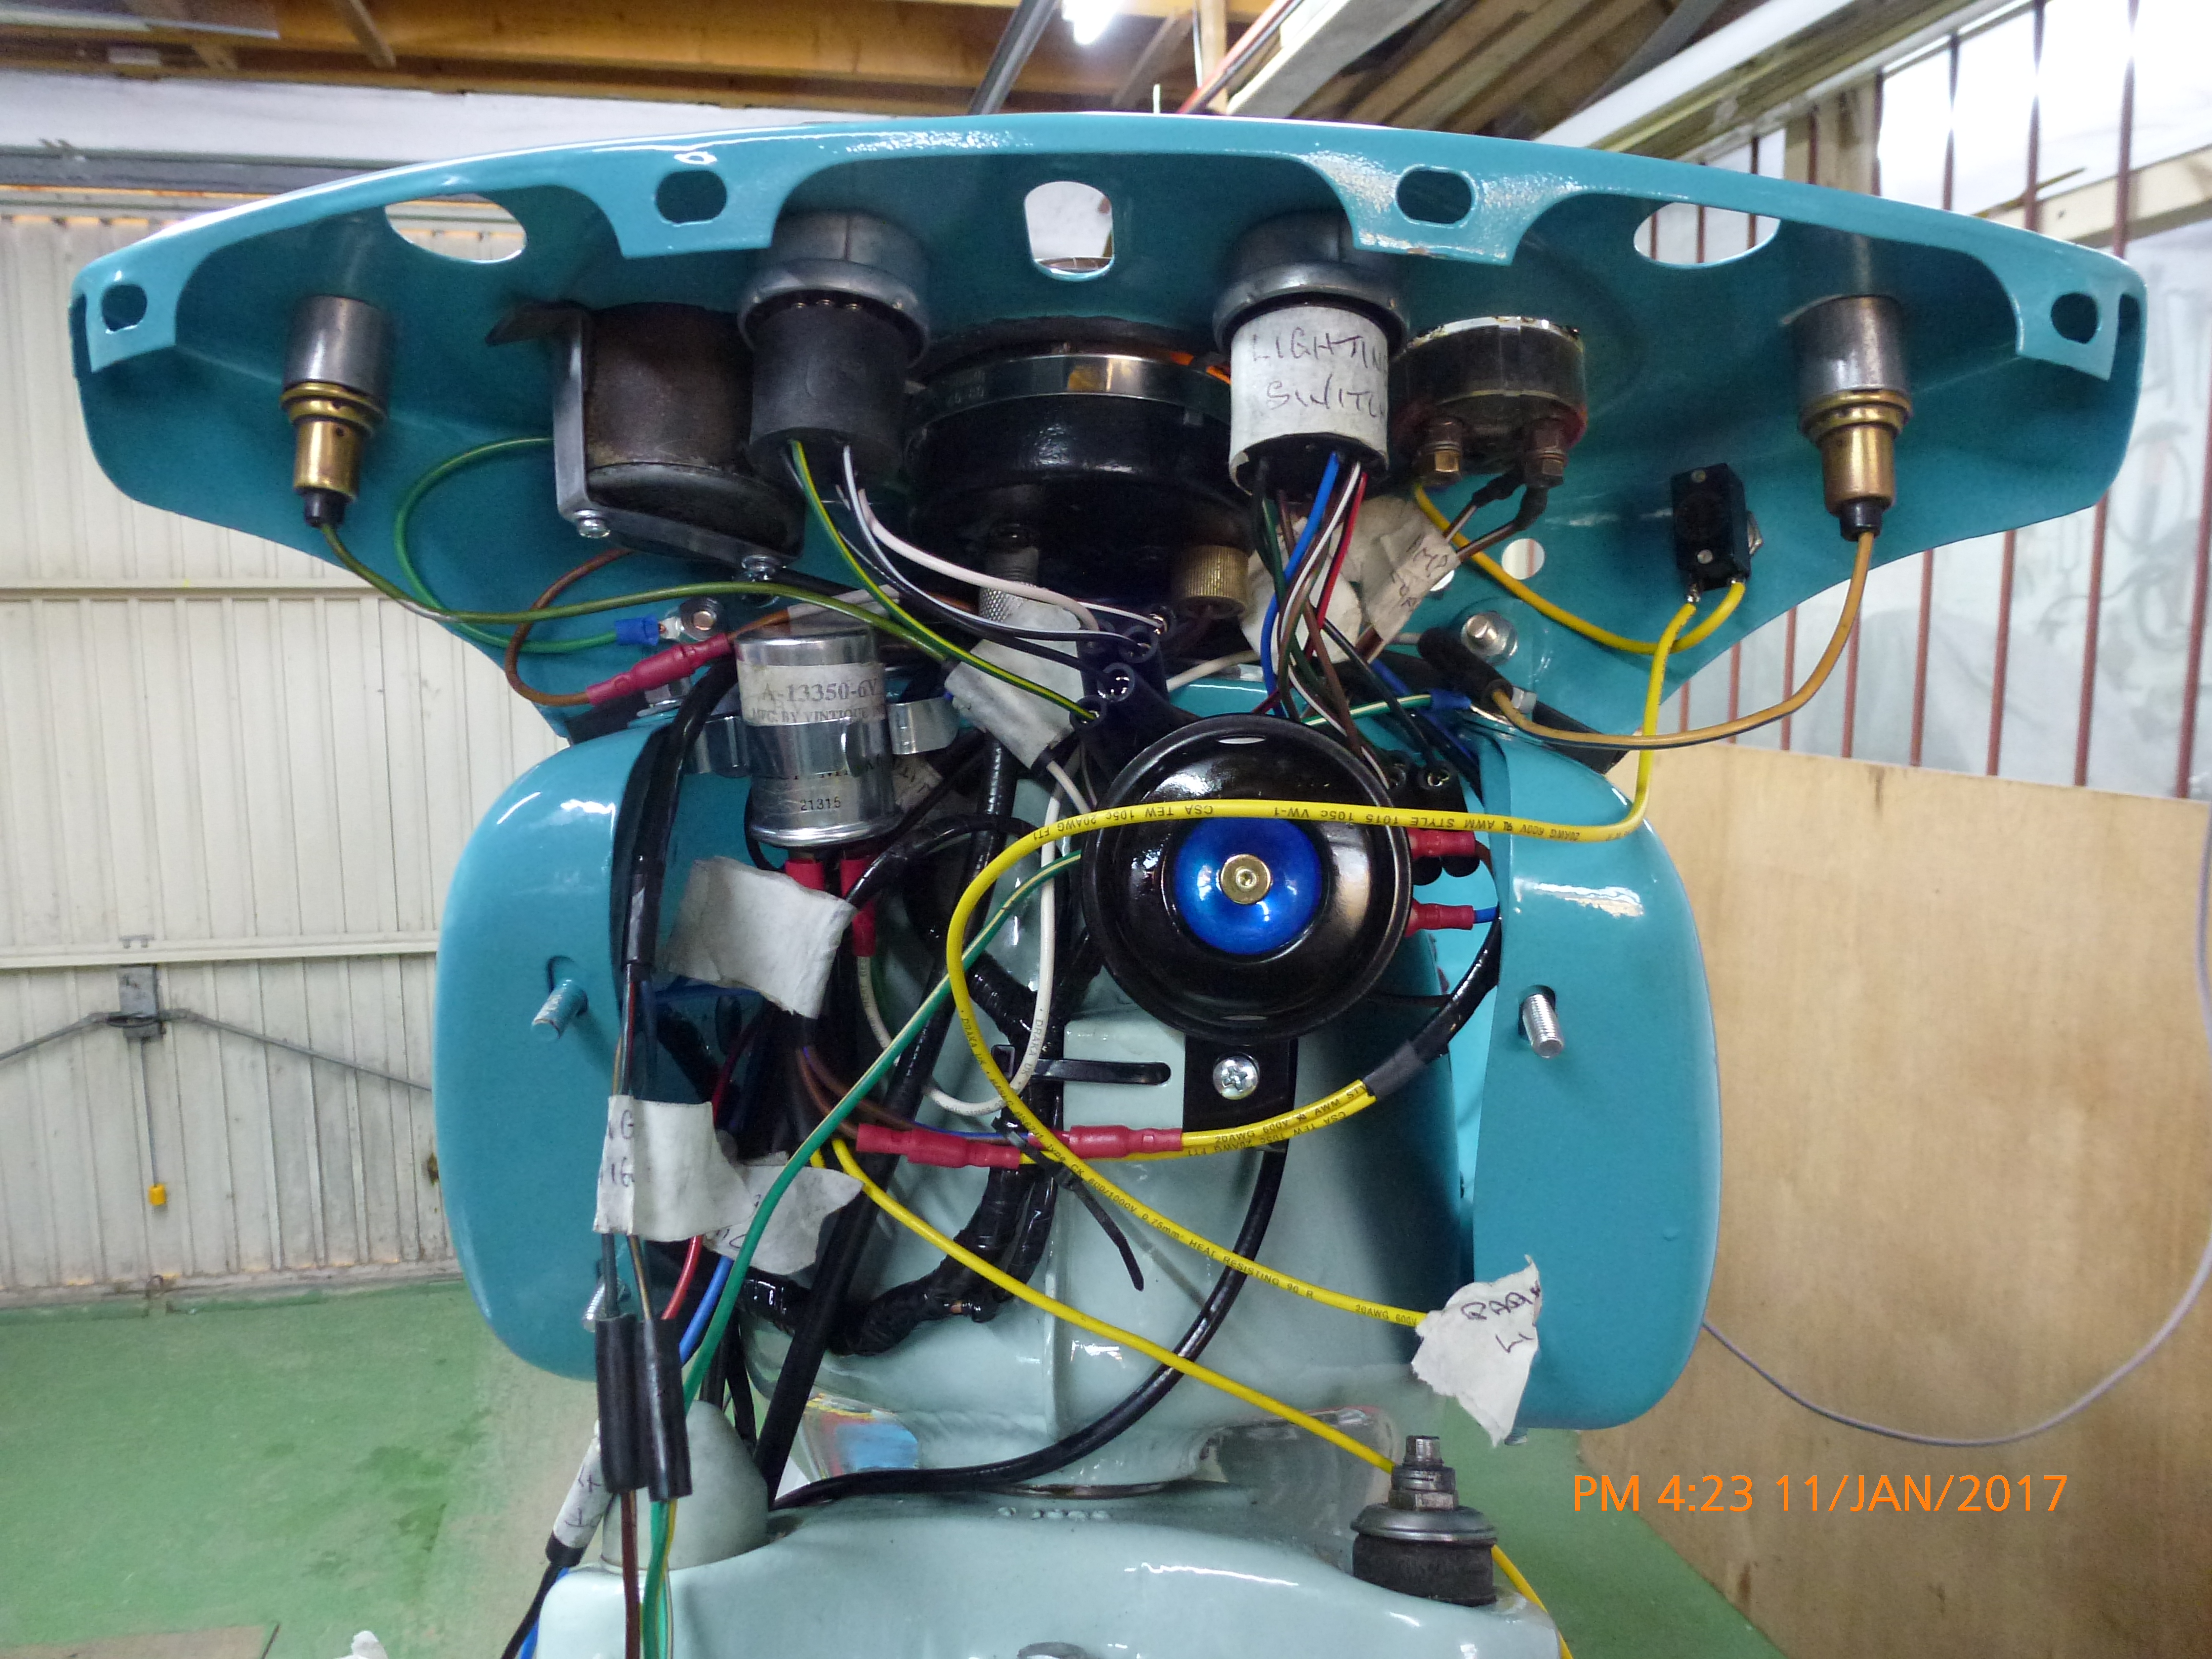
Under the complicated dash panel. No chance of changing anything here once the front apron is fitted. Hope it all works.
Time for a clean and tidy up of the workspace. Bike is now on the floor for the first time.
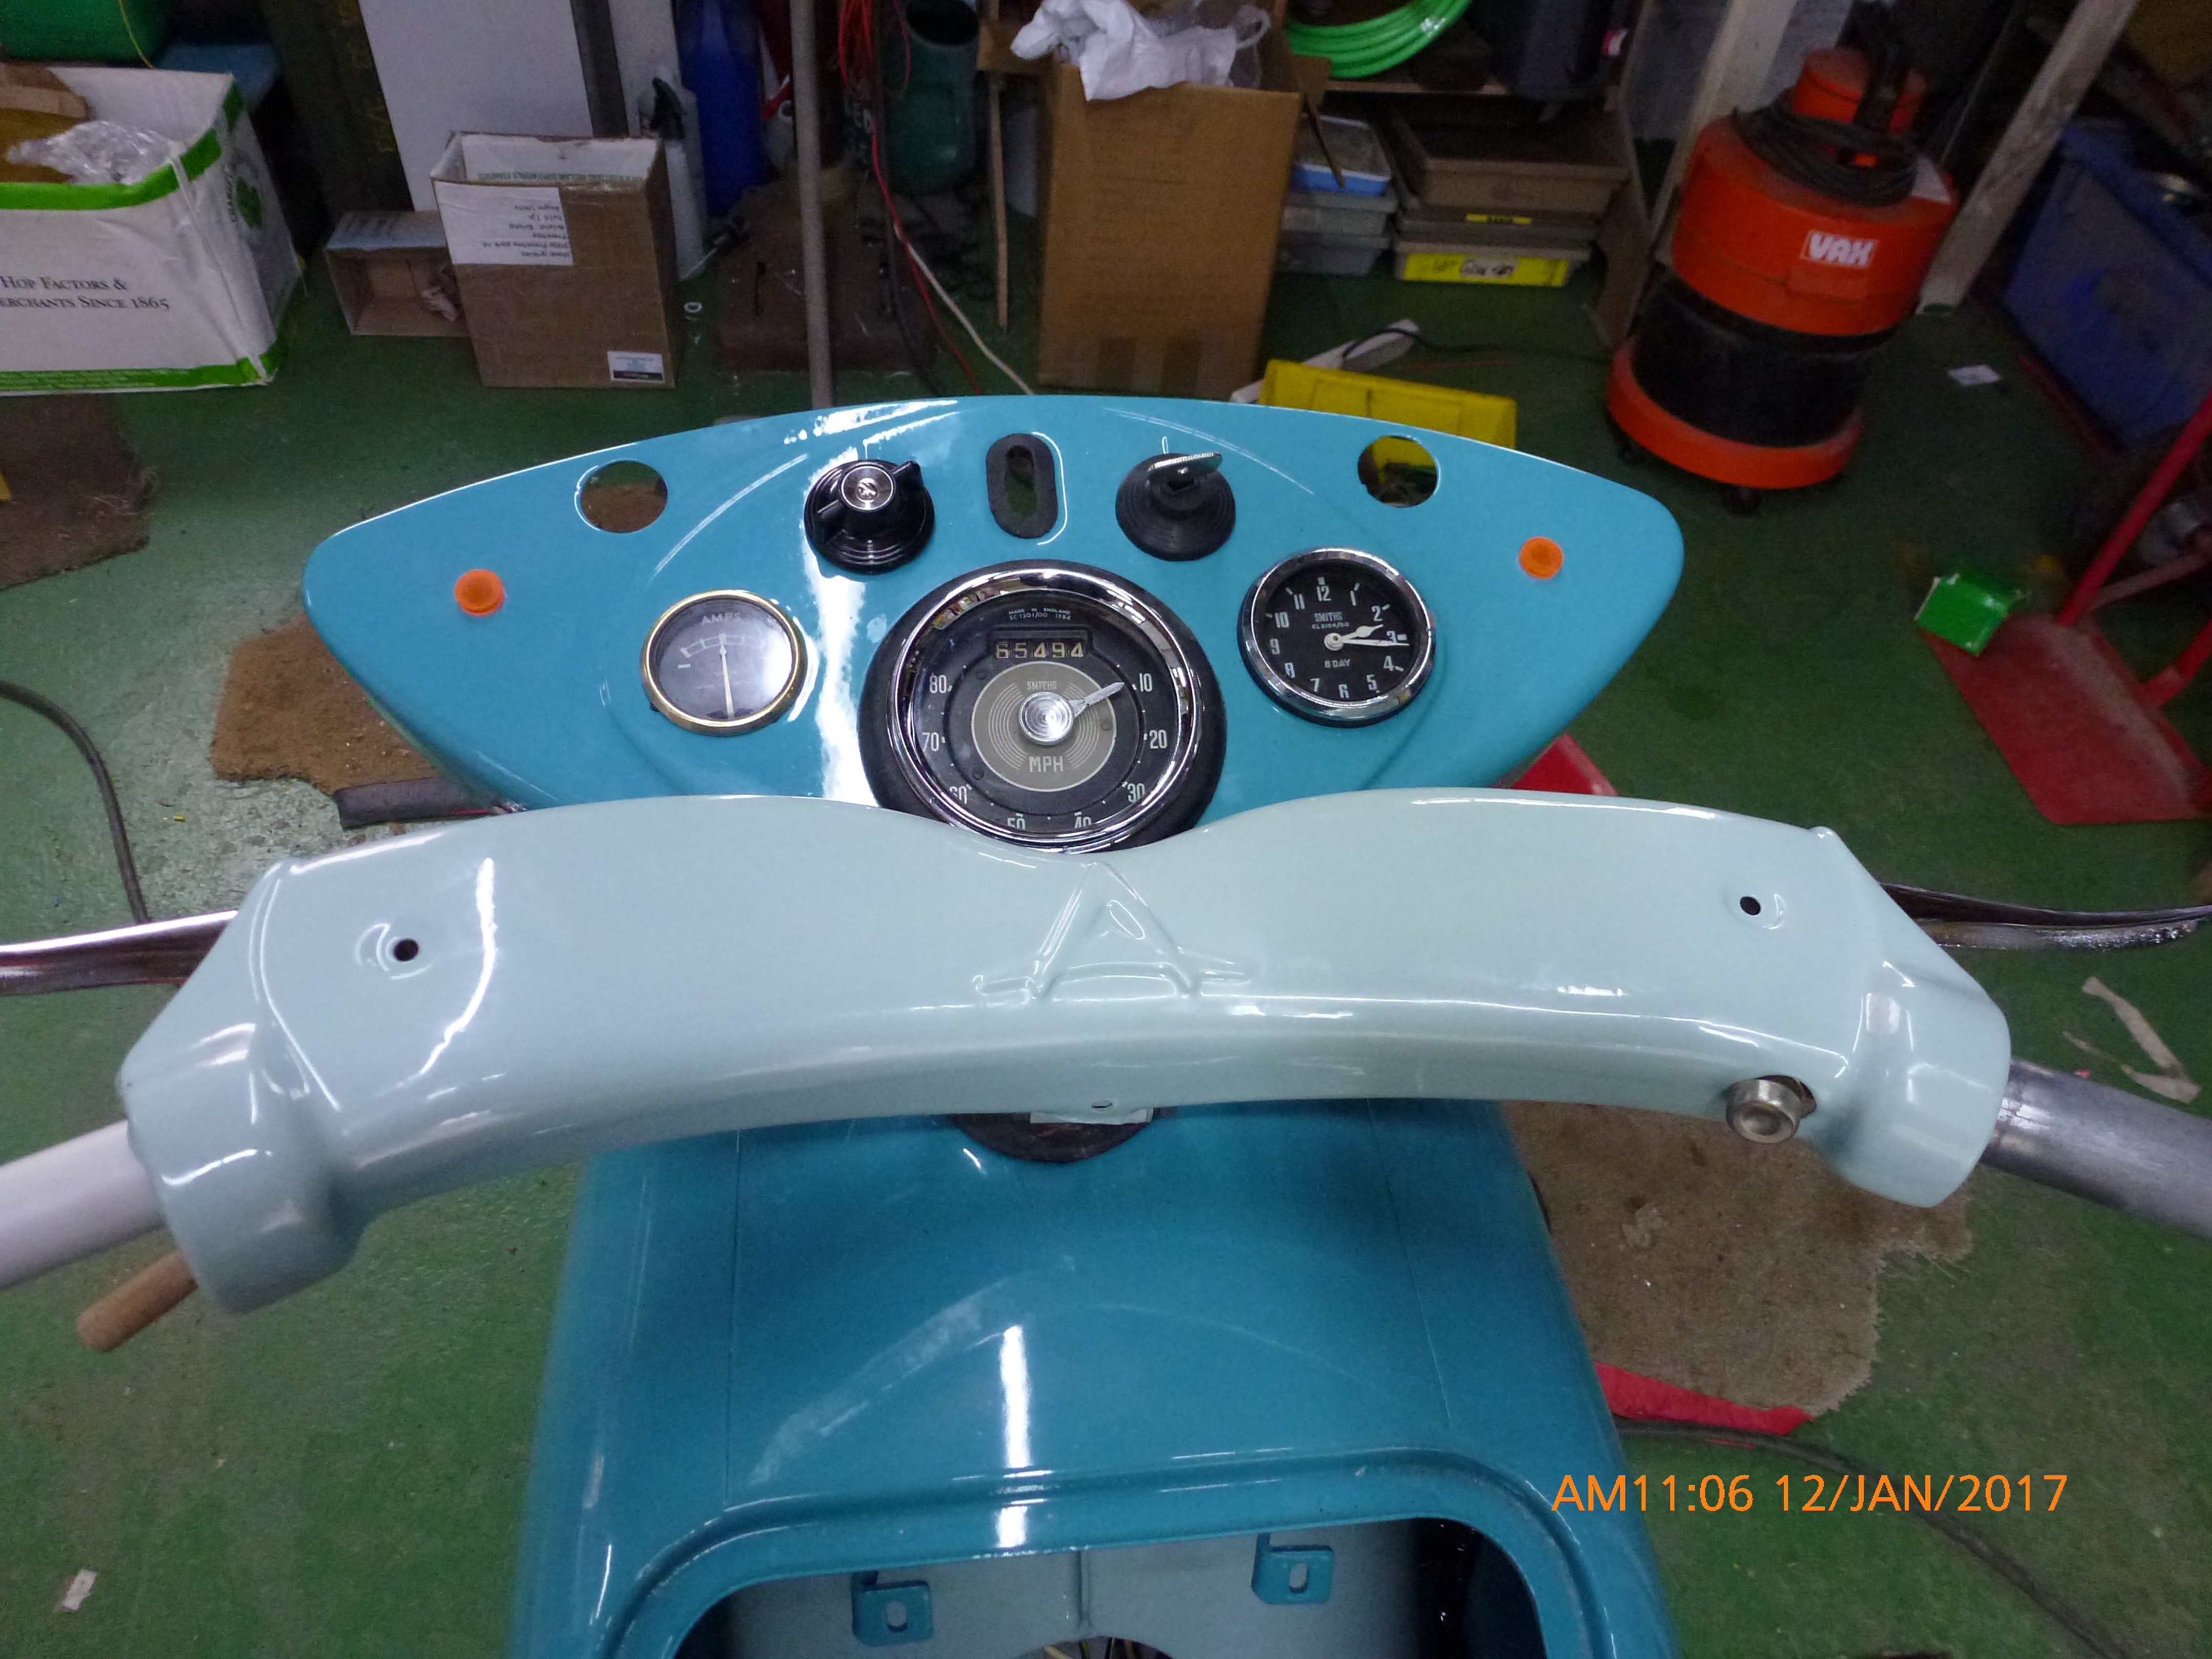
Quite a smart dash panel, still a few parts to add.
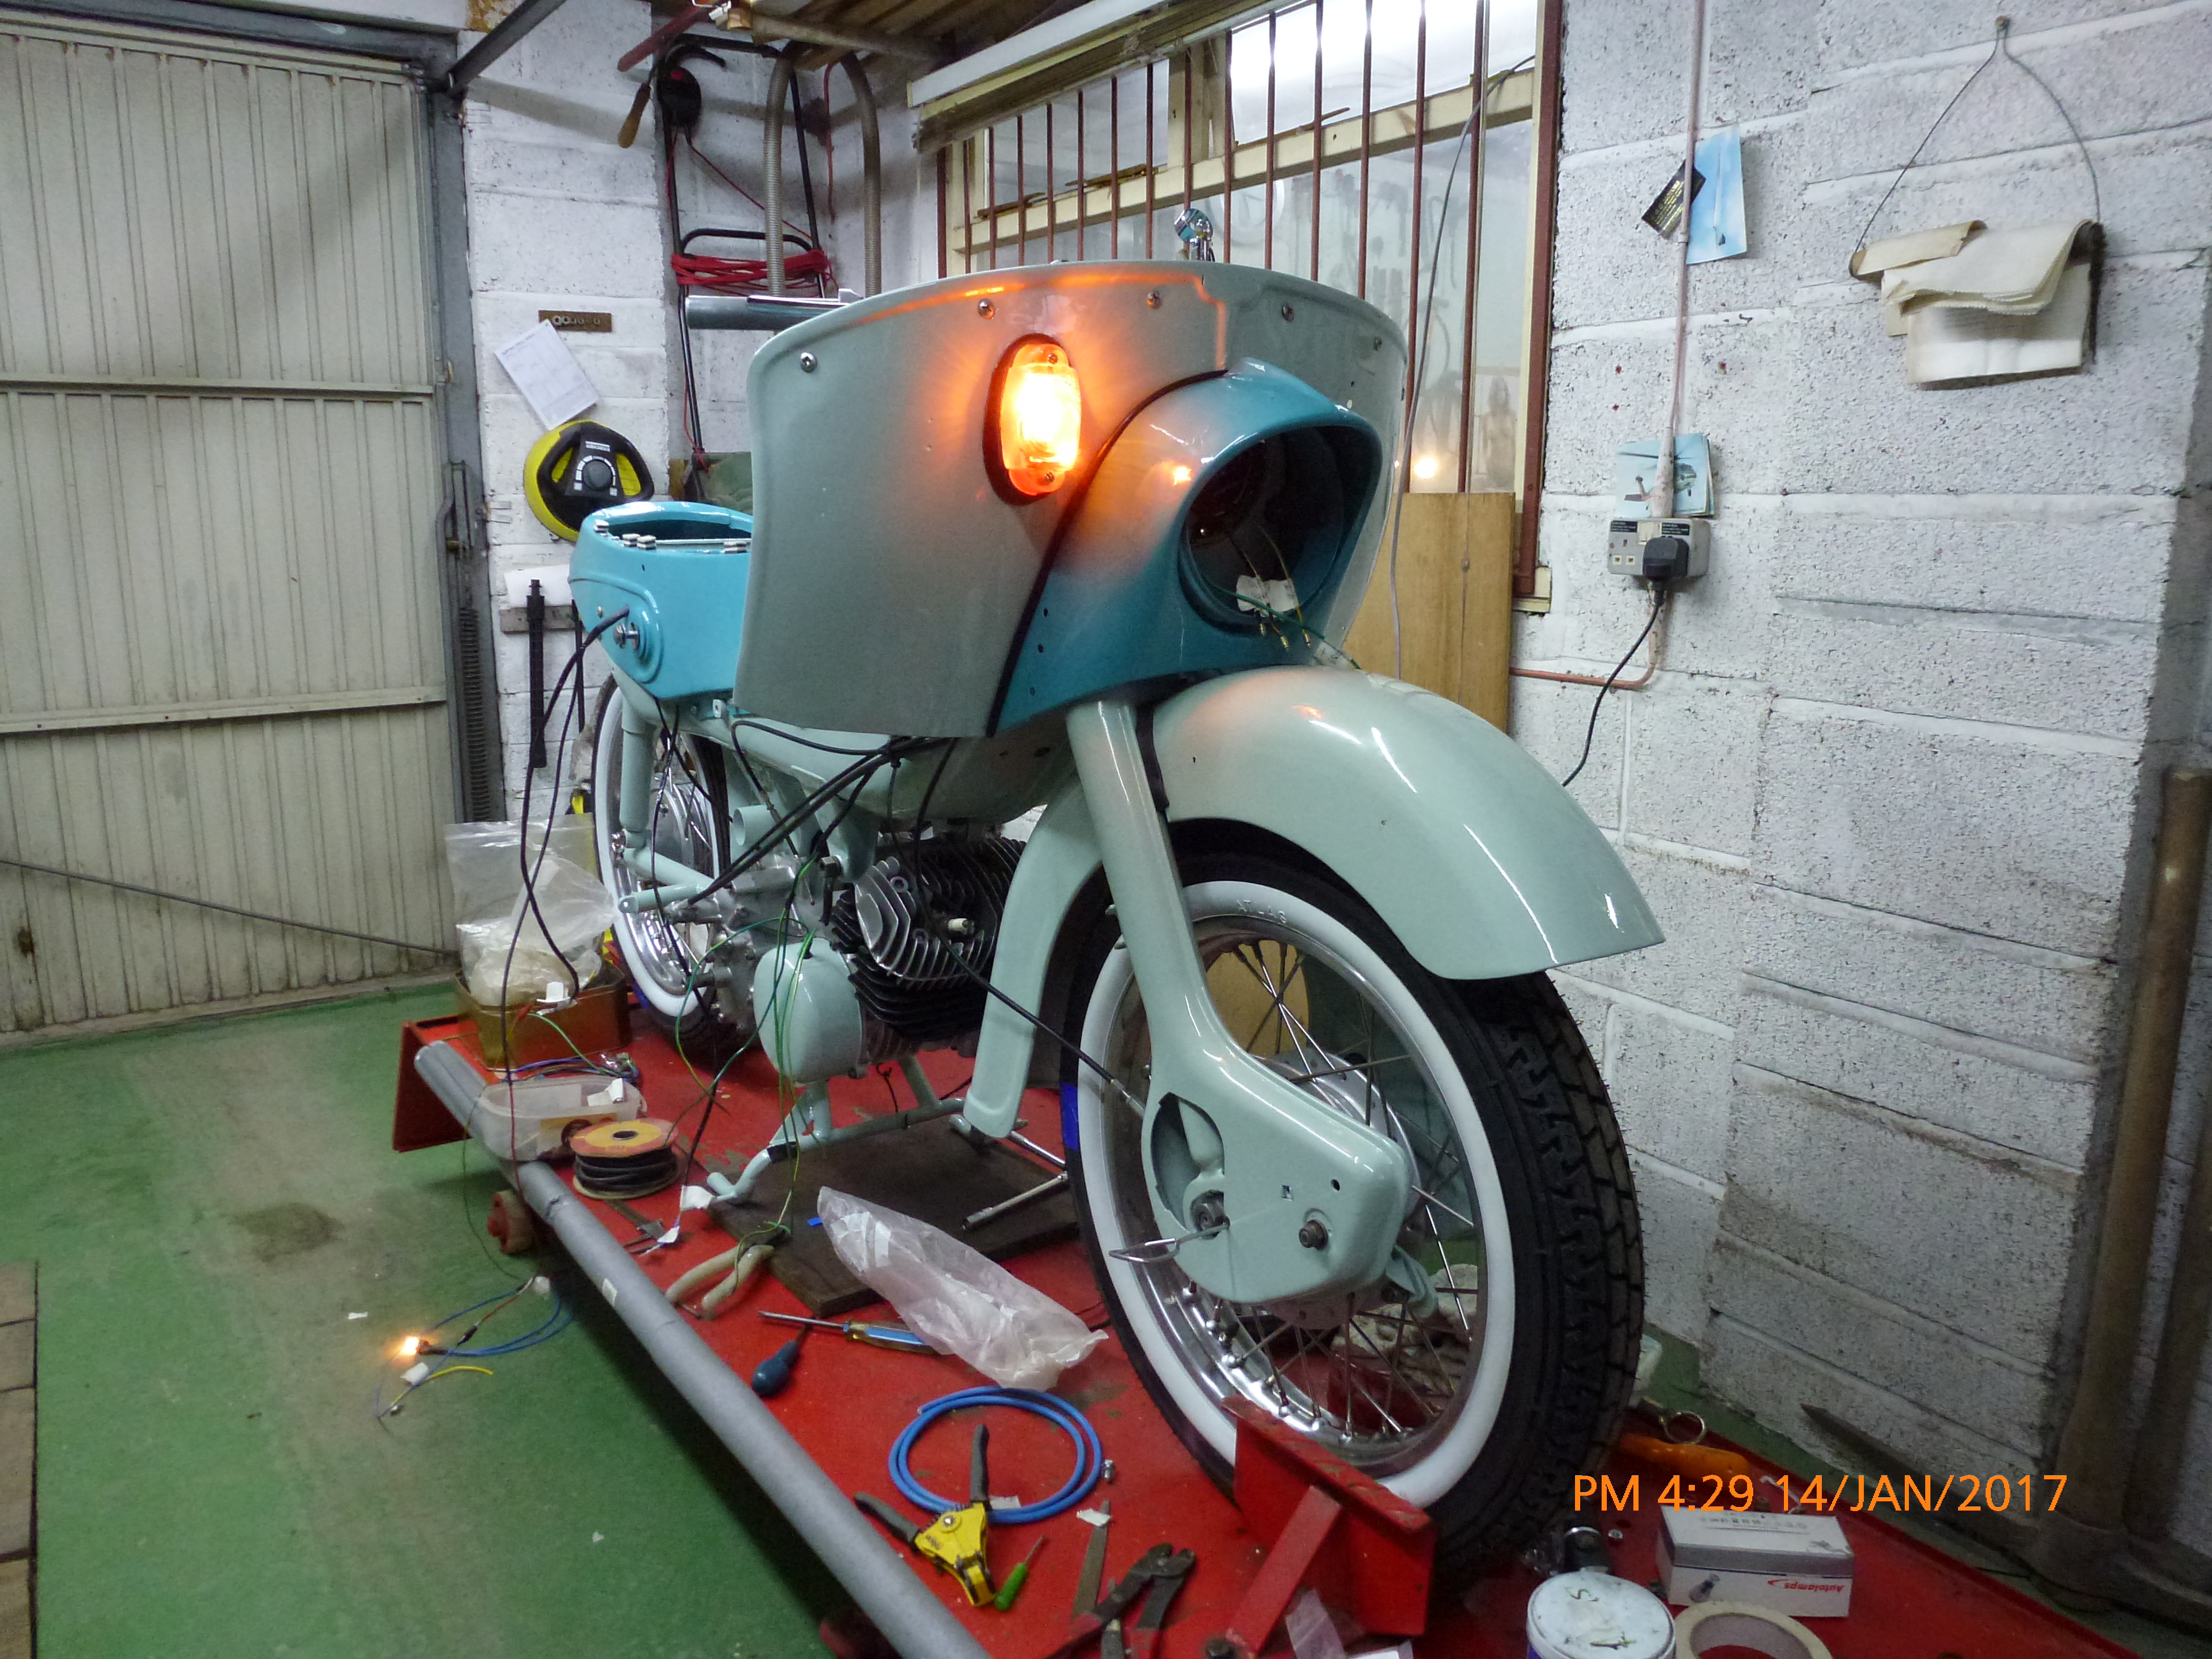
Time to test the electrics. First part to work is the front right hand indicator, now to test the rest!